Blog
How to Make Perfect Juice Labels for Bottles in 4 Easy Steps
Creating eye-catching and professional juice labels is essential for making your product stand out. A well-designed label not only attracts customers but also provides important information about your juice.
So, our guide will show you 4 simple steps to create perfect labels that draw attention and leave a lasting impression on your customers. These steps follow the right order, helping you produce high-quality labels in an easier and more efficient way. Let’s explore!
1. What Information to Put on Juice Labels
To create effective and professional juice labels, you need to include the right information in an organized way. Below are the key elements you should add to labels for juice bottles:
1.1. Required info
Juice bottle labels should include basic details to meet regulations and ensure transparency. Your juice labels should clearly show:
- Product name
- Net contents / volume
- Manufacturer / business name
- Address or contact info
- Ingredient list (if multi-ingredient)
- Allergen warning (if needed)
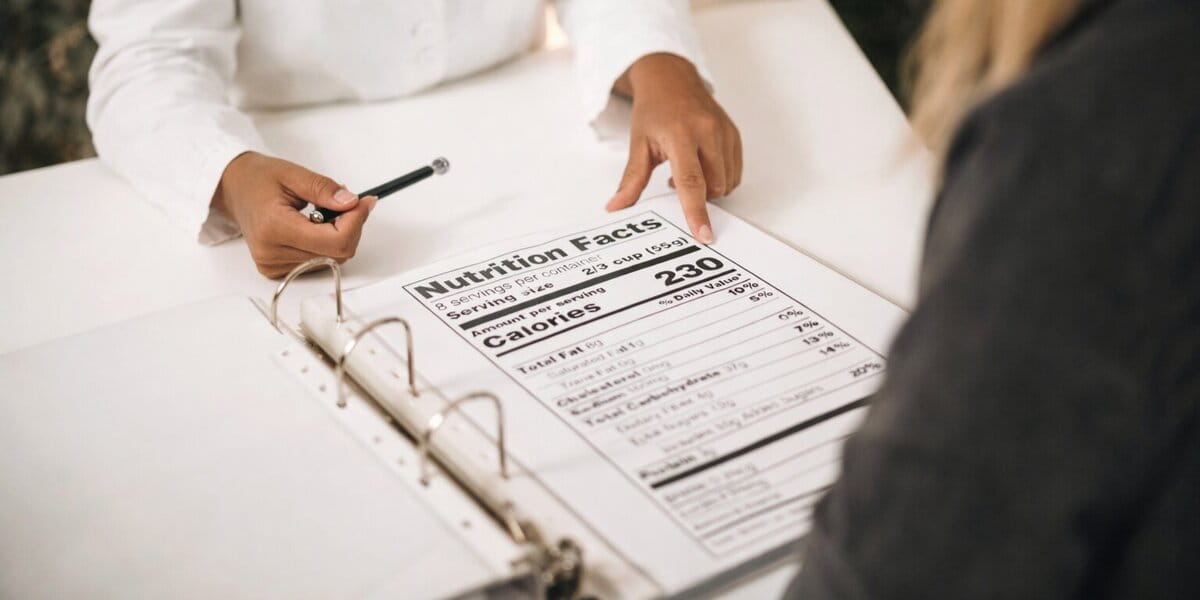
- Nutrition facts (when required)
These details create the base of all juice labels. They help customers quickly understand what the drink is and how much they get. At the same time, they show who produces the juice and how to contact the brand. When ingredients and allergens are listed, consumers can make safer choices. All of these help your brand follow regulations and build customer trust.
1.2. Recommended info
Moreover, you should include extra details that improve usability and product management. For example:
- Expiration date / best by date
- Batch number / lot code
- Storage instructions
- Barcode
- Juice type (cold-pressed, organic, etc.)
With this information, the product becomes easier to use and manage. Customers can follow the date and storage guide to keep the juice fresh. In addition, barcodes and juice types make the product clearer and more convenient in stores.
You can also track products through batch codes and improve quality control.
1.3. Optional but professional info
You can also enhance custom labels for juice bottles with branding elements like:
- Logo
- Tagline
- Website / social media
- Certification icons
- QR code
- Flavor color coding
A logo and tagline help customers remember your brand more easily. Color coding and icons make it easier to recognize flavors and build a strong visual identity.
Moreover, online links and QR codes create better interaction with customers for your business.
2. Design the Juice Label
To create eye-catching and effective juice labels, you need a clear design plan, from shape to layout. The steps below will help you make professional custom juice labels.
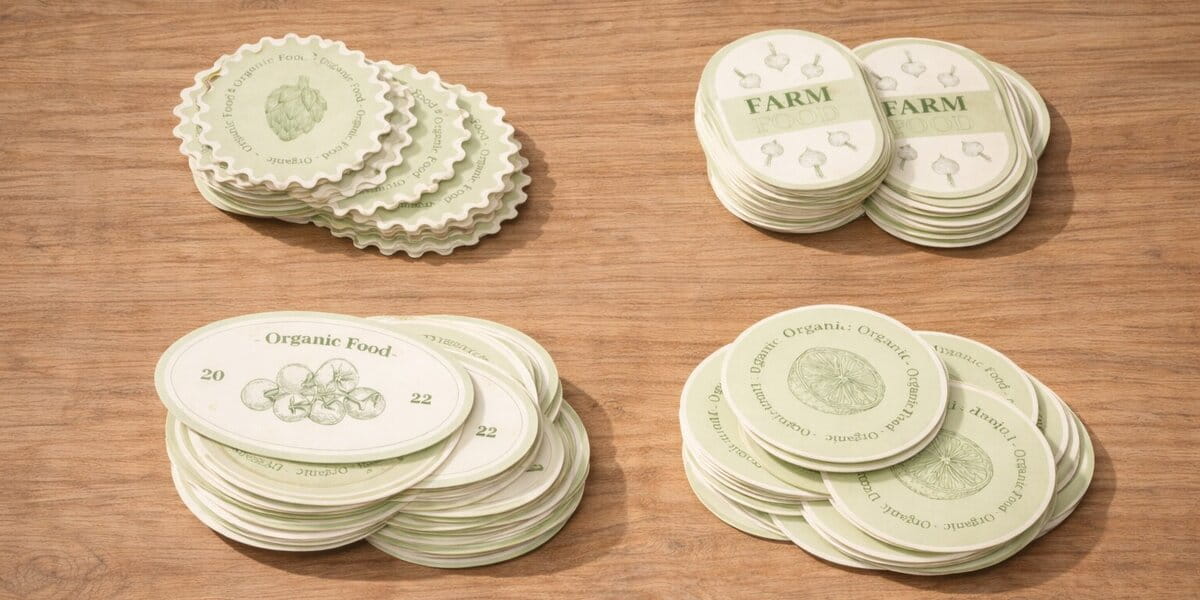
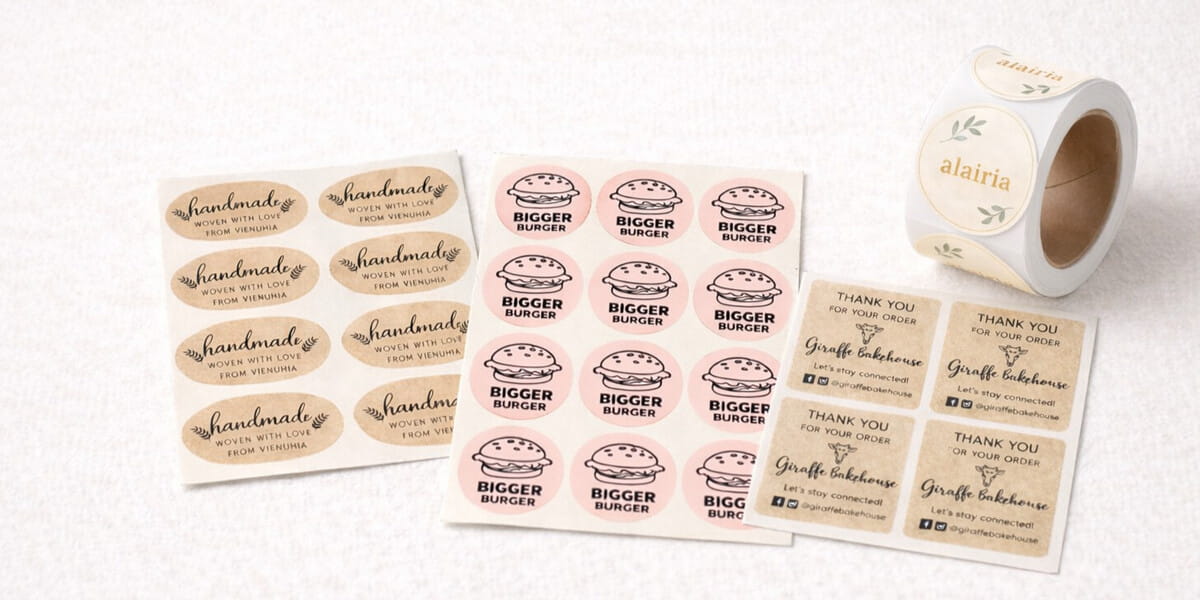
2.1. Choose the label shape first
First, you should select a shape that matches the bottle style and branding of your custom juice labels.
- Round labels: soft, friendly look; suitable for small bottles, minimal info
- Rectangle labels: clean, modern; best for detailed printed juice labels
- Oval labels: elegant feel; good for premium fruit juice labels
- Wrap-around labels: cover most of the bottle; ideal for full information and branding
- Custom shapes: unique outlines; perfect for standout and unique custom juice bottle labels
2.2. Choose the right label size
Then, you should determine the correct size to ensure a perfect fit for labels for juice bottles.
- You need to measure the bottle carefully before designing, including the label area’s height and width. Use a flexible tape or paper strip to wrap around the bottle and mark the correct size.
- For curved or slim containers, you should choose smaller or narrower labels to avoid wrinkling.
- Avoid labels that are too wide for round bottles, as they may create uneven edges, overlapped parts or lifting during application.
2.3. Plan the label layout
Next, you should organize how information appears for clear juice bottle labels.
- Front label only: This usually shows the product name, logo, and key highlights.
- Front + back label: The front focuses on branding, while the back includes details like ingredients and instructions.
- Wrap label: This combines all information (logo, flavor, net volume, ingredient list, …) into one continuous design around the bottle.
When choosing the layout, you should also note that:
- Leave space for variable info: expiration date, batch/lot code,…
- Ensure layout fits curves: avoid placing text near edges or bending areas
This ensures that all information on juice labels is clear and balanced, especially when applied to different bottle shapes.
2.4. Create the label design
Now, it’s time to create attractive designs to make your juice bottle labels appealing and readable. You should:
- Choose readable fonts, avoid overly decorative styles. This helps customers read information quickly, especially on small or curved bottles.
- Use colors that match the flavor. Color should help customers recognize the product instantly, like orange for orange juice labels, green for fresh or organic juice.
- Keep a clear hierarchy in the layout. You should arrange information so the most important elements stand out first. The brand name and product name should be the most visible. Details like ingredients or nutrition facts should be placed in smaller text. This structure helps customers scan the label quickly.
These steps create a clear and well-organized juice label design, keeping information easy to follow and helping the product stand out.
3. Produce the Juice Labels
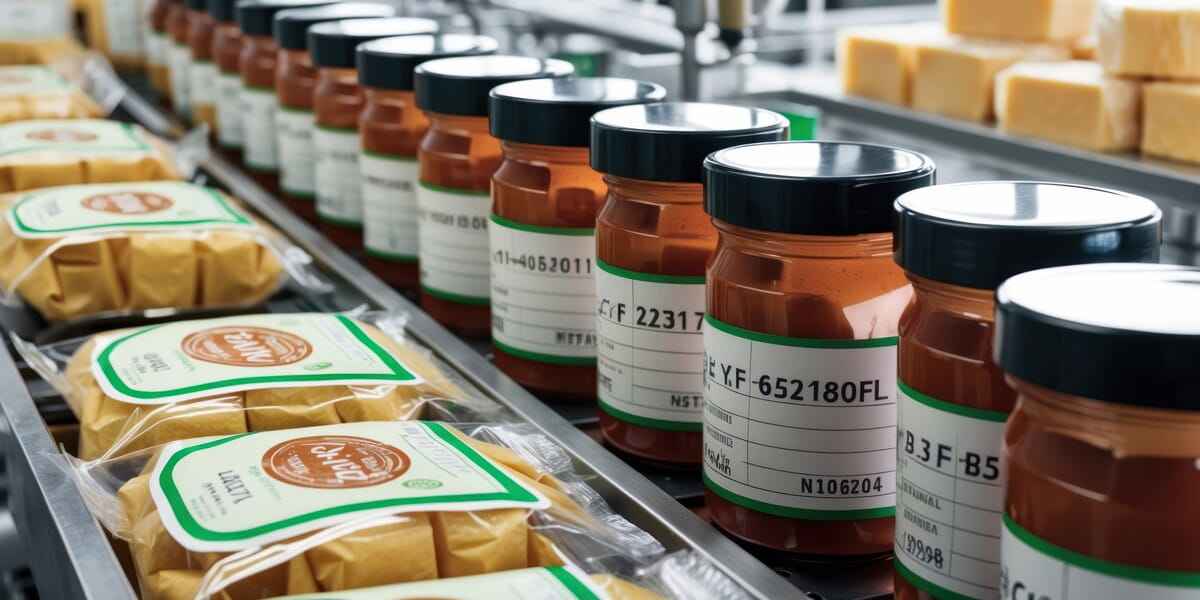
Producing high-quality juice labels requires the right materials, adhesive, and printing process, so each step should be carefully handled to ensure durability and a professional look.
3.1. Choose the right label material
Before printing, you need to select materials that match the nature of the product. Juice products are often stored in refrigerators, so labels need to resist moisture and temperature changes.
Waterproof materials
Materials such as BOPP (a type of plastic film) and vinyl provide strong resistance to water and condensation, making them ideal for waterproof juice bottle labels.
Special label types
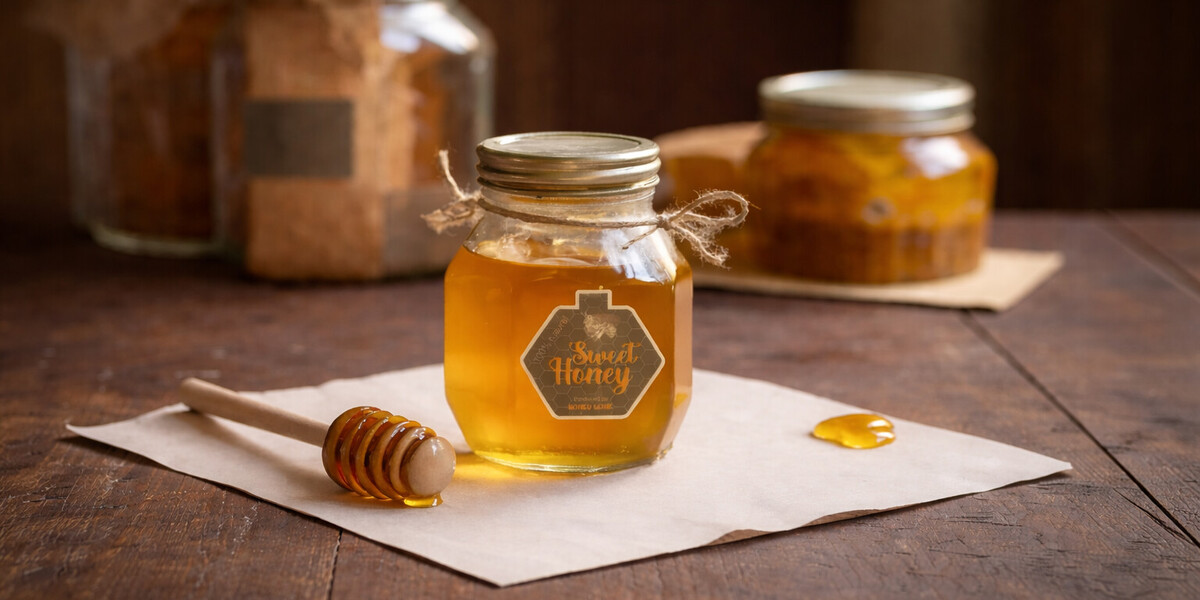
Clear labels are also a popular option because they allow the surface to show through, which makes the natural juice color stand out.
You can also choose UV DTF transfer stickers as a premium alternative. These stickers transfer the design directly onto the bottle surface. As a result, it creates a premium, modern effect with strong visual impact and a slightly raised texture.
Matte vs glossy
The label finish also affects the overall look. Matte finishes give a soft and easy-to-read surface, while glossy finishes enhance color vibrancy and make the label more eye-catching.
Overall, choosing the right material and finish helps your labels stay durable and maintain a clean and professional look.
3.2. Use Adhesive that works in cold storage
Next, you need to select the right adhesive. As mentioned before, juice bottles are usually kept in refrigerators, so normal adhesives may not stick properly. You should use adhesives designed for cold storage because they can handle condensation and low temperatures.
Suitable adhesive ensures that juice labels stay in place in their storage conditions, usually cold and wet.
3.3. Print the labels
The final step is printing, which directly affects the overall quality of the label. You can choose to print with us to ensure consistent quality and professional support throughout the process.
We offer custom printing options that allow you to choose your preferred shape, size, and material to match your label needs. This flexibility helps your labels reflect your brand identity more clearly and creates a more unique and recognizable look on every bottle.
Before moving to full production, you can test a small batch to check colors, size, and adhesion in real conditions. This step helps you confirm that label colors look accurate, and its size fits the bottle properly. You can also check readability, overall layout, and how the label looks on the actual bottle before finalizing.
4. Tips for labeling juice bottles
After exploring 3 steps of how to make juice labels, here are some practical and highlighted tips to make your labels look professional and durable:
- Choose the right label material for cold storage: Use waterproof labels like BOPP or vinyl that withstand cold storage and condensation.
- Pick a label size and shape that fits juice bottles: Make sure the label fits the bottle cleanly to avoid wrinkles or overlaps, especially on curved bottles.
- Keep the design flexible for flavor variations: Design labels so they can easily adapt to different flavors without a complete redesign.
- Use a style that matches fresh and natural drinks: Select colors, fonts, and layouts that reflect freshness and natural ingredients, making the juice look appealing.
These tips help produce functional, attractive, and professional juice labels that appeal to customers.
5. Conclusion
Creating perfect juice labels is a careful process, from choosing the right information and design to selecting durable materials and printing. Each step helps your product look professional, communicate key details, and appeal to customers.
By following these 4 steps, you can make custom juice bottle labels that stand out, last longer, and reflect the quality of your juice.
For the best results, print with us on our website to get durable, eye-catching juice labels that combine style and functionality for every bottle.