Blog
Paint Party for Kids: 5 Things You Need for a Stress-Free Event
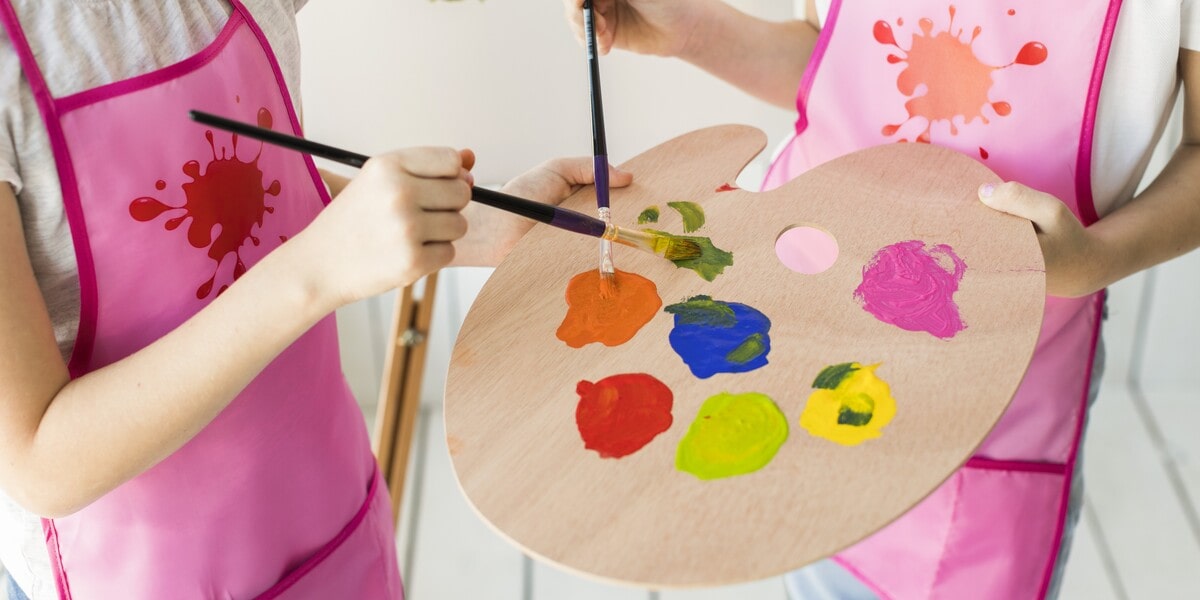
Colorful, creative, and exciting—a paint party for kids is the ideal way to celebrate and encourage kids to be true artists. Of course, any party with paint and children can get a little messy. However, with the right tools and a little creativity, you can keep things fun while minimizing spills, stains, and stressful cleanups.
Let’s turn a potentially messy event into an organized, joyful paint party for kids with our 5 careful tips. They will help you keep things clean, keep kids engaged, and keep the focus on fun!
1. Covers to protect the Table & Floor
At any paint party for kids, messes are part of the fun, but protecting your space makes the cleanup process quick and stress-free. That’s why covering the table and floor is one of the most important steps you can take before the painting begins.
Why?
Without protection, tables can get stained, and paint might seep into carpets or hardwood floors. By using covers, you not only shield your surfaces from damage at a paint party for kids but also save your time afterward when tidying up.
What to Use?
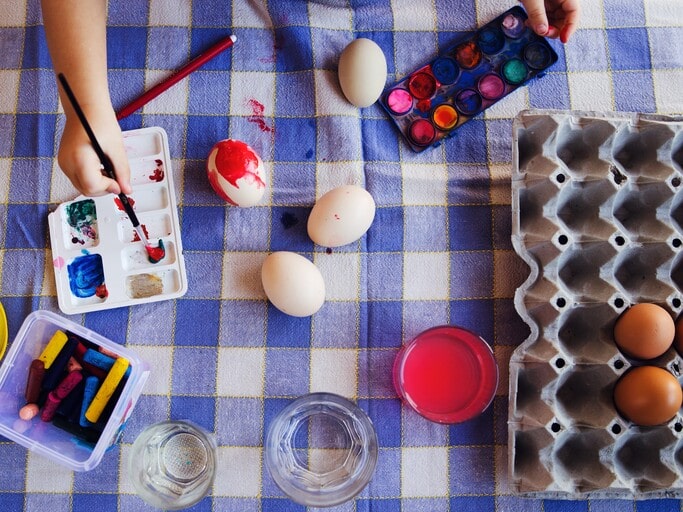
There are several smart and budget-friendly options you can use:
- Plastic tablecloths
- Reusable art drop cloths
- Old shower curtains
To keep everything in place, use painter’s tape to secure the edges so kids don’t accidentally shift the covers during the party.
2. Personalized Aprons with Kids’ Names
When it comes to hosting a paint party for kids, aprons are practical and playful items that bring a special addition to your party! To make them more fun, you can personalize each apron with the child’s name. And it will be a super affordable option if you DIY with our guide below.
Why They’re a Must-Have
When kids paint, they often forget to stay clean. Personalized aprons help protect kids’ clothes from getting dirty.
Beyond practicality, they make every child feel like a true artist. It will be so exciting to see their name appearing on a professional apron!
Additionally, these customized items can be cherished keepsakes, preserving memories of the fun day.
What to Do
Let’s learn how to DIY personalized aprons in a few simple steps:
Choose the Right Aprons
The first step is to opt for plain, lightweight aprons in bulk to save costs. Prioritize durable, washable materials like polyester-cotton blends, which withstand frequent use.
You can select neutral or pastel colors (white, light blue, or gray) to ensure your designs pop. Alternatively, you may want to choose bold, colorful aprons and keep the design simple for an eye-catching result.
Another important aspect is to confirm sizes fit your little guests, and make sure the straps can be adjusted for comfort.
Design Eye-Catching Transfers
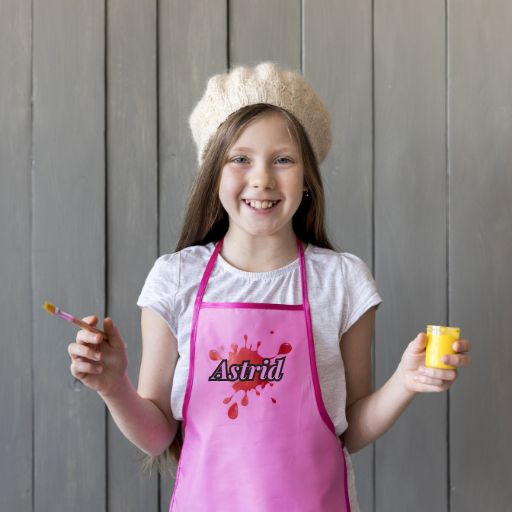
For this DIY project, using DTF (Direct-to-Film) iron-on transfers is a perfect idea.
Why?
Because they’re easy to apply to aprons, even with a household iron. These iron-ons give you bright and long-lasting designs and they’re also budget-friendly when creating in bulk for your event.
To create playful designs for personalized aprons, you can pair each child’s name with:
- Paintbrushes
- Cartoon animals holding brushes
- Colorful paint splashes
- Mini easels,
- Stars wearing artist berets
- Phrases like “Masterpiece Maker” or “Little Picasso”
After creating your designs, let’s send them to us. We’ll print it for you with high-quality materials for durable and beautiful iron-on transfers.
Apply with Care (using household iron)
Once you receive the iron-ons, apply them on the aprons by following these steps:
- Place the design face-up on the smooth and wrinkle-free apron
- Cover it with heat-resistant parchment paper
- Using a household iron set to 310°F (155°C), press firmly for 20–30 seconds with medium pressure
- Allow the design to cool in about 15–20 seconds, then slowly lift the film.
- If you notice any part that didn’t stick properly, simply reposition the film and apply heat again for a few more seconds.
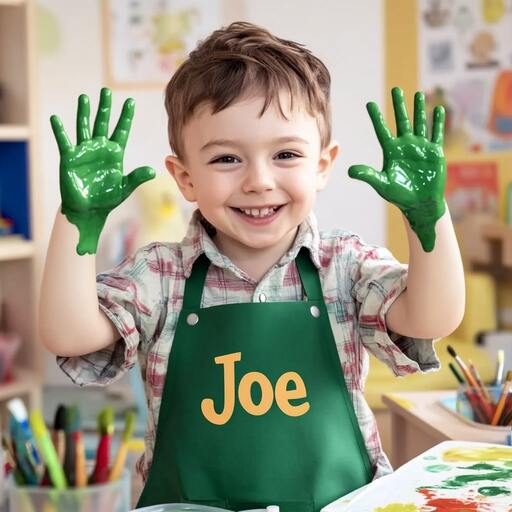
Finally, these iron-on DTF transfers turn plain aprons into fun, memorable party items.
3. Custom Labels for Each Zone of the Paint Party for Kids
Creating an organized kids painting party is easier than you think. One simple yet effective way to do that is to use custom labels for each activity zone.
Why custom labels matter
A well-labeled space can make your party space feel like a real art studio and help kids feel like true little artists.
Moreover, custom labels do more than add decoration, they give structure to the paint party for kids. When each zone is clearly marked, kids know where to go, what to do, and how to stay organized.
What zones to include
You can create several fun zones depending on your setup, such as:
- A “Canvas Zone” is where kids sit and paint their art creations
- A “Paint Mixing Station” invites little artists to experiment with colors
- A “Drying Rack” zone is essential for keeping wet artwork safe and smudge-free
- A “Hand-Washing Zone” helps everyone stay clean
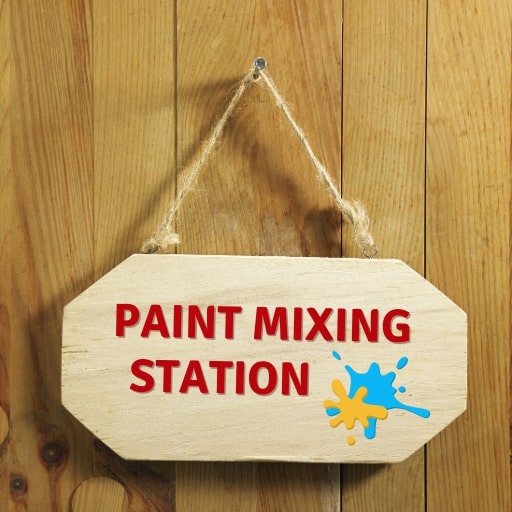
How to design eye-catching labels
Follow these steps to craft perfect labels for your paint party for kids:
Choose simple signage
First, you should opt for plain wooden boards, glass panels, or white mica sheets as bases. These materials are durable, easy to wipe clean, and provide a neutral backdrop for vibrant designs.
Apply custom transfer stickers
Label each signage with custom transfer stickers. These are easy to apply and give your signs a professional, vibrant and polished look. Besides, transfer stickers have no background, so they are perfect for fun fonts and intricate texts.
Decorations (Optional)
To make your transfer stickers stand out, you can add more designs with drip borders, mini palette icons, or brushstrokes around the text of the zone’s name . While optional, we highly recommend these additions to add charm and help your zones signs match the theme beautifully.
4. Every Paint Party for Kids needs a Snack Break Table
At your paint party for kids, the little guests will need a moment to recharge. Therefore, a snack break table is a must-have. Consider:
- mini sandwiches or cheese crackers in rainbow-colored bowls
- colorful fruit skewers—using strawberries, melon, grapes, and blueberries
- “paint palette” sugar cookies
- veggie cups with hummus
- rainbow popcorn
- marshmallow “paintbrushes”
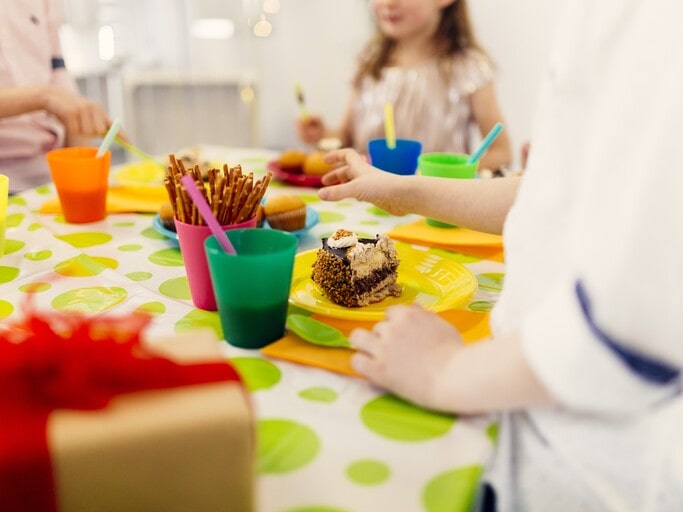
To make the table visually artistic, you can use a white tablecloth as the base and display snacks on:
- artist palettes
- paint trays
- tiered stands
You can also scatter confetti that looks like paint splashes, and use mason jars filled with crayons or brushes for wonderful decorations at your paint party for kids.
5. Party Favors – Give Them Something Artist-Themed
Providing party favors is an essential part of making a paint party for kids a memorable one. Let’s give them special gifts to take a piece of creativity home.
Mini Paint Kits or Watercolor Sets
Mini paint kits or watercolor sets are both fun and functional. These compact sets are easy to find in bulk and often include a palette of vibrant colors and a small brush. They give kids the freedom to create more art at home.
Blank mini canvases
Including a blank mini canvas is another great favor idea at your paint party for kids. These small canvases help children freely create their personal masterpieces.
Artist-themed die cut stickers
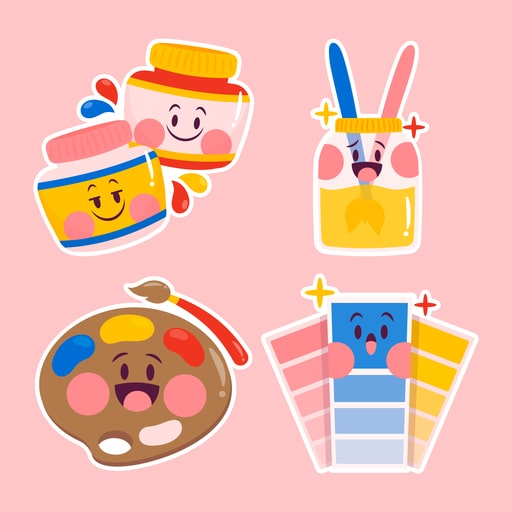
To make the favor even more engaging, you should insert a bulk of die cut stickers featuring art-themed designs inside. The stickers can featured:
- Tiny paintbrushes
- Splatters
- Palettes
- Easels
- Cartoon characters in smocks
Kids can use these stickers to decorate their paint kits, canvas packaging, or even their school notebooks. This small touch makes the favor more personal and is sure to make kids excited.
Last words
A successful paint party for kids doesn’t require many supplies. Just a few smart choices can make the experience fun, organized, and memorable. By focusing on our 5 essentials, you are sure to create a creative space where cleanup stays simple.
Furthermore, to make your party even more memorable, don’t forget to add a creative touch with custom stickers and iron-on transfers. Visit our website for high-quality, vibrant ones, and use them to make everything more special!

