Blog
How to Make DTF Transfers: Complete 3-Step Guide for Beginners

DTF transfers are special printing products that allow you to print detailed artwork that can later be applied to various fabrics. So, if you’re looking to create high-quality, vibrant designs for fabrics, learning how to make DTF transfers is a smart and easy choice.
This guide is perfect for beginners who are just getting started and want a clear, easy way to learn how to make a DTF transfer. You’ll get a simple overview of DTF transfers, the tools needed, and a clear explanation of how to create DTF transfers. Let’s explore and make beautiful, durable, and ready-to-use DTF transfers!
What Are DTF Transfers?

Before exploring the DTF printing process and how to make DTF transfers, let’s discuss what DTF transfers are.
Definition
A DTF transfer is a printed design on a clear film that you can press onto fabric using heat. It’s ready-made and used to decorate clothes like t-shirts, hoodies, tote bags, and more.
These transfers are bright, long-lasting, and work on many types of fabric, such as cotton, polyester, or denim. Once printed and prepared, the transfer can be stored or heat-pressed whenever you’re ready to use it.
You may want to read: “Custom Iron On Transfers: What They Are & How to Use Them“
Why They’re Popular in Apparel Customization
DTF transfers are largely used in apparel customization because they offer a simpler, more convenient alternative to traditional methods like direct-to-garment (DTG) printing or screen printing.
For example, with DTG, you print the design directly onto the fabric, and you usually need to treat the fabric first. DTF works another way—you print the design onto a film first. Then, you transfer that film onto the fabric using heat.
You can print multiple designs in advance, store them, and apply them only when needed, which makes production faster and more organized.
Another big advantage is cost-efficiency. DTF setups are generally less expensive to maintain than DTG printers. DTF printers and equipment are usually cheaper to buy and maintain than DTG machines. It also requires a lower initial investment because you don’t need to have shirts or fabric products ready during the printing stage.
Or with screen printing, each color in a design requires a separate screen, which means more setup time, more materials, and higher costs.
If you’re running a small business, DTF offers the perfect choice that brings quality, convenience, and affordability.
How to Make DTF Transfers
For those new to DTF transfer printing, understanding the basic process is essential. In this section, we will show how to make DTF transfers in just 3 simple steps.
1. Tools & Materials You’ll Need
Before you begin learning how to make DTF transfers, make sure you have all the necessary materials:
Design
First, you need a high-quality design file, preferably in PNG or vector format
DTF printer
Next, you must use a DTF printer that supports both CMYK and white ink layers.
DTF film
You will also need DTF film, which is a special transparent sheet that holds the printed design.
DTF powder (adhesive powder)

Another essential item is DTF powder, also known as adhesive powder, which helps the ink bond during the transfer process.
Curing oven
Finally, a curing oven or a heat press is required to melt the powder and cure the design.
2. 3-Step Process to Make DTF Transfers
When you have the right tools, it’s time to make a DTF transfer. Just follow these 3 simple steps to create a ready-to-use transfer.
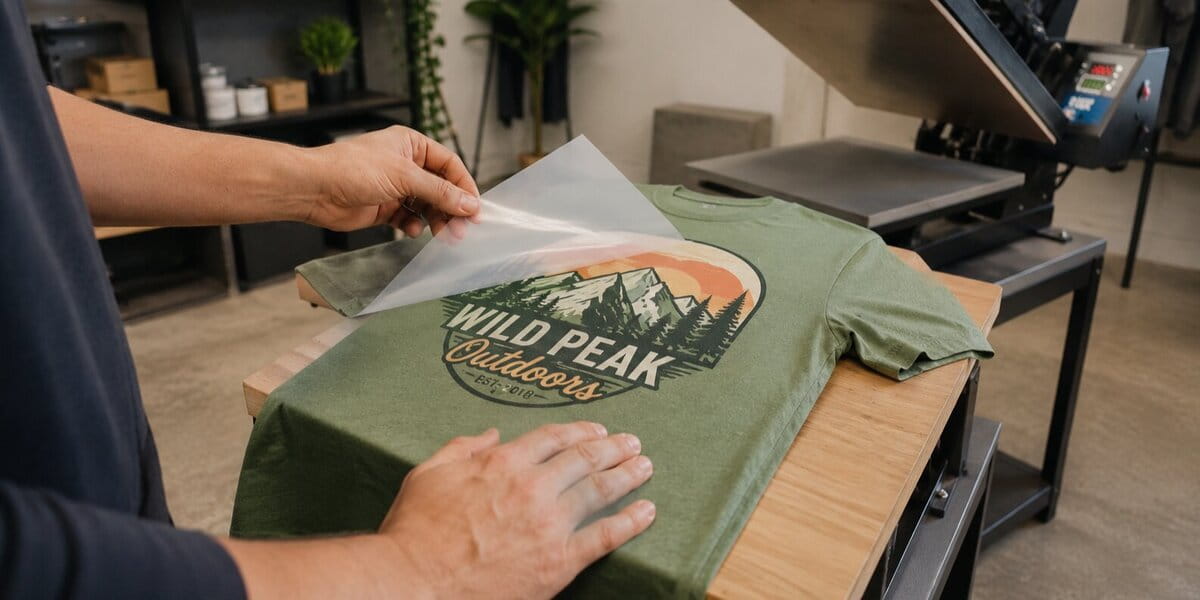
Step 1: Print Your Design
The first step is to print your design on the side of the film that has the coating (it should be facing up). The printer should lay down the CMYK colors first and then apply a white ink layer over the entire design.
This white layer is necessary because it acts as a base, helping colors stand out on both light and dark fabrics. If you’re wondering how to print DTF transfers correctly, this step is the most critical.
Step 2: Apply Adhesive Powder
After printing, make sure to spread DTF powder over the wet ink immediately. You should make sure the powder covers all the printed areas evenly. Then, gently shake off the excess powder to avoid clumps.
Uneven powder may result in poor adhesion later, so you should take your time with this step.
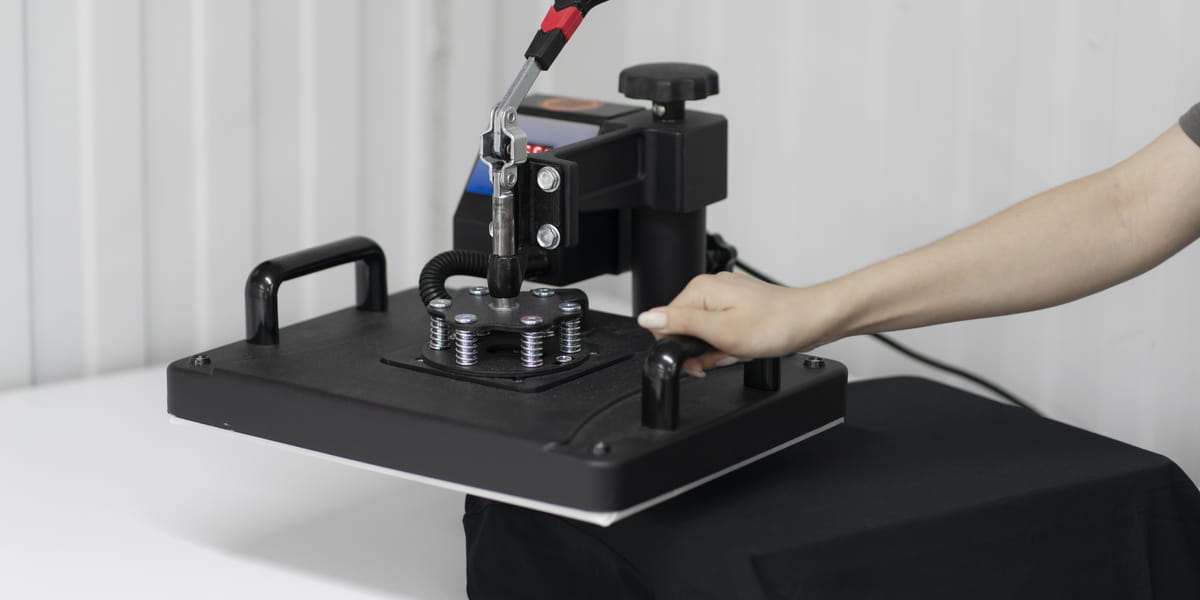
Step 3: Cure the Powder

It is necessary to melt and cure the powder after it has been spread. You can do it at home with an oven or, more commonly, a heat press.
Apply heat until the powder melts into a smooth, glossy layer. After curing, you need to allow the film to cool completely.
Now, the DTF transfer is finished and ready to be used or stored for later.
Common Mistakes When Making DTF Transfers
When learning how to make DTF transfers, beginners often face a few common issues that can affect the quality of the final product. Knowing these mistakes can help you avoid wasting time and materials.
Printing on the wrong side of the film

DTF film has a printable side and a non-printable side. The coated side (usually shinier) must face up when printing. Printing on the wrong side causes poor ink adhesion and blurry designs.
Therefore, before you print, remember to check that you’re using the right side of the film.
Uneven powder coating
Another common mistake is applying adhesive powder unevenly. If the powder does not cover all printed areas evenly, parts of the design may not transfer properly to the fabric. Excess powder can also lead to clumping and unwanted textures.
To avoid this, spread the powder carefully and shake off any extra for a smooth, even layer.
Incorrect curing temperature or time
To cure the powder, press it with heat at around 320 to 350°F. However, the powder you use may also affect this.
If the powder is under-cured, it won’t melt enough to bond with the ink. On the other hand, if you over-cure it, the design might burn or crack.
That’s why you should follow the recommended settings for proper curing.
Last thoughts
Learning how to make DTF transfers doesn’t require advanced skills, but it does involve specific steps and equipment. Hopefully, with our guide, you’ll understand exactly how to make DTF transfers and can create vibrant, ready-to-use DTF transfers.
If you want to learn more, check out our other articles about DTF transfers, like how to apply them to fabric, what materials they can be used on, and so on.