Blog
DTF Transfer Size Guide: Important Sizing & Placement Rules You Can’t Skip

Creating eye-catching custom garments requires more than just quality DTF transfer prints—it also depends on accurate sizing and placement. A reliable DTF transfer size guide helps you avoid common mistakes and ensures your designs look polished and well-positioned on every item.
Therefore, CustomAny‘s DTF transfer size guide will provide you with essential sizing rules, helping you achieve consistent, professional results. Moreover, we also give you placement techniques for the right transfer dimensions of specific products (t-shirts, hoodies, tote bags, and caps) to match their shape and style.
Let’s explore!
DTF Transfer Sizes for Common Placement Area
To make your DTF transfers look great and well-placed, it’s important to choose the right size for each area. Below are the most common placement areas and the recommended transfer sizes for them.
Common Areas to Place DTF Transfers
You can apply DTF transfers to various areas of apparel and accessories. Each area has its own purpose and sizing needs. Therefore, before exploring the exact DTF transfer size guide, it’s important to know their common placement areas, including:

- Full front
- Center chest
- Left chest
- Back full

- Upper back (Yoke)
- Sleeve
- Pocket placement

- Tag/inside neck label
- Tote bag center

- Tote bag corner
- Cap front center
Because of these, your transfer placement on shirts, accessories, or other items should always be considered to ensure the design fits properly and looks appealing.
Recommended DTF Transfer Sizes for Each Placement
Once you have chosen a placement area, the next step is selecting the correct size. Below is a detailed DTF transfer size guide for different garments and items:
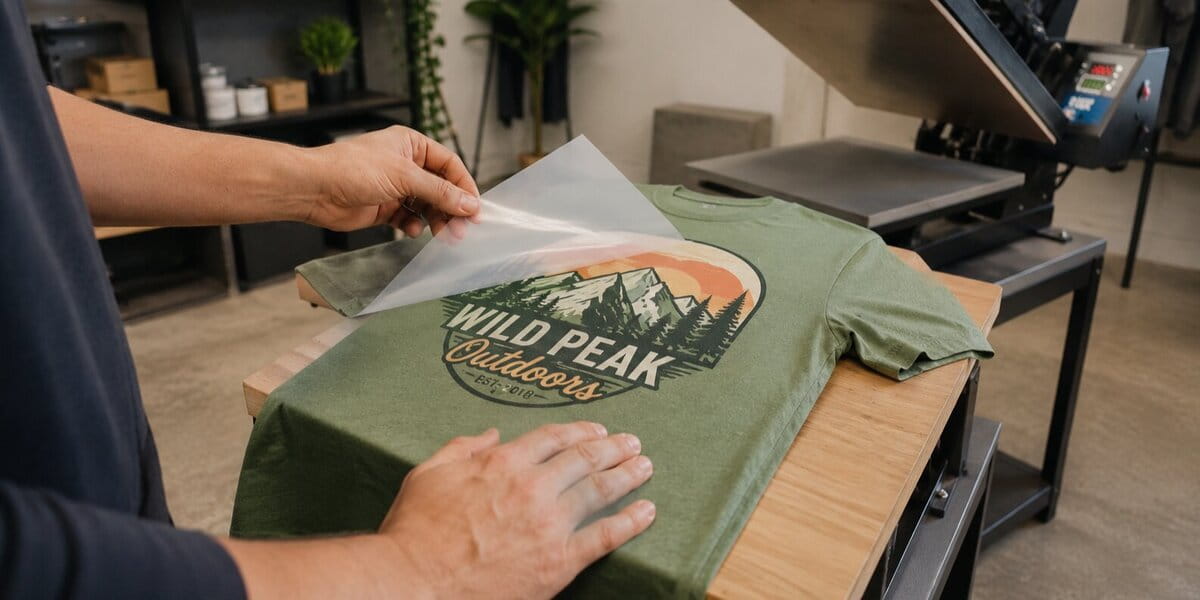
1. For shirts ( like T-Shirts, Hoodies, Sweaters – Short & Long Sleeves)
Full Front
This option is great for displaying larger and bold designs. Full-front placement provides the most space, making it ideal for detailed artwork or photo-style prints. You should use a width between 10” and 12” for this area.
Center Chest
The center chest placement is right below the collar and centered across the chest. It’s suited for medium-sized designs, typically 8”–9” wide, allowing the print to stay balanced without reaching too close to the sleeves.
Left Chest
This area is often chosen for branding or small graphics. It’s usually placed about 7 to 9 inches down from the shoulder and 3 to 5 inches toward the center. For a perfect look, the recommended size for left chest DTF transfers is 3”–4” wide.
Back Full
Like the full font, the full back is often used for bold or detailed designs. While similar to the full front, it’s typically positioned a bit lower on the garment and can accommodate slightly larger prints. Hence, a width of 10” to 12” is ideal for this area.
Upper Back (Yoke)
This placement is across the shoulder blades, rather than being centered vertically on the back. It’s a common area for bold text like “CREW” or “VOLUNTEER,” trending hashtags, or larger logos. With this area, 3” to 4” wide.is the recommended size for DTF transfer.
Sleeve
Sleeve placements are usually 1–2 inches below the shoulder seam and centered along the sleeve. This area is great for smaller graphics, such as logos or emblems. For sleeve designs, aim for a width of 3” to 5” running along the sleeve’s length. On short sleeves, 3”–4” works best, while long sleeves can handle up to 5”.
Tag/Inside Neck
The tag or inside neck label placement is located just below the back collar, inside the garment. It’s perfect for branding elements like logos, sizing, or care instructions. So, with this placement, you should choose the DTF transfer size of 2” to 3” wide.
2. For Tote Bags
Center
A bold, eye-catching design in the middle of the bag should be 8”–10” wide, leaving a border to maintain a balanced look.
Corner
A small logo or decorative element in the corner works best at 3”–5”, keeping it simple but still stands out.
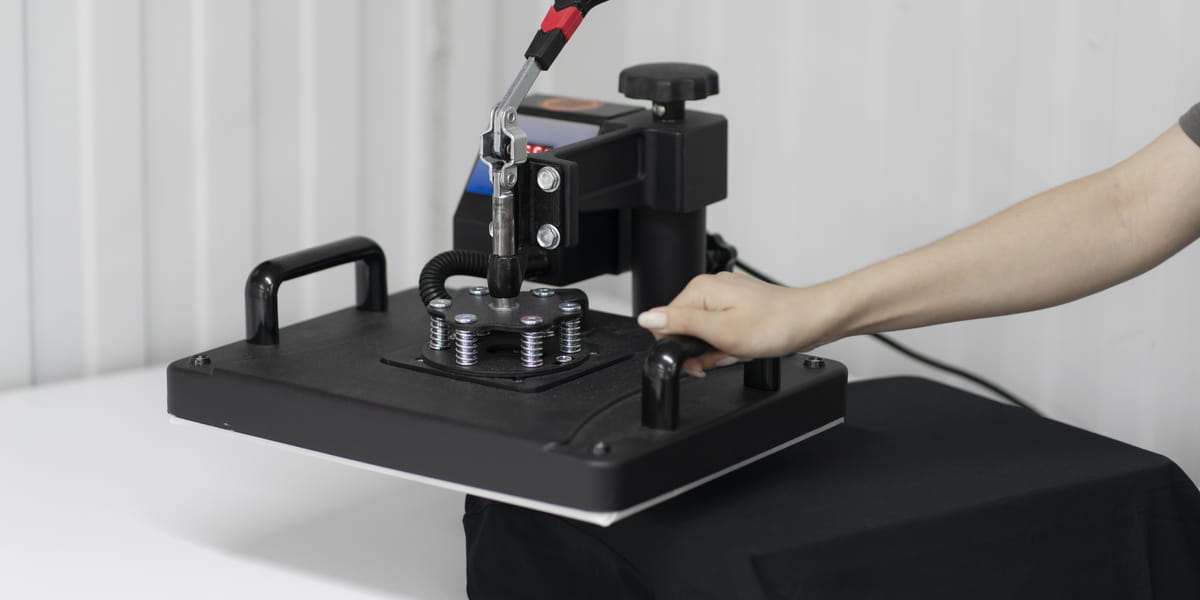
3. For Caps
Front Center
The main panel of a cap can fit a 3”–4” wide design without stretching or wrinkling.
Side
For side placement, keep it compact at 2” to 3” wide to avoid affecting the curve.
Pro Tips for Accurate Placement
To get great results, besides choosing the right DTF transfer sizes, it’s important to place your DTF transfers correctly. These tips will help you get perfect placement for your DTF transfers.
Always Use a Ruler or Tape Measure
When measuring your DTF sizes, don’t rely on guesswork.
For example, to measure for a left chest transfer, go about 3.5 to 4 inches from the center collar and 6 to 7 inches down from the shoulder seam. Then, you can use a ruler or tape measure to mark the top and center points of your design area.
Accurate measuring is the key factor of any DTF transfer size guide.
Mark the Center Without Folding the Garment

Instead of creating a fold, which can affect the flatness during heat pressing, fold the garment lightly to find the center, then open it and mark key points using tailor’s chalk. This helps guide your transfer placement while keeping the surface smooth.
Adjust for Neckline Styles
The type of neckline (a crew neck, V-neck, or hoodie) requires slightly different positioning.
For example, DTF sizing for shirts with a V-neck may need a slightly higher chest placement than crewnecks.
Therefore, always take neckline shape into account when deciding on your DTF placement.
Use templates or placement guides
To maintain consistency, especially in bulk orders, you should use placement templates – stencils or guides that help you position DTF transfers consistently every time. These tools help align each design perfectly and follow the correct placement guide for your chosen DTF transfer size guide.
Run a test before mass production
Before printing a large batch, you should try your design on a sample item. This helps you check the placement, colors, and size of the transfer. It also saves time, materials, and helps you avoid mistakes.
Common Mistakes to Avoid
Even with a DTF transfer size guide, you can still have some mistakes that lead to poor outcomes. Here are a few common ones you need to know:
Incorrect Neckline Placement
If the design isn’t positioned at the right height from the neckline (too high or too low), it can look unbalanced and strange when worn.
Failing to Center the Design
A crooked or off-center transfer instantly looks unprofessional. As mentioned before, you should use a ruler and mark the exact center before pressing.
Using One Size for All Garments
A size that works on a t-shirt may not fit a hoodie or tote bag.
Skipping Measurements on Each Item
Without measuring, your prints may look different on each item. So, you should always ensure that each item is aligned correctly before pressing.
Ignoring Garment Details
Transfers can press unevenly when placed over details like:
- Pockets
- Seams
- Zippers
Therefore, make sure your layout avoids these areas, especially when following a DTF transfer size guide, to keep the final design clean and professional.
Last words
A well-planned DTF transfer size guide is the key to professional, polished results on every project. Proper sizing and accurate placement not only enhance the look of your design but also ensure it fits the garment naturally. Now that you have the right DTF sizing guide, get ready to apply your transfers cleanly to any item you choose.Don’t forget to explore our wide range of DTF transfers available at customany.com. We offer high-quality prints in various DTF sizes, perfect for any of your projects!