Blog
How To Apply Motorcycle Helmet Stickers Without Wrinkles? (3 Tricks)
 1")
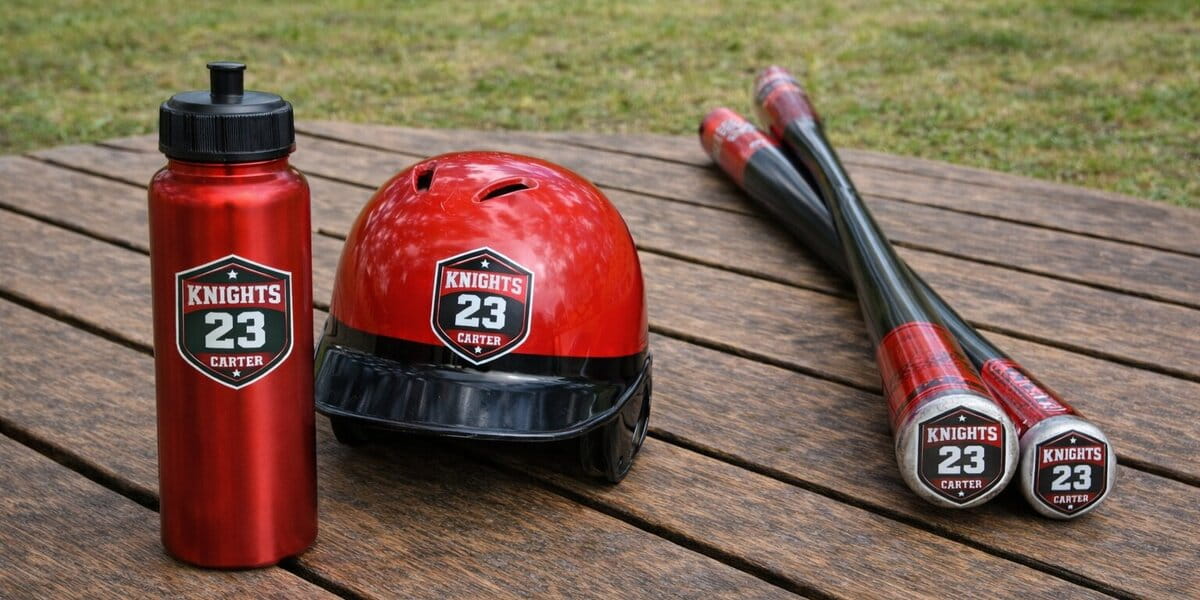
Customize your riding gear with some one-of-a-kind motorcycle helmet stickers that speak for yourself on the road – it’s an extraordinary experience, right? However, due to some reasons, these stickers often wrinkle when applied.
If you’re stuck at this step, this blog post is what you need. We’re here to bring you 3 smart tricks to adhere your motorcycle helmet stickers in place while making them stay wrinkle-free. These enhance both the style and durability of your helmet. So, let’s dive in!
Why Stickers Wrinkle on Motorcycle Helmets
If you see wrinkles on your motorcycle helmet stickers, check what the reason is.
1. Helmets have a curved surface, so flat stickers are not likely to adhere smoothly on them
Motorcycle helmets surfaces make it challenging for flat stickers to adhere smoothly. It is because its curvature creates tension points that can lead to creases and wrinkles.
2. You used low-quality stickers are not much flexible
One of the main reasons that stickers often wrinkle when applied to motorcycle helmets is due to their quality. Low-quality stickers often lack the necessary flexibility to conform to the helmet’s curved surface.
3. You didn’t use the right application technique
Not applying the sticker with proper technique can also cause wrinkles. For example:
- When applying motorcycle helmet stickers, you don’t smooth them from the center outward. This simple tip helps to push out any air bubbles and minimize wrinkles.
- If you don’t press down firmly as you go, there might be air bubbles under the stickers and the helmet surface. After a few times, they might lead to wrinkles.
So, determine what is the issue that leads to your motorcycle stickers’ wrinkles. Knowing the reasons will help you in the next section: take suitable steps to ensure your motorcycle helmet stickers look great and stay wrinkle-free in the next try.
3 Tricks to Apply Motorcycle Helmet Stickers without Wrinkles
Even though it’s likely to create wrinkles when applying motorcycle helmet stickers, you can achieve a flawless result if you use the right techniques. Here are 3 effective tricks we suggest you try.
1. Choose stickers in Flexible Material
 2")
For small-sized motorcycle helmet stickers, using stickers that are somehow less flexible, such as our durable UV DTF transfer stickers, may not create wrinkles.
However, for larger stickers, choosing a flexible material is crucial. Why? Because of the helmet’s curved, spherical surface, which is prone to wrinkles.
If you want a large design, we recommend using vinyl stickers, including white vinyl stickers and clear vinyl stickers. Here are the reasons why:
- They are flexible: Vinyl is elastic. This characteristic allows it to mold to the helmet’s shape easily. It is especially important for larger stickers, which cover more surface area and are more likely to encounter tension points that can cause wrinkles.
- They are durable: Vinyl stickers are designed to withstand outdoor conditions. Specifically, they are resistant to water, UV rays, and general wear and tear. All these features make them perfect for helmets.
- They have secure adherence: Vinyl stickers adhere well to different helmet materials, providing a secure and long-lasting bond. This reduces the risk of peeling or lifting, which can also lead to wrinkles.
So, choosing flexible materials like vinyl is essential for large custom helmet stickers. It allows smooth application and voids wrinkles or bubbles.
2. Apply in Sections
 3")
The curved surface of a helmet makes it challenging to apply large stickers smoothly in one go. So, when using custom motorcycle helmet stickers, especially the larger ones, applying them in sections is a smart trick to avoid wrinkles.
Here’s why:
- When you apply the whole large sticker at one try, it may misalign, then create air bubbles or wrinkles. If you place them on the surface in sections, you can adjust the sticker as you go, ensuring it aligns properly and adheres smoothly.
- Gradually applying the sticker helps to push out air bubbles as you go, preventing them from being trapped under the surface and causing wrinkles.
To apply large motorcycle helmet stickers in sections, you need to:
- Start by peeling back a small portion of the sticker backing.
- Place the peeled section onto the helmet and press it down firmly to position it.
- Slowly peel away more of the backing while simultaneously pressing the sticker onto the helmet. You can use a squeegee or your fingers to smooth out any air bubbles.
- Keep peeling and applying the sticker until the entire sticker stays on the helmet with wrinkle-free.
This trick provides you with the essential control to handle the helmet’s curved surface, ensuring that your stickers create no wrinkles during the process.
3. Apply with a Hairdryer
 4")
Using a hairdryer can give your motorcycle helmet stickers and decals a smooth, wrinkle-free finish.
Why?
Firstly, the hair dryer helps to warm up your sticker, making it more flexible and easier to hold to the helmet’s curved surface. Besides, the heat can soften the adhesive, allowing the sticker to bond more securely and reducing the likelihood of wrinkles and bubbles.
When to use this trick?
This technique is particularly useful for larger motorcycle helmet stickers or stickers with thicker materials. Especially, it can be the solution for you while doing the project. If you find that your sticker is not adhering smoothly or you notice wrinkles starting to form, immediately find a hairdryer to fix these issues.
How to do it:
- Start by positioning the sticker on the helmet without removing the backing completely. Peel back a small portion to secure one edge in place.
- Set your hairdryer to a low heat setting. Hold it a few inches away from the sticker and gently warm the surface.
- As you warm the sticker up, slowly peel off the backing and press the sticker onto the helmet. Smooth out the sticker, from the center outward to push out any air bubbles.
- Continue to apply gentle heat until the sticker adheres to your helmet. This ensures that the entire sticker becomes pliable and adheres smoothly to the helmet.
By using this simple trick, you can achieve a flawless and wrinkle-free finish, enhancing the appearance and durability of your helmet stickers.
Where to buy Motorcycle Helmet Stickers
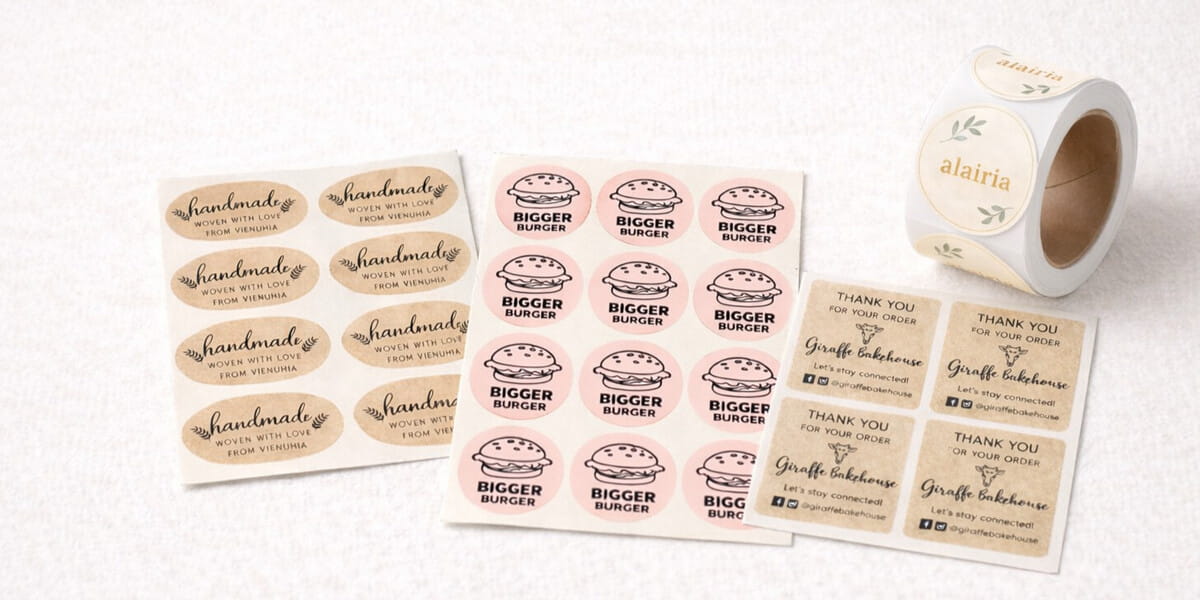
When it comes to finding high-quality motorcycle helmet stickers, our website customany.com may be a great place to start. We offer a wide variety of options to suit different tastes and needs:
- Die-Cut Vinyl Stickers: Customized cut-to-the-shape stickers that provide a sleek, professional look.
- Circle Stickers: Classic sticker type that is ideal for logos or simple designs.
- Clear Stickers: Perfect choice if you are looking for a subtle and elegant sticker for helmet.
- Holographic Stickers: Eye-catching stickers with a shiny effect that stand out on any helmet.
- UV DTF Transfer Stickers: Durable and flexible, suitable for small and intricate designs.
Our high-quality custom stickers are designed to last and look great, even when you use them outside. Explore our selection here to find the perfect stickers to personalize your helmet.
Last words
Applying motorcycle helmet stickers without wrinkles is now achievable with our 3 tricks. By choosing flexible materials, applying in sections, and taking advantage of a hairdryer, you can ensure a perfect finish.
Besides stickers for motorcycle helmet, we also offer various insights into using stickers for other sports gear. For more tips on designing, printing and applying stickers, check out our other blog posts.