Blog
Comprehensive guide and 4 tips for applying vinyl to curved surface
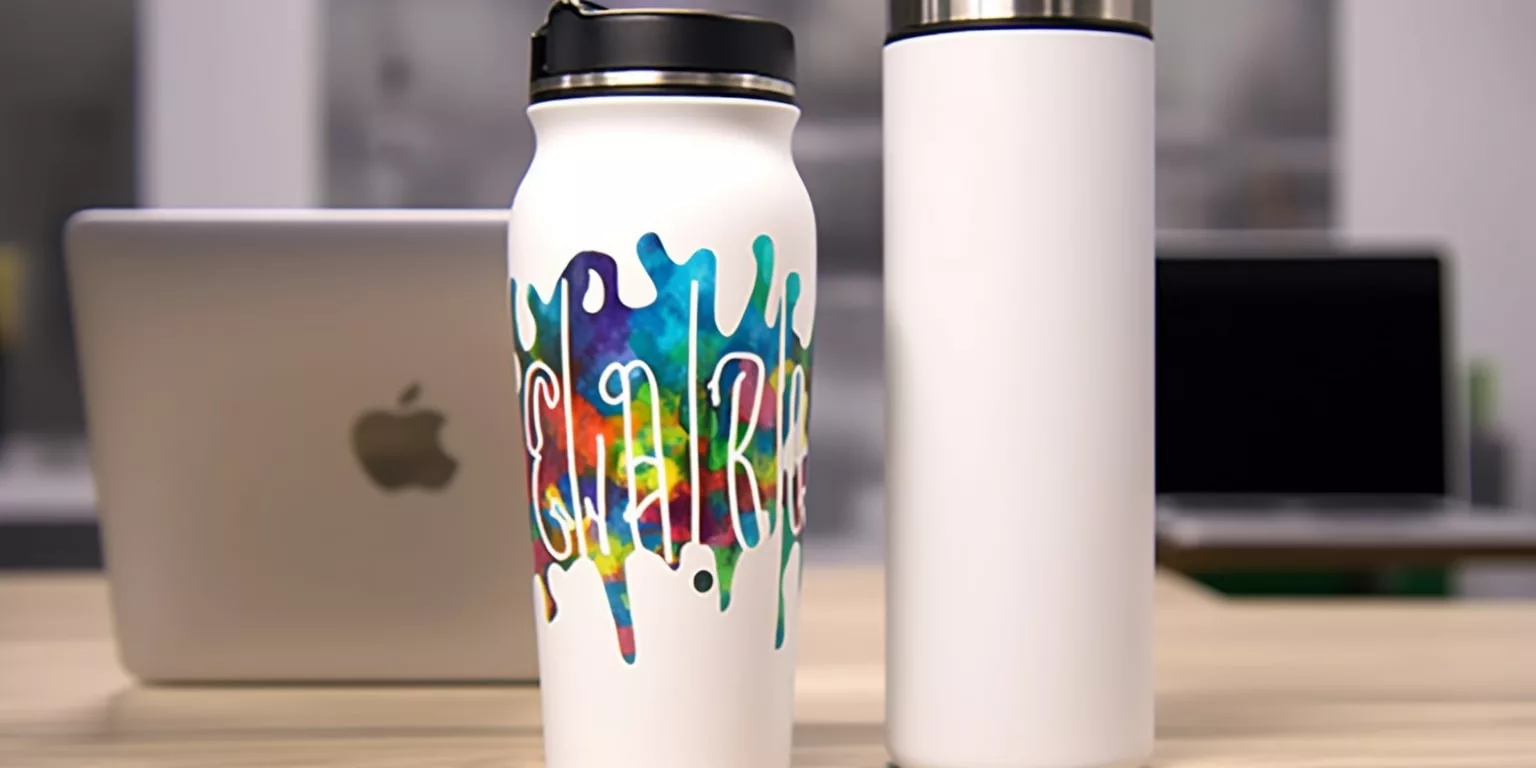
How to put a flat sticker on a round surface? Applying vinyl to curved surfaces can be a challenging task that requires careful attention to detail and the right techniques. Whether you’re working with bottles, helmets or even car surfaces, understanding the intricacies of working with curves is essential for a successful application.
In this blog post, we will provide you with a list of necessary tools, a 5-step comprehensive guide and 4 essential tips to help you navigate the world of applying vinyl to curved surfaces, ensuring professional results every time. Now, let’s dive in!
Learn about curved surfaces
Curved surfaces present unique challenges when it comes to applying stickers or vinyl. This application is influenced by various factors and learning about curved surfaces is essential for achieving the best results.
1. Common types of curved surfaces
When considering the types of curved surfaces, one way to classify them is based on their specific shapes.
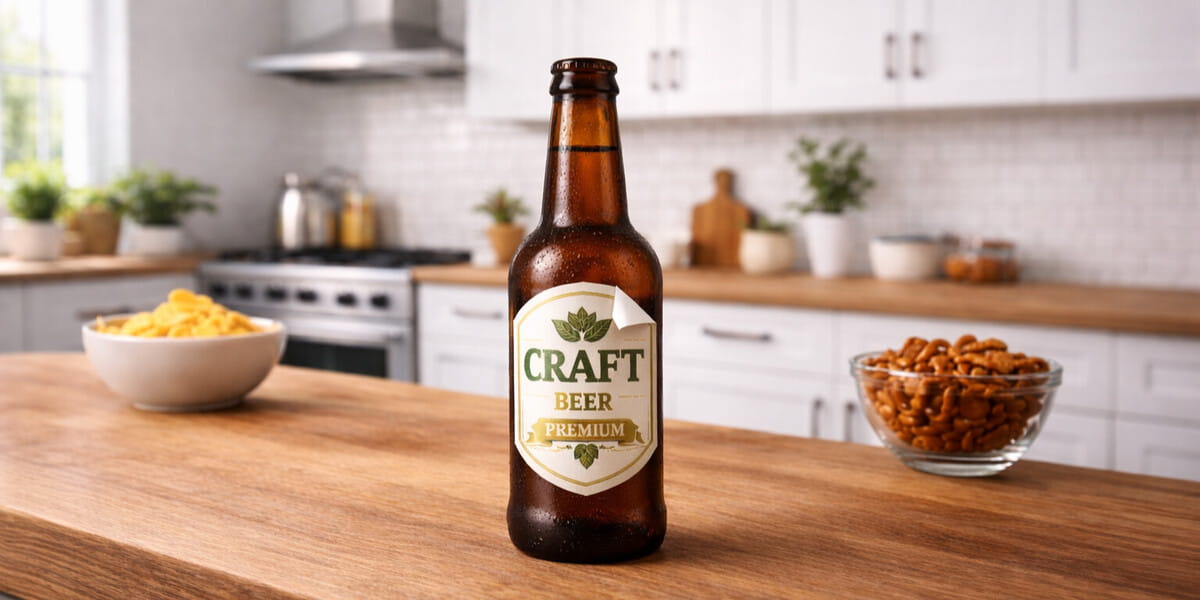
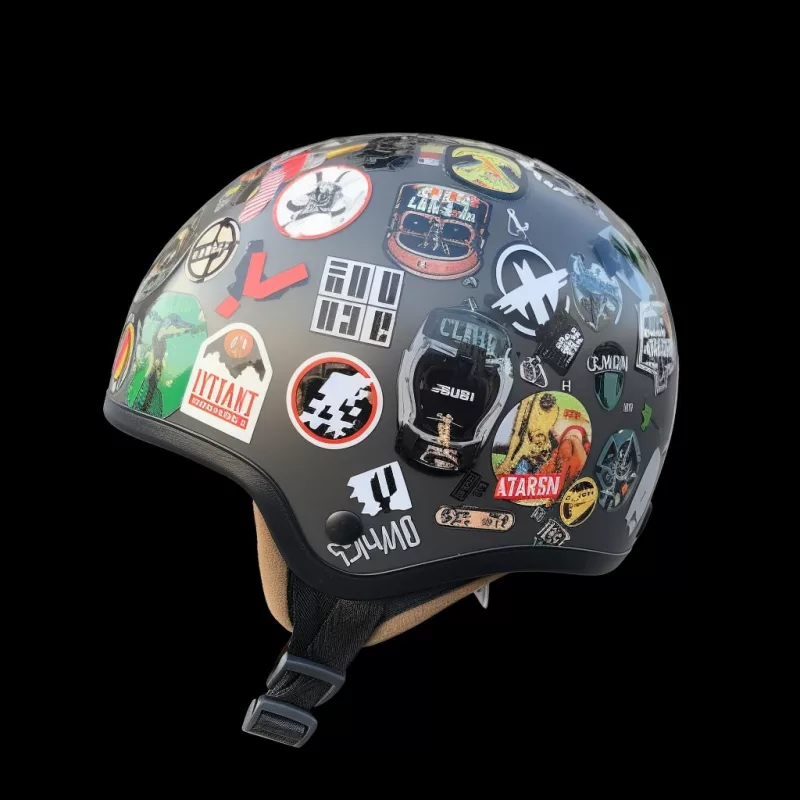
For example, water bottles or tumblers, with their smooth and rounded structures, represent a common type of curved surface. Another category of curved surfaces includes items like helmets, which possess complex shapes with multiple curves and protrusions. The irregularities in the surface of a helmet require careful consideration and application techniques to ensure that stickers adhere properly and maintain their intended design. Similarly, car surfaces encompass a wide range of curves and contours, with each part presenting its own challenges.
2. Common materials
In addition to the shape, the materials of curved surfaces also play a significant role in the application of stickers. Different materials, such as plastic, glass, and metal, can have varying levels of flexibility, rigidity, and adhesion properties. Stickers, vinyl, decals or custom stickers applied to plastic curved surfaces, for instance, may require different techniques compared to those applied to glass or metal.
3. Curved surface texture
The texture of curved surfaces is an important consideration when applying stickers. Smooth surfaces tend to provide better adhesion and easier application. Similarly, some curved surfaces may have textures that can affect the sticker’s adherence. For instance, a surface with a rough texture may require additional techniques, such as using adhesive promoters or primer, to enhance the bond between the sticker and the surface. It is essential to evaluate the surface texture and choose the appropriate adhesive and preparation methods accordingly.
After considering all these factors, in the next phase you need to choose the right sticker type for the curved surface.
Choose the right stickers
Selecting the appropriate stickers is vital to ensure a successful application on any surfaces, especially for curved or irregular ones. These stickers need to be made from flexible materials that can easily conform to the contours of the curved surface without wrinkling or lifting.
Additionally, consider the adhesive properties of the stickers. They should have strong adhesive backing to maintain a secure bond on the curved surface.
By opting for stickers specifically designed for curved surfaces, you can enhance the chances of achieving a seamless and long-lasting application on the curved surface.
Things you’ll need
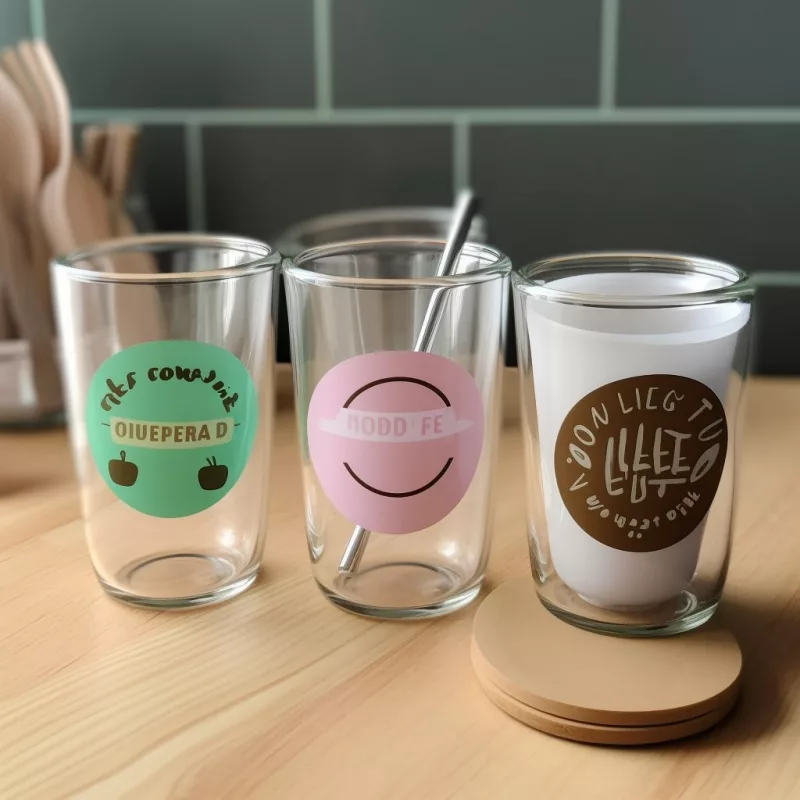
- Stickers, of course.
- Cleaning solution. Prepare a mild cleaning solution or isopropyl alcohol to thoroughly clean the curved surface before applying the stickers.
- Clean cloth. Have a clean cloth or microfiber cloth to wipe and dry the surface after cleaning.
- Masking tape or pencil. They are used to mark the desired placement of the stickers on the curved surface.
- Heat gun or hair dryer. A heat gun or hair dryer can be helpful for softening the stickers and making them more pliable when applying to curved surfaces.
- Squeegee. Use a squeegee to smooth out the stickers, eliminate air bubbles, and ensure proper adhesion.
- Sharp utility knife. Keep a sharp utility knife or scissors on hand for trimming excess material or making relief cuts if necessary.
5 steps to apply vinyl to curved surface
How to put vinyl on a curved surface? Applying vinyl to a curved surface requires careful attention to detail and a systematic approach to ensure a seamless and professional result. These 5 following steps are our recommended guide to successfully apply vinyl to curved surfaces:
1. Clean and dry the surface
Start by cleaning and drying the surface thoroughly. Remove any dirt, dust, or grease using a mild cleaning solution or isopropyl alcohol. Wipe the surface dry with a clean cloth, ensuring there is no residue left.
2. Positioning and Alignment
Mark the desired placement of the sticker on the curved surface using masking tape or a pencil. Take your time to ensure proper alignment and positioning before moving on to the next step.
3. Applying the sticker
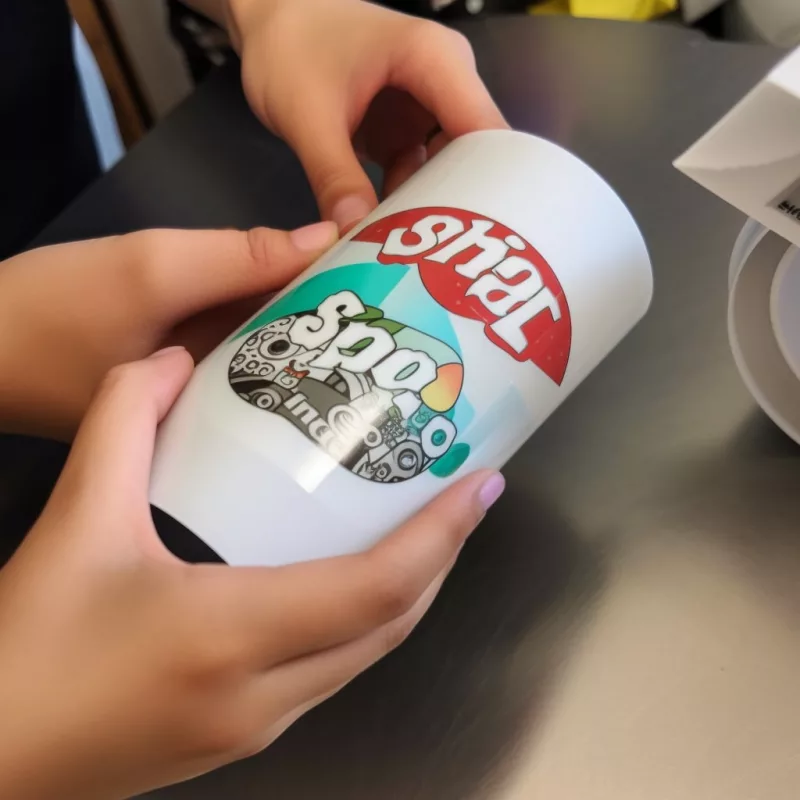
How to apply vinyl stickers? Begin applying the sticker by peeling back a small portion of the backing. Align the exposed edge of the sticker with the marked position on the curved surface. Gradually peel away the backing while using your fingers or a soft cloth to press down on the sticker’s center, working your way outward.
4. Handle curved areas
Use your fingers or a soft cloth to gently push or press the sticker into the curves, helping it conform to the shape of the surface. Take your time to ensure a seamless and wrinkle-free application in these areas.
5. Final touches
Once the sticker is applied, focus on the final touches. Smooth out any remaining bubbles by using your fingers or a squeegee to press them out toward the edges. Take care not to apply excessive pressure that could damage the sticker or surface. Lastly, trim any excess vinyl using a sharp utility knife or scissors, following the contours of the curved surface for a clean and professional finish.
Now, you have your sticker application to a curved surface done. However, mastering the art of applying vinyl to curved surfaces is just the beginning. In the next section, we will explore some important techniques specifically designed for tackling difficult curves..
4 Sticker application hacks for difficult curves
When faced with difficult surfaces (too many curves and protrusions), or difficult-to-apply stickers (too large or having many cut edges), employing effective techniques is essential to ensure a smooth and precise application of stickers. These techniques will empower you to conquer these challenges:
1. Heating the Sticker
For vinyl or adhesive-backed stickers, you should use a heat gun or hair dryer to make the material more pliable. Gently heat the sticker as you press and stretch it around the curve. Use your fingers or a squeegee to mold it into shape, taking advantage of the softened adhesive for better conformity.
2. Relief cuts
If the sticker resists conforming to a curve, relief cuts can alleviate tension. Make perpendicular cuts along the sticker’s edge, allowing it to overlap itself slightly. Apply the sticker section by section, smoothing it down as you go. This technique eases the sticker’s adherence and ensures a better fit to the curved surface.
3. Wet application
Water-activated decals and certain sticker types can benefit from a wet application method. Mist a light layer of water on the curved surface or dampen the back of the sticker before applying it. The moisture increases the sticker’s pliability, enabling it to conform more effectively to the curve and minimizing the risk of wrinkles or air bubbles.
4. Stretching and molding
If you use stretchable materials, like vinyl, provide flexibility for the application. Gently stretch and mold the sticker to fit the curve, applying gradual and even tension. Press the sticker onto the surface, ensuring it adheres well and follows the shape of the curve. Exercise caution not to overstretch the material, as it may affect the sticker’s integrity.
By utilizing these vinyl application hacks tailored for difficult curves, you can confidently navigate the complexities of various surfaces and transform them into stunning visual displays.
Closing thoughts
With a deeper understanding of applying vinyl to curved surfaces, and the hacks mentioned above, you are now equipped with the knowledge to tackle any project with confidence. But why stop there? Explore a wide range of customizable stickers, decals, and labels, designed to adhere seamlessly to curved surfaces from CustomAny. From vibrant designs to creations that you can personalized, our collection offers endless possibilities to elevate your projects. Visit our website today and discover the perfect stickers or decals that suit your unique needs.

