5 Ways to Fix Drum Error and Replace Drum for Brother Printer
Brother printers are among the most famous and popular printers on the market today. With reliable print quality and high durability, Brother printers have become the preferred choice of many users for printing documents, brochures, flyers, custom stickers, labels, etc.
However, like any other device, Brother printers can also encounter technical issues, and the Brother printer drum error is one of the most common problems. When the drum for Brother printer has any issue, you may see a “Drum error” message.
In this case, don’t worry. Let’s find out how to fix this error with 5 easy ways in this article. Besides, CustomAny also provide you with a comprehensive guide to replace drum for Brother printer, ensuring a smooth and high-quality printing process.
Reason why Brother printer reports Drum error
There are many reasons leading to Brother printer drum error. Nevertheless, the 2 most common causes are:
- The Brother printer drum is worn out because the machine has been used for a long time. When encountering this error, simply replace the Brother printer drum to continue using it.
- The high-voltage wire on the cartridge (ink box) is broken, snapped, or accidentally dampened by the impact of water or air. Therefore, when using, you need to clean the device regularly to avoid letting the cable get too dusty. Also, you should replace it if the component has been damaged or used for a long time.
Fix the error by replacing Drum for Brother Printer
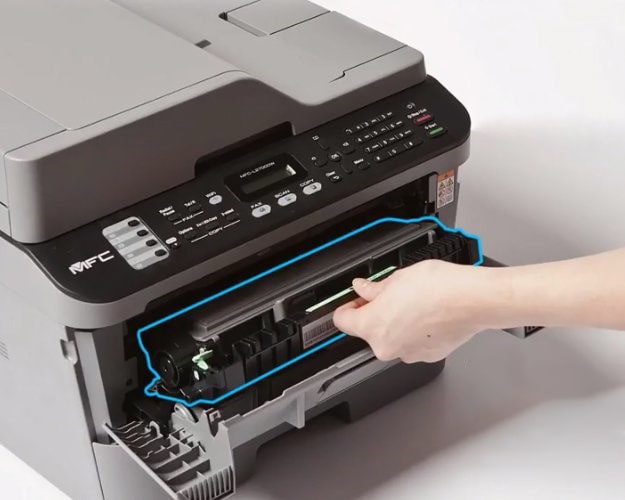
The first thing to do is to find out the Brother printer drum.
Brother printers typically have the drum unit attached to the toner cartridge. The drum units are often located underneath or linked to the toner cartridges; to access them, lift the front cover of your laser printer and look inside. After finding the Brother printer drum, the next thing is to replace the drum.
You can adhere to these steps to replace drum unit brother printer properly:
- Press down on any green toner locking levers to remove the cartridge. Carefully draw the cartridge toward you, removing it from the machine. After that, set the toners on a level, protected surface.
- Pressing the green lever on the toner cartridge(s) to release the toner from the Brother printer drum unit.
- Then, change the Brother printer drum and relock the toner onto the new Brother drum.
- Put the drum and toner cartridges back into the printer.
Fix the error by cleaning voltage wire on the ink cartridge
Here are the steps to clean the voltage wire on the ink cartridge:
- Remove the wire: Open the front panel of your printer and carefully remove the wire.
- Clean the Wire: Use a Q-tip and alcohol to clean the wire gently. Be careful not to apply too much pressure, as this could damage the wire.
- Reinsert the wire: After cleaning, reinsert the wire back into its housing.
- Clean the circuitry strip: On the back of the ink cartridge, you’ll find a colored circuitry strip. Put a few drops of water on the cotton swab and delicately clean the circuitry by guiding the swab over it back and forth. Clean the strip three to four times to be sure it has been completely cleaned.
Please note:
- Make sure your printer is turned off and unplugged before performing any maintenance.
- If you’re unsure about any step, refer to your printer’s manual or contact the manufacturer’s customer service.
3 ways to Fix Drum Error for specific types of Brother Printers
If you have applied the above two methods but still receive the message “‘Drum Error” or “Replace drum”, you will need more specific measures to each model to solve Brother printer drum error.
Therefore, before proceeding, you need to determine the type of your Brother printer. Knowing your Brother printer’s type allows you to apply the right and suitable method.
Brother printers include 3 main printer lines: HL, MFC, and DCP. Each line also contains different types that are numbered. Generally, you can find the model of your machine on the label on the machine, in the box, or in the instruction book.
For Brother HL
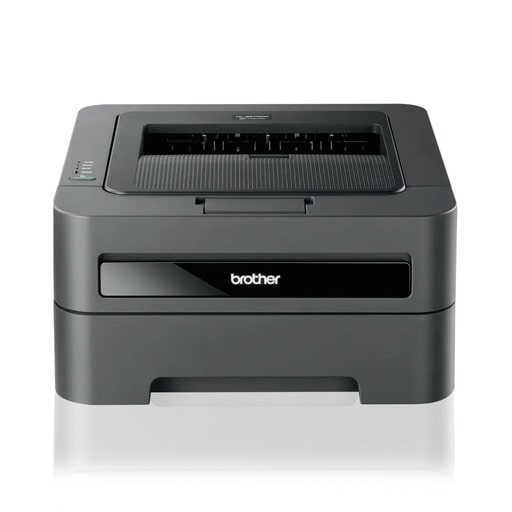
Some popular products of the Brother HL series:
- HL-1111, HL-1201, HL-1211W, HL-2040, HL-2130, HL-2250DN, HL-2270DW.
- HL-5040, HL-5050, HL-5070N, HL-5140, HL-5150D, HL-5170DN, HL-5240.
- HL-6050DN, HL-6180DW, HL-L2321D, HL-L2361DN, HL-L2366DW, HL-7050N.
To fix the Brother HL printer reporting Drum error, follow the instructions below:
Step 1: Disable the printer by turning off the power. Then, open the front cover of the printer.
Step 2: Take out the ink cartridge, then put it back in its original position. It’s how to reset drum on Brother printer.
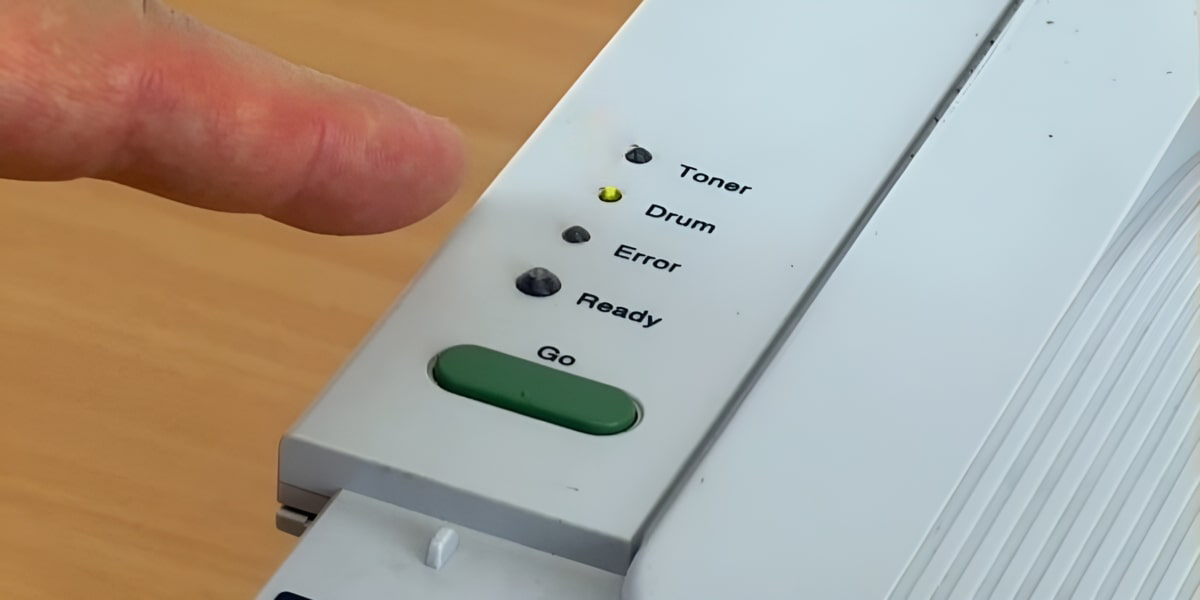
Step 3: Press and hold the “Go” button until all lights on the printer turn on (this process will take about 5 seconds).
Step 4: Close the front cover and wait until the Reset process is complete.
For Brother MFC
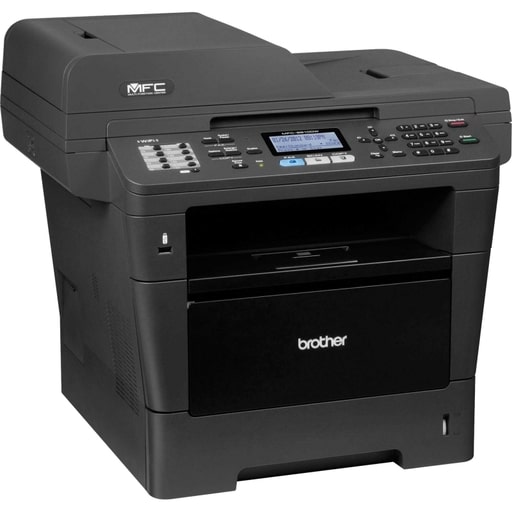
Here are some popular Brother MFC printer products:
- MFC-1811, MFC-1901, MFC-1916NW, MFC-4800, MFC-7220, MFC-7360.
- MFC-7420, MFC-7840N, MFC-7860DW, MFC-8220, MFC-8440, MFC-8460N.
- MFC-8840DN, MFC-8910DW, MFC-9180, MFC-L2701D,MFC-L2701DW.
- MFC-9120CN, MFC-9440CN, MFC-9840CDW, MFC-L8850CDW.
For Brother MFC printers, please follow the steps below to fix the error:
Step 1: Turn off the printer and open the front cover.
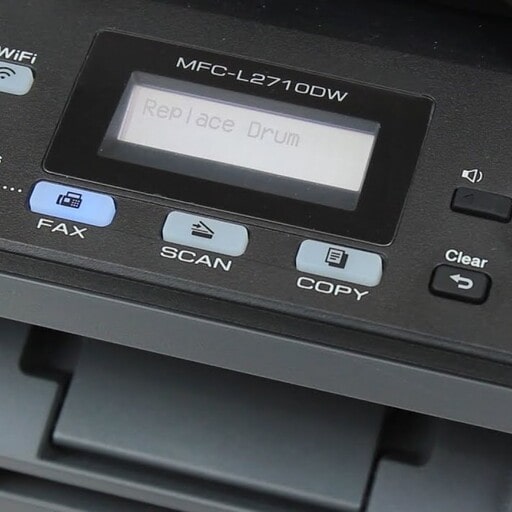
Step 2: Press the “Option” key or “Clear” key. Then, on the printer’s LCD screen, the message “Replace Drum” will appear. Press key 1 to perform the reset.
Step 3: Wait until the screen displays the “Accepted” word.
Step 4: Close the front cover and wait for the reset drum brother process to complete.
For Brother DCP
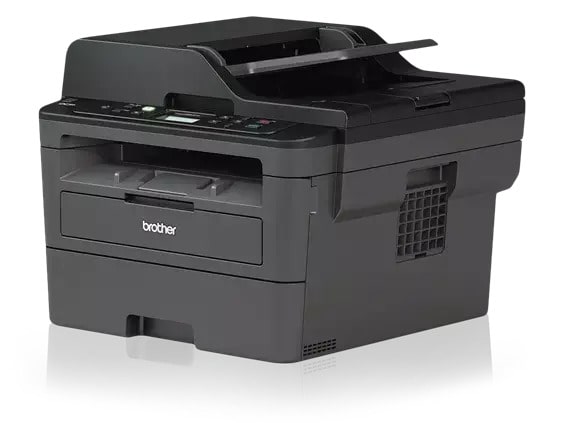
Popular Brother DCP printer models include:
- DCP-1511, DCP-1601, DCP-1610W.
- DCP-7010, DCP-7030, DCP-7040, DCP-7055, DCP-7060D, DCP-9040CN.
The following steps will help you fix the Brother DCP printer error message Drum:
Step 1: Turn off the printer and open the front cover.
Step 2: Press the “Option’ key or “Clear” key, then wait for the screen to display the phrase “Replace Drum”. Next, choose the “Up Arrow” key to Reset.
Step 3: Wait until the screen displays the Accepted message.
Step 4: Close the front cover and let the reset process complete.
After fixing the Brother printer error, your printing will continue smoothly without drum error messages. As a result, you will have prints with high quality as expected.
Last thoughts
Thus, fixing Brother printer drum errors is a requirement so that your printing process is not interrupted. Once this error has been fixed, you can rest assured that printing documents and other products, such as labels or stickers, will be of the best quality and error-free.
Besides this article, there are other useful articles available at customany.com, including insightful ones about printing. Take them as references to run your printing projects in the best possible way.

