Blog
How to Apply DTF Transfers with Iron — 5 Essential Steps for Beginners
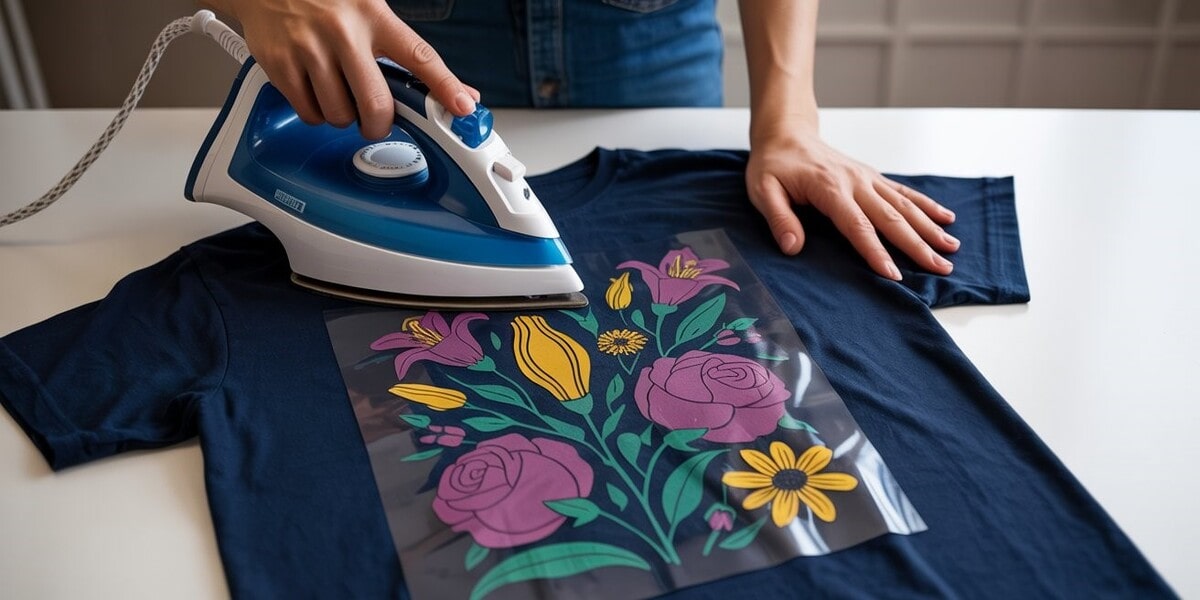
The question “how to apply DTF transfers with iron” is a common quest for those who are using DTF (Direct to Film) transfers. The iron-on transfer pieces offer us a flexible way to customize T-shirts, tote bags, and more without complicated direct printing methods. And for such projects, using an iron is a great way to start.
So, if you are ever confused about how to apply DTF transfers with iron, you’re in the right place. In this article, together we will discover 5 essential steps in applying DTF transfers smoothly and successfully using household irons.
What You Will Need
Before jumping into the step-by-step guide on how to apply DTF transfers with iron, let’s make a list of the necessary tools and materials and gather them together. You will need these items:

- DTF transfer film: The star of the show – printed designs that will be transferred onto your fabric. These iron-on DTF transfers are special films that contain a layer of printed ink and a backing layer of adhesive that is activated by heat to bond with your surface.
- Shirt or fabric surface to apply the transfers: Whether it is a T-shirt, a canvas bag or any other fabric-based surface, you’ll need to be clean and dry before placing your design on.
- An iron (no steam): You just need a regular household iron to apply DTF transfers. If it has the steam function, remember to turn it off as moisture can ruin the transfer.
- A hard, heat-resistant surface: A wooden table or heat-safe board which is hard, flat and can handle high heat, will serve as a reliable surface for the heat transfer process to work on.
- Teflon sheet or wax paper: They work as a protecting sheet when you put it over your design to keep the DTF transfer and your fabric surface from direct heat. They also help the heat from your iron spread evenly across the iron-on DTF transfer.
With these supplies, you’re all set to move on to the steps for how to apply DTF transfers with iron successfully.
You may want to read: “What Material Can DTF Be Used On? 9 Best & Worst Surfaces Ranked” to learn more about fabric compatibility.
How to Apply DTF Transfers with Iron
Now that you’ve gathered your tools, it’s time for a complete guide on how to apply DTF transfers with iron.
Step 1: Prepare Your Iron
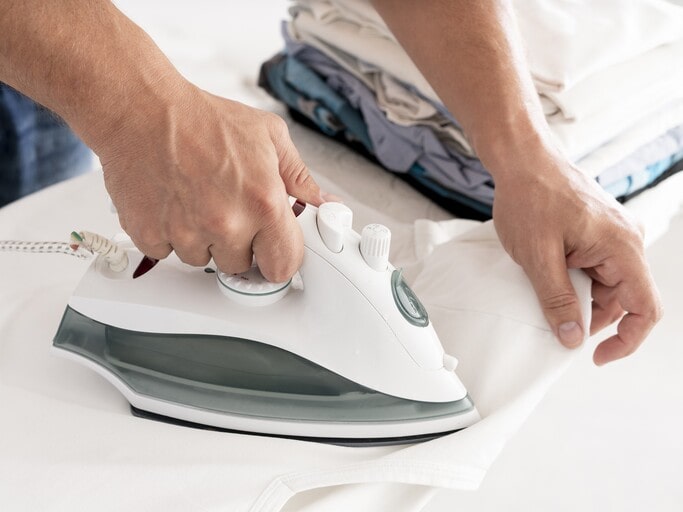
For applying DTF transfer, setting up with your household iron is the first step. Make sure your iron is ready by:
- Setting your iron’s temperature to 310°F (155°C).
- Using dry heat only — no steam function.
Improper temperature and moisture can prevent the transfer from sticking properly, so this step is important for anyone trying to master how to apply DTF transfers with iron.
Step 2: Position the DTF Transfer
Let’s set your fabric as well as your DTF transfer ready:
- Lay the item, which you want to apply DTF transfer on – on the prepared hard, heat-resistant surface.
- Make sure that the fabric surface is flat and smooth with no wrinkles. It also needs to be dry.
- Place your iron-on DTF transfer film on the fabric, with the design facing up. Carefully align to make sure it is set exactly where you want it to stay.
Step 3: Apply the DTF Transfer
Now, it’s the time for you to apply heat to melt down the adhesive layer and make your DTF transfer adhere to the fabric.
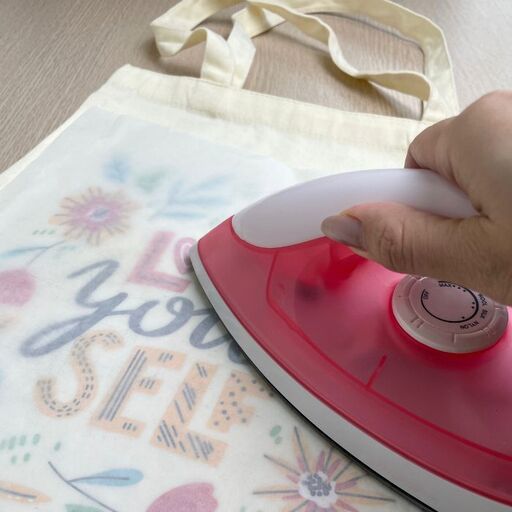
- Cover the whole DTF transfer with a parchment paper or Teflon sheet. If it is too large, make sure the area you apply heat is protected as this protecting sheet prevents both your fabric and the transfer from burning during the process.
- Next, put the iron, which is already heated to the proper temperature – onto one section of the transfer. You will need to press the iron firmly for 20-30 seconds.
- Proceed with one section at a time and do not slide the iron.
Make sure you do your best to apply even pressure everywhere on the DTF transfer since this steady pressure is key to doing how to apply DTF transfers with iron the right way.
Step 4: Peel the Film
Once the DTF transfer sticks to your item, the top layer – the film, needs to be removed.
- Wait about 15-20 seconds for your DTF transfer to cool down.
- Starting from one corner, peel off the film carefully
- If any spot lifts up with the film while you are peeling, immediately lay the film back down. You will need to use the iron to press again onto the DTF transfer for a few extra seconds.
After peeling the film, take your time checking on the transferred result and make sure the adhesion is good.
Step 5: Apply Final Press (Optional but Recommended)
This last step is an extra one to ensure a better durability for your application. This simple step makes a big difference in how well your design holds up after washing and wearing. To do it, you will need to:
- Place your parchment paper or Teflon sheet over the finished design.
- Put the iron on it and press down firmly again for 5–10 seconds.
- Again, you will need to keep pressing onto a section at a time. It’s important to use steady, even pressure without sliding the iron during the process.
Final pressing time helps to seal the design deeper into the fabric fibers, making it more resistant to peeling or fading over time. While it’s optional, we highly recommend adding this step when it comes to how to apply DTF transfers with iron.
After doing this “how to apply DTF transfers with iron” process, remember to let the garment cool down completely before your first use, even if it is wearing or washing.
Common Mistakes to Avoid
When learning how to apply DTF transfers with iron or preceding it, a few simple mistakes can easily ruin your design. Let’s take a look at the 5 most common ones and how to avoid them.
1. Forgetting to disable steam
Turning off the steam function is the first thing that we may forget when using irons to apply DTF transfers. It adds unwanted moisture to the transfer, stopping your transfers from sticking properly. So, when it comes to using household irons, always double-check that your steam setting is off before starting.
2. Not preheating the iron to the correct temperature
Using the inefficient temperature when applying iron-ons is another common problem. If your iron isn’t hot enough right from the start, it means the temperature is not enough. Your transfer will be less likely to bond well to the fabric.
So, what you need to do is take the first step of setting the iron ready seriously. Make sure it’s set to 310°F (155°C) (or as manufacturer’s instructions) before you begin.
3. Applying insufficient pressure
When learning how to apply DTF transfers with iron, applying firm, even pressure is a key in the steps. A light press won’t be enough for bonding the design with the fabric surface.
Be sure to press down firmly and for the proper time on every section of the design.
4. Moving the iron while pressing
Sliding the iron around is a good way to spread heat. However, it applies when you ironing clothes, not when you apply DTF transfers. The reason for this is this action actually creates uneven pressure and doesn’t give each part enough time under heat.
So, always press, not slide. When it is enough time for one section, lift your iron and move to the next.
5. Peeling the film too soon
Almost all DTF transfers are cold peel types, so they require a cool off time before you peel off the film layer. Not wait 15-20 seconds for it to cool, the design may lift or smudge when you remove the film.
So, patience is important when mastering how to apply DTF transfers with iron.
Related blog: Cold peel vs Hot peel for DTF transfers.
What Makes Applying DTF Transfers with Iron a Good Idea
Wondering about how to apply DTF transfers with iron means that you think using iron is a worth-exploring method. So, let’s clearly break down the reason why trying iron is a good idea:
1. It’s affordable
Getting started with DTF transfers doesn’t have to cost a lot. While heat presses can be pricey, a regular household iron works just fine for basic projects. This makes how to apply DTF transfers with iron a budget-friendly option for anyone looking to personalize shirts, tote bags, or gifts without a big investment.
2. It’s accessible
Most homes already have an iron sitting in a closet or laundry room. You don’t need to buy special equipment to get started. This makes “how to apply DTF transfers with iron” easy for anyone to try.
3. It’s great for small, personal projects
If you only need to make a few shirts or want to experiment with a new design, this method is perfect – you don’t have to buy or set up a machine.
For casual or small projects or creative hobbies, how to apply DTF transfers with iron offers a simple, effective way yet allows you to get professional-looking results.
Limitations of Applying DTF Transfers with Iron
After learning how to apply DTF transfers with iron, you may find using this simple tool is a convenient option. However, this method does come with a few limitations worth considering.
1. It requires more time and effort
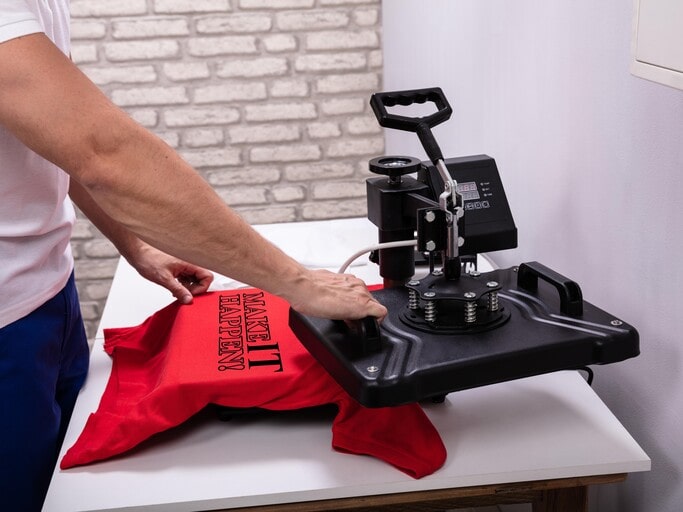
Since you’re using a household iron, you’ll need to manually press on each section of the transfer. Creating even, firm pressure will take you more time and effort than using an automated heat press.
2. Higher risk of transfer issues
When learning how to apply DTF transfers with iron, keeping the heat and pressure consistent is tricky. Uneven pressure or temperature can result in unwanted issues like lifting edges, uneven surfaces, patchy looks, etc.
3. Not suitable for large or bulk production
If you plan to make a lot of shirts or work on a large project, this method isn’t the most efficient. The manual, time-consuming process we acknowledge when learning how to apply DTF transfers with iron makes it best for occasional or personal use. For professional jobs or bulk orders, you should handle it with a heat press instead.
Last Thoughts
Learning how to apply DTF transfers with iron now gives you the necessary information to deal with personalizing fabric items. Using iron with 5 essential steps and important notes above will get you clean, lasting results for your personal or small-batch projects.
If you’re ready to try iron-on DTF transfers, you can print your custom design with us. Go to our product page, choose the dimensions, quantities, upload your design and let us do the rest.


