Blog
How to Cure DTF Powder with Oven – Plus 2 Alternative Machines
When it comes to creating DTF transfers, curing is an important step to ensure the results’ quality. Thus, “how to cure DTF powder with oven” is one of the most common questions for both at-home crafters and commercial producers alike.
This guide will walk you through “how to cure DTF powder with oven”, the most widely used method in professional DTF printing setups. You’ll also learn about 2 alternative machines that can be used when an oven isn’t available or suitable for your production needs.
Learning about Curing DTF Powder
Before learning about how to cure DTF powder with oven, let’s take an overview on this important step in the DTF transfer production process.
What is DTF Powder?
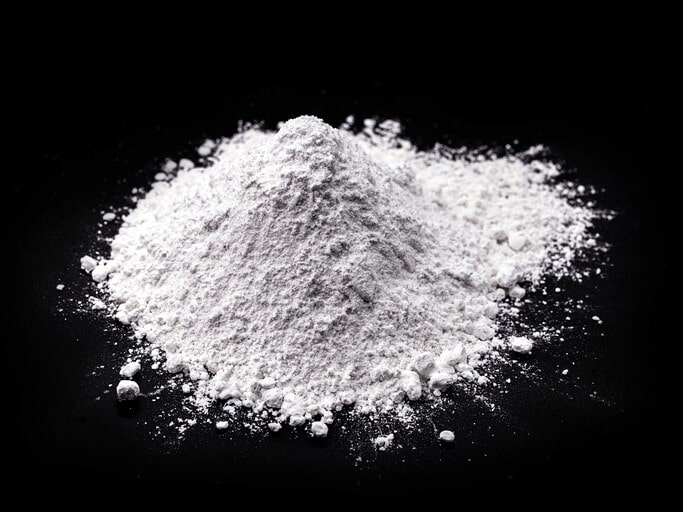
DTF (direct to film) powder, or hot melt adhesive powder, is a crucial material used during the production of DTF transfers.
After your design is printed onto the special film used for transferring, this powder is applied to the wet ink, on the back. This powder later melts during curing and cools down to form an adhesive layer sturdy on the back of the DTF transfer. Later, it acts as the adhesive that helps bond the print to the fabric when you heat-press your DTF transfers onto clothing items.
If you’re new to handling this powder in the DTF printing process, you may want to check out our related blog What is DTF Powder for a detailed breakdown.
What is DTF Powder Curing?
Curing is the process of 2 steps: First, you heat the DTF powder until it melts down, becomes more liquid to fuse with the ink; and second, you leave it to cool off. The success of the curing process determines how strong DTF transfer will adhere to fabric later on when you apply it.
Specifically, when curing DTF powder is done properly, it will:
- Forms a strong, even adhesive layer
- Maintains sharpness around the frame of the design once it is applied
- Prevents print cracking or peeling after washing
How to Cure DTF Powder with Oven
We’ve known that understanding how to cure DTF powder the right way ensures your prints look good and last long on any fabric surface. For this step, curing ovens can be considered the most reliable machine used, so, let’s take a closer look at how they work.
1. What Are DTF Curing Ovens?
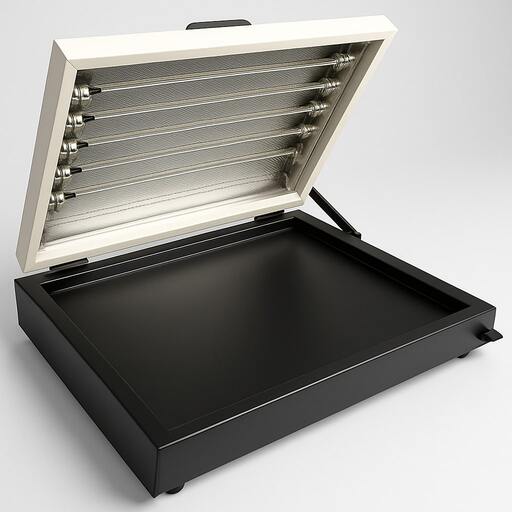
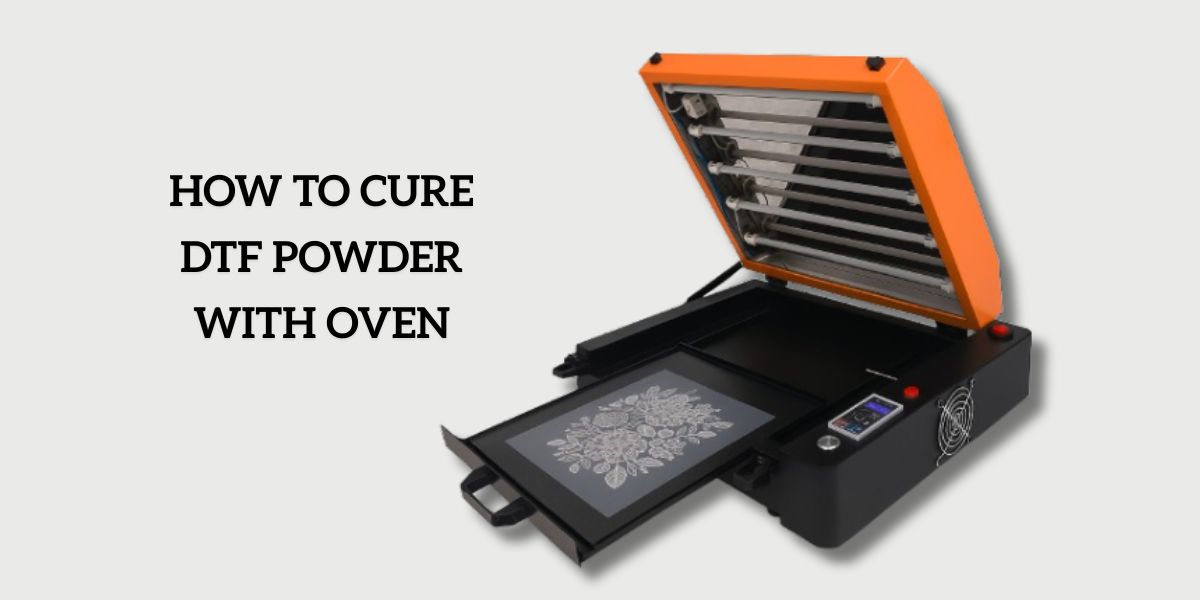
DTF curing ovens are purpose-built machines designed to melt the adhesive powder applied to printed DTF films.
Once you put the film, which contains a layer of powder sitting on the wet ink, inside the curing oven, it will produce controlled, even heat, making the powder melt and bond smoothly with the ink.
Curing ovens are popular for their advantages:
- Create clean curing results: they provide even, consistent heat distribution
- Easy to hande: they allow for adjustable temperature settings
- Cure several transfers at once: they can process multiple designs in one go, depending on their sizes.
2. How to Cure DTF Powder with Ovens
Curing DTF powder with a DTF curing oven is easily done in 5 steps:
Step 1. Preheat the oven
Before curing, let’s turn on your curing oven to preheat it. Set it to the recommended temperature, typically between 250°F to 300°F (120°C to 150°C) based on the DTF powder you are using.
Step 2. Prepare the film
Have the film printed, ready for applying DTF powder. Place this printed film facing down, and ensure it is still wet for the powder to easily sit on.
Then, you need to spray DTF powder evenly on this printed area, ensuring it covers the whole design. Remember to shake off any excess before placing it in the oven – this is crucial since excess powder will cause adhesion issues in your final DTF transfers.
Step 3. Put the film in the oven
Put your films laying flat inside the oven with their adhesive side facing up. You need to avoid stacking or overlapping to prevent uneven curing.
Step 4. Monitor curing time
Let the curing oven do its job in about 2 to 3 minutes. In this step, you should watch for powder transitioning from matte to glossy and ensure there is no bubbling or burning on the surface after curing.
Step 5. Cool before use
Take the cured film out of the oven and allow it to cool fully before using or storing. This helps maintain adhesive strength and prevents smudging.
3. Pros & Cons of Using DTF Curing Ovens
By learning “how to cure DTF powder with oven”, we can see various benefits from taking advantage of them. We can:
- Create smooth, strong adhesive layer since they deliver consistent, even heat
- Save time and effort because they are capable of curing multiple transfers at once
- Minimize curing errors such as over-heating or under-curing,…
However, when you use a curing oven to cure DTF powder, it will require workspace and initial investment in these purpose-built machines.
Other curing methods
Besides learning “how to cure DTF transfer with oven”, there are two other methods that can be considered for setting DTF powder: using a heat press and a conveyor dryer.
1. Use Heat Press
A heat press machine is an accessible tool for applying finished DTF transfers onto garments, so most people are more likely to have one on hand than a curing oven. Therefore, a heat press can be a great alternative for those without access to a specialized curing oven.
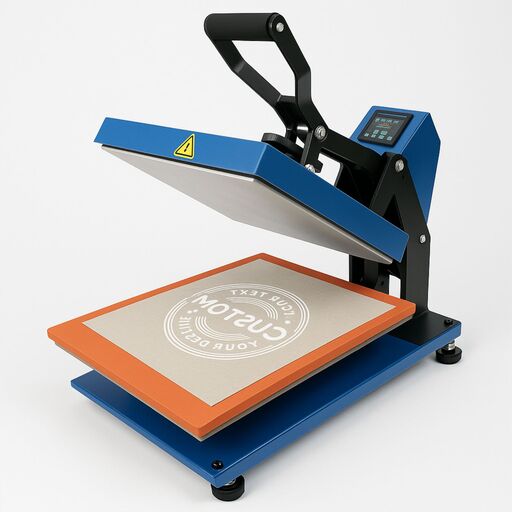
You can curing DTF powder using a heat press with these step:
- Apply DTF powder onto the back of your printed film and make sure the powder cover the whole design area
- Hover the heat press over the powder-covered film without direct contact
- Keep a small gap (about 0.5 inches) and apply heat at 300°F to 320°F (150°C to 160°C) for about 2-3 minutes.
- Take the DTF transfer out to let the powder cool down.
Using a heat press to cure DTF powder is specifically easy and efficient for small or home setups because you need no extra equipment that can cost you extra money.
However, curing DTF powder with a heat press requires careful attention because there are some issues may occur:
- Uneven heat distribution
- Difficult to manage large gang sheets.
- Risk of scorching if pressed too closely.
Using a heat press for curing DTF transfer is ideal for some cases like:
- You just starting out with making DTF transfers
- You only need small batches of DTF transfers
- You need a quick test in curing DTF powder
2. Use Conveyor Dryer
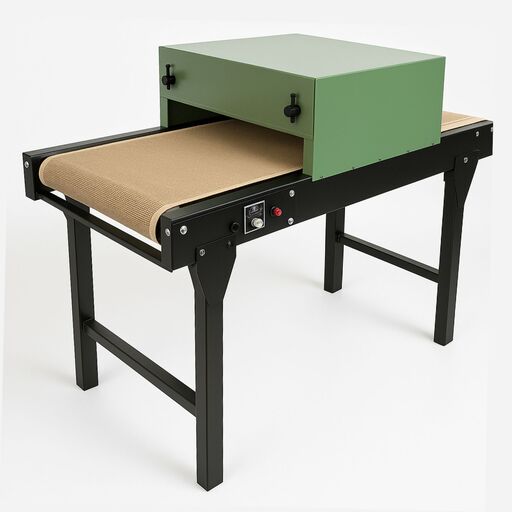
Another reliable option for how to cure DTF powder is a conveyor dryer. It is a large drying equipment typically used in screen-printing industrial shops, yet you can use it to curing DTF powder for your DTF transfer project.
How it works for curing DTF powder:
- Your printed films need to be laid flat and upside down on the a conveyor belt of this equipment
- Start the dryer to let all your printed films pass through that the conveyor belt
- The dryer provides even, consistent heat to cure the adhesive powder within 2-3 minutes
Using an industrial conveyor dryer provides you with excellent heat consistency and high-volume production. However, you should keep in mind that this means igh upfront cost and requires you dedicated working space.
This method is ideal for large gang sheets or continuous workflows when handling DTF transfer production.
DTF Powder Curing Comparison
After learning how to cure DTF powder with oven and 2 other alternative machines, you may need a quick comparison to help you decide which method is effective for your situation.
| Criteria | Curing Oven | Heat Press | Conveyor Dryer |
| Even heat distribution | Excellent | Fair (requires hovering technique) | Excellent |
| Consistency | High | Moderate (user-dependent) | Very high |
| Ease of use | Easy | Requires careful handling | Requires setup |
| Cost | Medium | Low | High |
| Ideal for batch work | Yes | No | Yes |
Last thoughts
Understanding how to cure DTF powder with oven as well as 2 other options can help you get clean, long-lasting DTF transfers. After walking you through how each method works and when to choose the right one for your projects, we hope you can manage curing step with ease.
If you found this helpful, be sure to explore our blog page for useful tips for DTF transfer production as well as application to sharpen your DTF skills.

