Blog
How to Press DTF Transfers (Plus, 4 Expert Tips for Perfect Results)
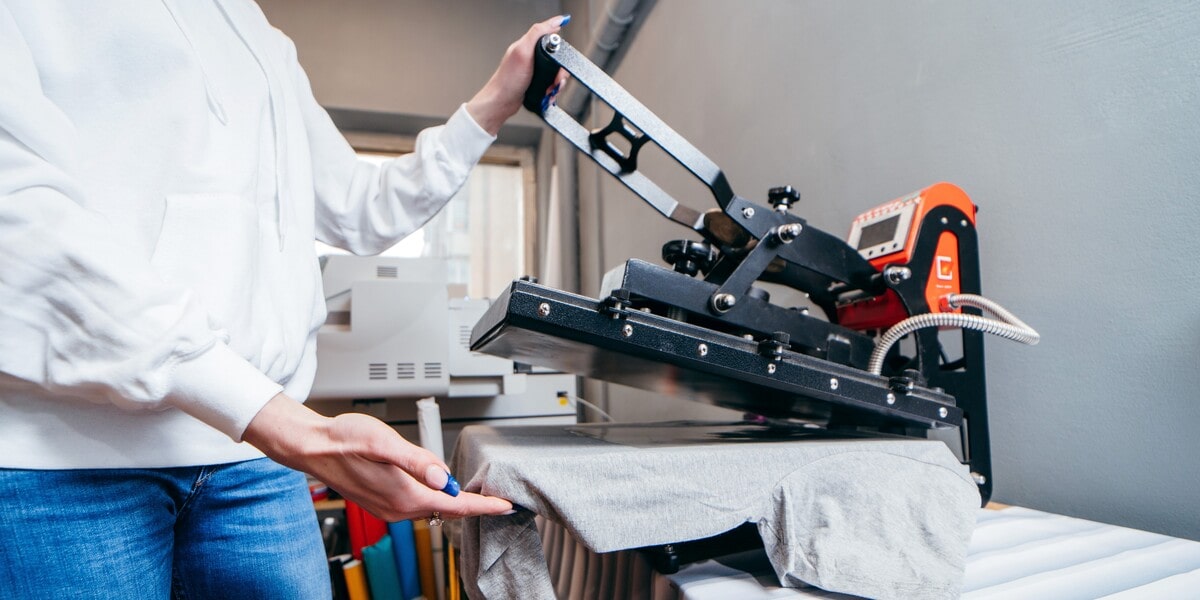
How to press DTF transfers is a common question posed when you want to use a heat press machine to transfer a DTF transfer onto fabric surfaces. Even though a heat press is a reliable and professional tool for applying this product, using it is not like pressing a single button. How to press DTF transfers involved specific setups and proper process to achieve crisp, durable results.
In this blog post, we will provide you with a comprehensive step-by-step guide on “how to press DTF transfer”, as well as acknowledge you with 4 expert tips for the best result. Let’s get started!
When to Use Heat Press for DTF Transfers
Knowing how to press DTF transfers is one thing, knowing whether to use a heat press for applying these pieces is the first to consider.
Here’s when you should definitely turn to a heat press:
1. When you work with intricate or large designs

It is hard to provide consistent heat and pressure to complex patterns or oversized graphics if you use a household iron. So, if you want to apply such DTF transfers, a heat press is a great choice.
2. When you need to produce medium to large quantities
If you’re considering “how to press DTF transfer” and customizing several shirts or other fabric items at once, a heat press keeps the process efficient. It helps you handle the work easier yet ensure the quality.
3. When you work with tight deadlines
For last-minute jobs, a heat press is a better choice because it offers you quick results compared to a slower, manual method of using household irons.
4. When you need to fulfill custom orders
Professional-grade projects demand consistency and polish. A heat press minimizes mistakes and ensures your work looks clean and commercial-ready.
So, if you find you belong to these cases, mastering how to press DTF transfers with a heat press is a must.
What You Need Before You Start
Before learning how to press DTF transfers, it’s important to gather the right tools and materials for the process. Here’s what you will need:
- DTF transfer: The film that contains your printed artwork, which you want to transfer onto your fabric item.
- The fabric item: This item needs to be clean, dry and made from a fabric type that is compatible with DTF transfers.
- Heat press machine: A heat press provides even, consistent heat and pressure that helps after you learn how to press DTF transfers properly.
- Protective sheet: It can be either a silicon or parchment paper to be placed over the DTF transfer during pressing, which does three jobs at once: protects your DTF transfer, the fabric surface as well as the heat press.
- Heat-resistant tape (optional but recommended): Tape will keep your DTF transfer film securely in place during pressing, preventing shifting or misalignment.

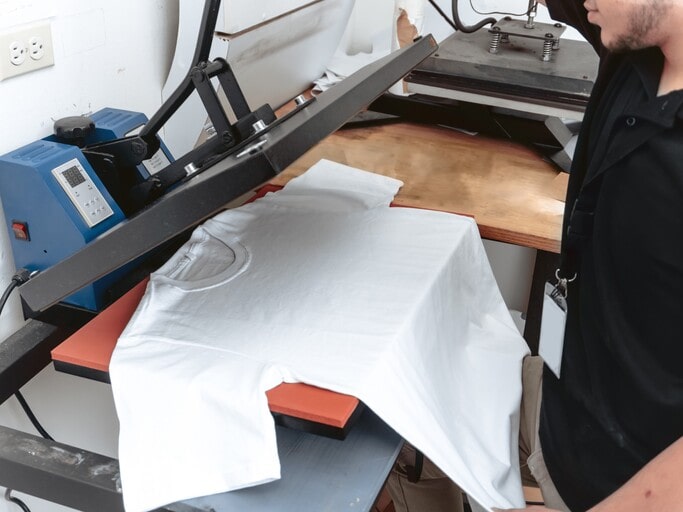
With these items ready, let’s move to the next section where we learn how to press DTF transfers.
Step-by-Step Guide: How to Press DTF Transfers
If you’re new to how to press DTF transfers, don’t worry — this 6-step process is straightforward.
Step 1: Set Up the Heat Press
The first step of handling DTF transfers is to turn on your heat press and set it to the recommended temperature. Most DTF transfers work well around 300°F (155°C), but it’s always smart to check the specific instructions from your transfer supplier.
Step 2: Prepare the fabric surface
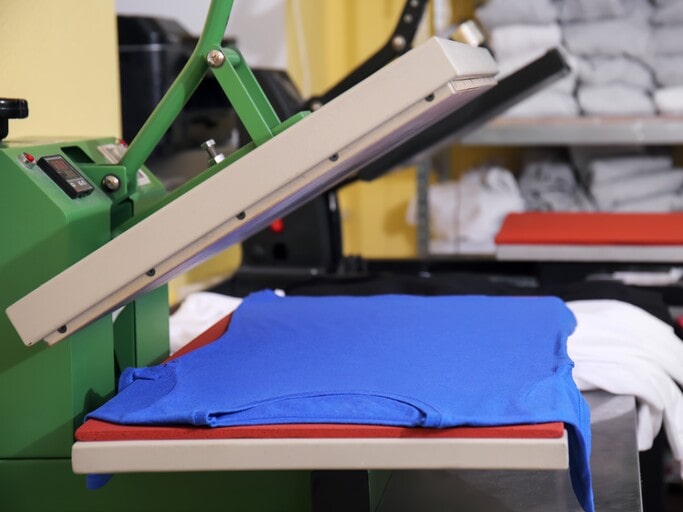
- Place your item flat and smooth on the heat press platen.
- You should pre-press the garment for 5–10 seconds to remove any moisture and wrinkles.
This step creates a clean, even surface for better adhesion.
Step 3: Position the DTF Transfer
- The next step is to place your DTF transfer on the right position on your garment. Remember to keep the design side facing up.
- You can use heat-resistant tape to secure the DTF transfer in place, especially when you are handling large design or slippery fabrics.
Step 4: Applying using the heat press
- Cover the whole DTF transfer with your protective sheet, make sure none of the DTF transfer’s section is directly exposed to the heat press.
- Close the heat press, which is set to the proper temperature to apply firm, even pressure.
- Wait for 15–20 seconds or according to your manufacturer’s recommendation, then lift the heat press.
Step 5: Remove the Film
After pressing, the film will need to be removed.
- If your transfer is a hot peel DTF, peel the film off immediately while it’s still hot.
- If it’s a cold peel DTF, let it cool completely before peeling.
If you’re unsure about this peeling step, check out our related blog about “Cold Peel vs Hot Peel DTF Transfers” for more information.
Step 6: Final Press

For better durability, we highly recommend pressing one more time. You need to:
- Place the protective sheet back over the design.
- Press on it again for about 10–15 seconds.
This extra press of “how to press DTF transfers” makes the printed designs bonded securely to the surface, ensuring clean, professional-looking transfer results.
4 Expert Tips for Perfect DTF Transfer Pressing
When it comes to transferring on garments, small details play a key role in getting clean, long-lasting results. Thus, now that you’ve learned the basics of how to press DTF transfers, you will need these 4 expert tips.
1. Check Your Heat, Pressure, and Time Settings
Before pressing, double-check the heat press settings. Make sure the temperature, pressure level, and pressing time match the recommendations provided in the DTF transfer instructions. Using the wrong settings is one of the quickest ways to end up with an uneven or poorly adhered design.
2. Always Use a Protective Sheet
Place a piece of silicon or parchment paper over your transfer before pressing is one of the important notes when using a heat press. This simple step prevents scorching, sticking, or damaging the print. It’s a small move but makes a big difference in mastering how to press DTF transfers.
3. Secure the Transfer Firmly in Position
Using heat press machines may cause accidental shifting, so you’d better secure your DTF transfers. Using heat-resistant tape is especially useful for larger designs or delicate fabrics where the film might move when closing the press.
4. Follow the Correct Peel Method
DTF transfers are either a hot peel or cold peel. Wrong peeling method is a common mistake when learning how to press DTF transfers. Therefore, before applying them, you should check your transfer’s instructions carefully and peel at the recommended stage to avoid ruining your print.
With these tips, you’ll boost your chances of getting perfect, professional-quality results on every project.
Last thoughts
Understanding how to press DTF transfers properly can make a big difference in the quality and durability of your transferring results. After discovering the process as well as the expert tips with us, you now have a clear vision to apply DTF transfers and achieve professional-looking results every time.
For the best DTF transfers, you should consider printing with us. We offer the high-quality iron-on transfer that is designed to match your needs and to work perfectly with heat press methods. Go to our product page to start our journey together.


