Blog
NEW Cricut Print and Cut Size – What is the Maximum & How to Adjust?
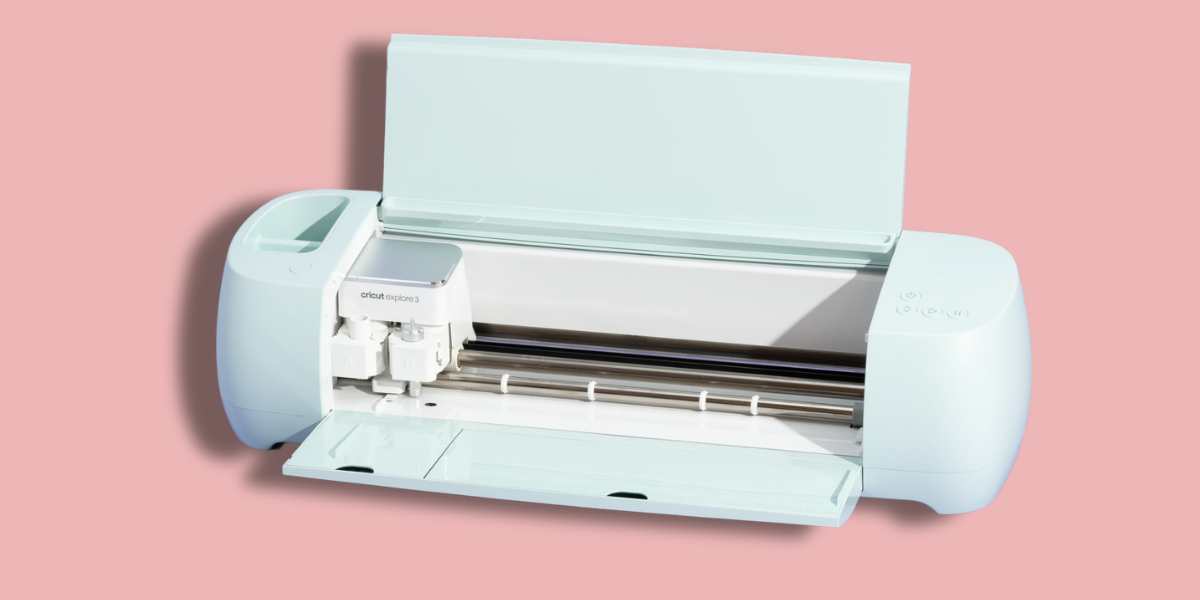
Have you ever experienced the inconvenience of creating stickers with your Cricut machine, and found out that it can only cut small sizes? This limitation of Cricut print and cut size posed challenges in terms of design flexibility, visual impact, customization options, and overall creativity.
However, with the recent update that allows for larger sizes, users can now overcome these inconveniences and enjoy the greater Cricut print and cut size.
In this blog, CustomAny will address your questions about the maximum Cricut print and cut size options available. We will also provide step-by-step instructions on how to adjust the size settings on your Cricut machine and share some important tips when working with these larger sizes. Keep reading to explore!
What is the maximum Cricut Print then Cut size we can make?
First, how to print and cut stickers on Cricut? The process of print and cut involves taking a flattened image and sending it to the printer. Then, using the Cricut machine to precisely cut it out. When printing an image with a Cricut machine, registration marks are printed as well. Cricut machines read these marks and accurately cut out images based on them.
Some beginners misunderstand the term “Cricut Print and Cut” to mean that the Cricut machine actually prints and often ask “how to print stickers on Cricut”. In reality, the term refers to using a separate home printer to print the image. The printed image is then placed on a cutting mat, and the Cricut sticker maker cuts it out accordingly.
In the past, the Cricut print and cut size had limitations when it came to cutting a full page. The maximum size the Cricut machine could cut for an uploaded image was only 6.75 inches by 9.25 inches. So, how to make a sticker with a Cricut print and cut size larger than 6.75 x 9.25?
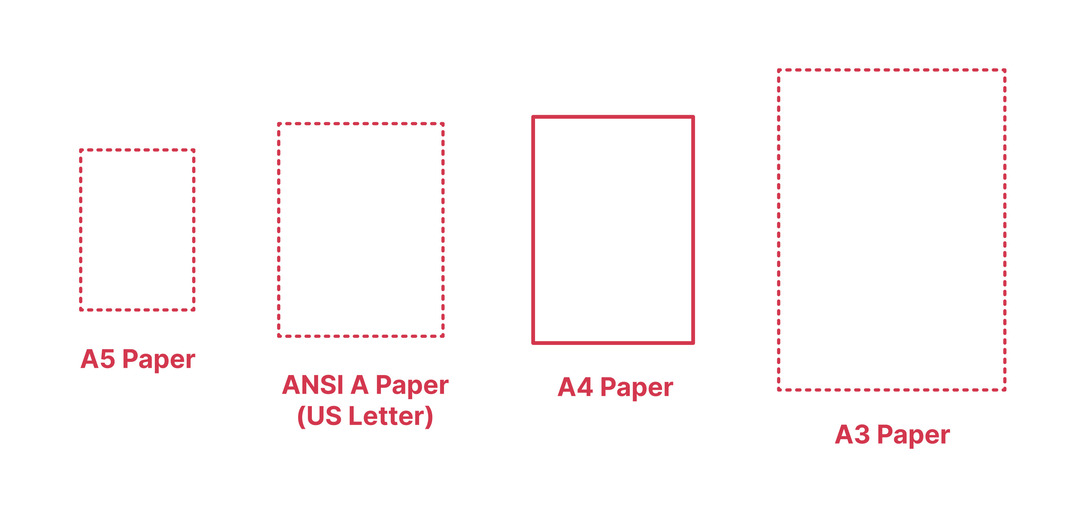
Don’t worry, there are now five paper dimensions available, including:
- A4 (8.3 inches x 11.7 inches)
- Letter (8.5 inches x 11 inches)
- Legal (8.5 inches x 14 inches)
- Tabloid (11 inches x 17 inches)
- A3 (11.7 inches x 16.5 inches, which is the current Cricut print then cut max size).
What is the size of the printable area on Cricut?
The range of available paper sizes for Cricut’s print and cut feature has undergone significant changes, offering more options and flexibility. Let’s explore the updated maximum design sizes for each paper dimension (to successfully learn how to make stickers on Cricut):
- A4 paper, measuring 8.3″ x 11.7″, allows for a maximum design size of 7.2″ x 10.62″.
- For 8.5″ x 11″ paper (letter), the maximum design size is now 7.44 by 9.94 inches.
- If you’re using 8.5″ x 14″ paper (legal), the maximum design size is 7.44″ x 12.94″.
- When working with 11″ x 17″ paper (tabloid), you can create designs up to a maximum size of 9.94″ x 15.94″.
- Finally, A3 paper with dimensions of 11.7″ x 16.5″ provides a maximum design size of 10.64″ x 15.44″.
What’s particularly exciting is that even on an 8.5″ x 11″ sheet of paper, the Cricut print and cut size is now larger than ever before. Using the right tools, you will be able to print up to 10.64″ x 15.43″ on tabloid and A3 size paper.
Expanding Cricut print and cut size limits affects sticker creation significantly. It allows for greater flexibility and creativity, particularly with size.
With a larger printable area, you can design bigger, more intricate stickers. As a result, you can create larger designs or print multiple stickers on a single sheet to maximize efficiency.
How to adjust the Cricut Print and Cut size?
How to make stickers with the new larger size? To utilize the new size options, follow these steps to learn how to make stickers with Cricut using new Cricut Design Space version:
- First, open Cricut Design Space. Currently, the new feature is in beta, which means it’s an early version of the software. Therefore, you must switch to the beta setting to use the updated features.
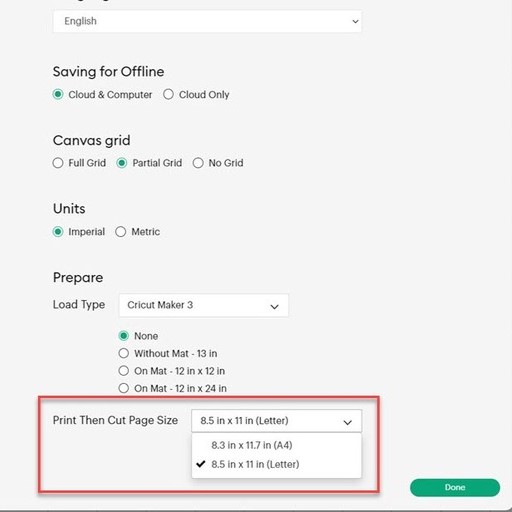
- Before proceeding, save your work to avoid any potential loss. Once that’s done, select “Settings” from the top menu. Select “Application Experience” and then “Beta.” After making the selection, click “Done”.
- Once Cricut Design Space restarts, you’ll notice the presence of the larger size options.
- Another helpful feature you’ll find in the layers panel is the “auto-resize” option for your image. This convenient tool automatically resizes your image to fit within the constraints of your chosen paper size.
- On the screen, you’ll be able to see that everything now fits nicely within your canvas, thanks to the adjustments made with the new size options.
How to Deal with the Warning “Image Too Large”?
When sizing your design on the canvas, a new feature has been introduced to indicate if your design exceeds the print then cut cricut limits. If your design is too large, you’ll now see a red exclamation mark. Therefore, if you set your default paper size to Letter, for example, and your design falls within the size limitations of Tabloid, you’ll still encounter an error message.
This implies that you won’t be able to proceed to the next screen until your design is adjusted to fit the limits of the paper size you have designated.
However, Cricut has come up with a solution by allowing you to set the default paper size directly from the canvas.
Please note that you have the option to change the paper size and even auto-resize your image to fit the designated default size.
To address this, you have the option to either change the size within the Settings or utilize the Change Page Size feature, which will be visible when you tap on the red exclamation mark.
What you’ll need to work with the Larger Cricut Print and Cut Size
When creating stickers with the new Cricut print and cut size, in addition to the common tools, it is important to prepare the following:
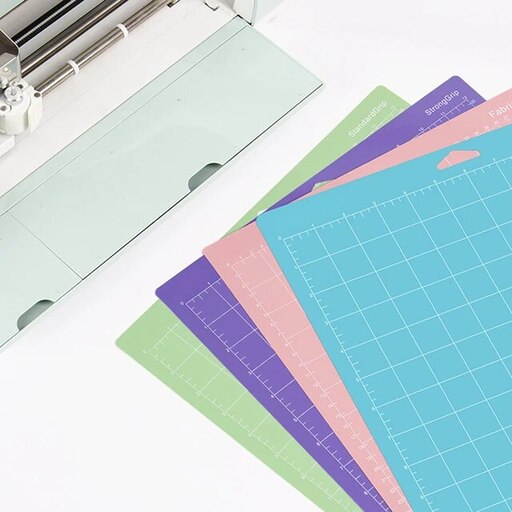
- A Long Cutting Mat: Due to the increased length of the Cricut print and cut size, you will need either a 12″ x 24″ cutting mat or two 12″ x 12″ mats taped together. This ensures that your designs fit properly.
- A Compatible Printer: You need a printer that supports the larger Cricut print and cut size required for printing. Fortunately, most printers can print these sizes, so finding one should not be a problem. Additionally, you must have enough sticker paper or paper available in larger sizes.
- A Brayer: This tool ensures that your material adheres well to the Cricut mat, especially as your designs get larger. The brayer aids in stabilizing and improving grip during the cutting process.
Last thoughts
In conclusion, the recent update to the Cricut Print and Cut Size feature has brought a significant improvement to the sticker-making experience. Now, you can get started on your “how to make vinyl stickers with cricut” process with the updated features.
With the ability to explore larger sizes, users can get creative and create more intricate, beautiful Cricut stickers in 1 sheet.
However, we understand that not everyone may have the time or resources to spend making DIY stickers with Cricut. If that’s the case, don’t worry! We offer a wide range of pre-made sticker designs in our store. You can choose from various designs, shapes, and materials to find the perfect stickers for your needs.

