Blog
What is DTF printing (Direct to Film Printing) and How does it work?
 and How does it work? 1")
In the ever-evolving world of printing technology, DTF printing has emerged as a game-changer. This innovative printing method offers a seamless and efficient way to transfer designs onto various materials with exceptional precision, vibrant and long-lasting quality.
But, what does DTF mean? What is DTF in printing? How does DTF printing work its magic?
You will find all the answers in this article, because together we will explore the DTF meaning, the inner workings of DTF printing, discover the intricate steps and processes involved.
So, let’s explore!
What is DTF printing?
DTF (Direct-to-Film) printing is an advanced digital printing method that has gained popularity in recent years. It offers a superior printing solution for creating vibrant and detailed prints on various surfaces.
The key principle of direct to film transfers is that ink is directly applied onto a special film, which is then transferred onto the final substrate. This technique allows for high-quality, full-color prints with exceptional detail and color accuracy.
Another advantage of DTF printing is its versatility. It is compatible with various materials, including cotton, polyester, nylon, and even leather. Additionally, direct to film printing is known for its durability and flexibility. The prints are resistant to fading, cracking, and peeling, making them suitable for various applications, including fashion, sportswear, promotional items, and even custom products like stickers and decals in special cases.
Overall, DTF printing offers a superior printing solution for creating vibrant and durable prints on various materials. Its versatility, durability, and customization options make it an excellent choice for individuals and businesses looking to create personalized and eye-catching products.
How does DTF printing work?
1. What is needed for DTF printing
To carry out DTF (Direct to Film) printing, several key materials and tools are needed, including:
- What ink is used for DTF printing? – DTF inks are used for DTF printing. This is a water-based pigment, designed for use in textile printing. For DTF printing, DTF ink offers many advantages, including resistant to washing, scratching, flexible and high color vibrancy.
- What printer is used for DTF printing? – A DTF modified printer. You need a printer that can print white and is compatible with DTF film. These DTF printers must have the ability of printing high-resolution, full-color designs with precise detail.
- DTF Film: DTF printing involves applying ink onto a specialized film, which is then transferred to the final substrate. DTF film is designed to hold the ink and allow for easy transfer. It is typically made of a transparent or semi-transparent material that allows the design to be seen clearly.
- Adhesive material: To transfer the printed design from the film to the final substrate, an adhesive material is needed. This can be in the form of hot melt powder or pressure-sensitive adhesive.
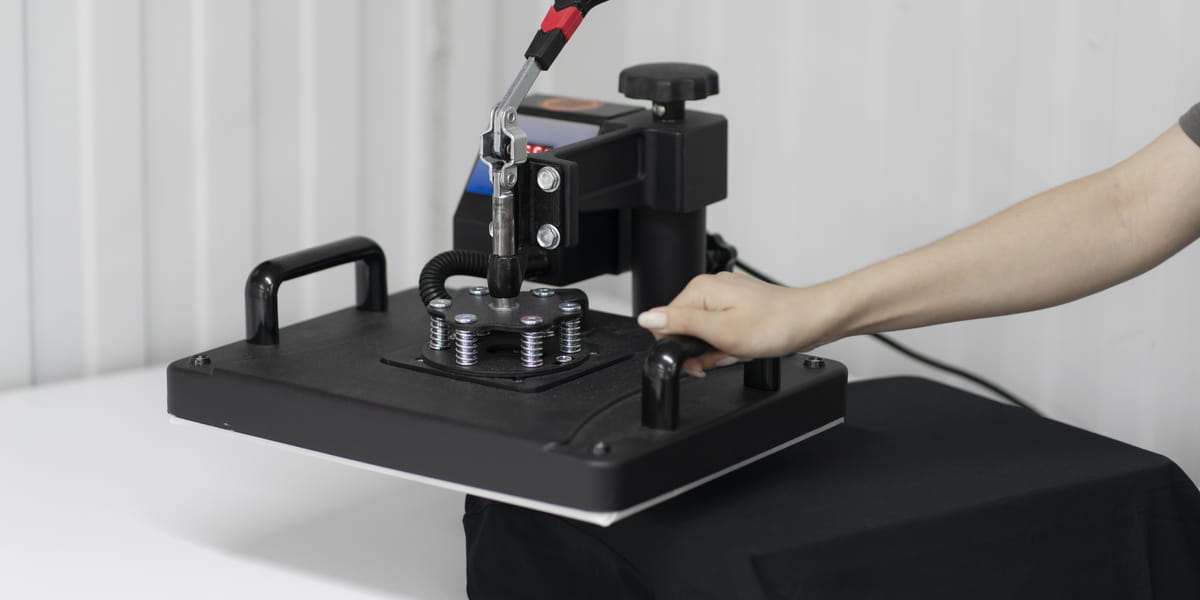
In addition to these main materials and machines, there are other tools that may be needed for DTF printing. These can include items such as the heat press machine and the laminating machine.
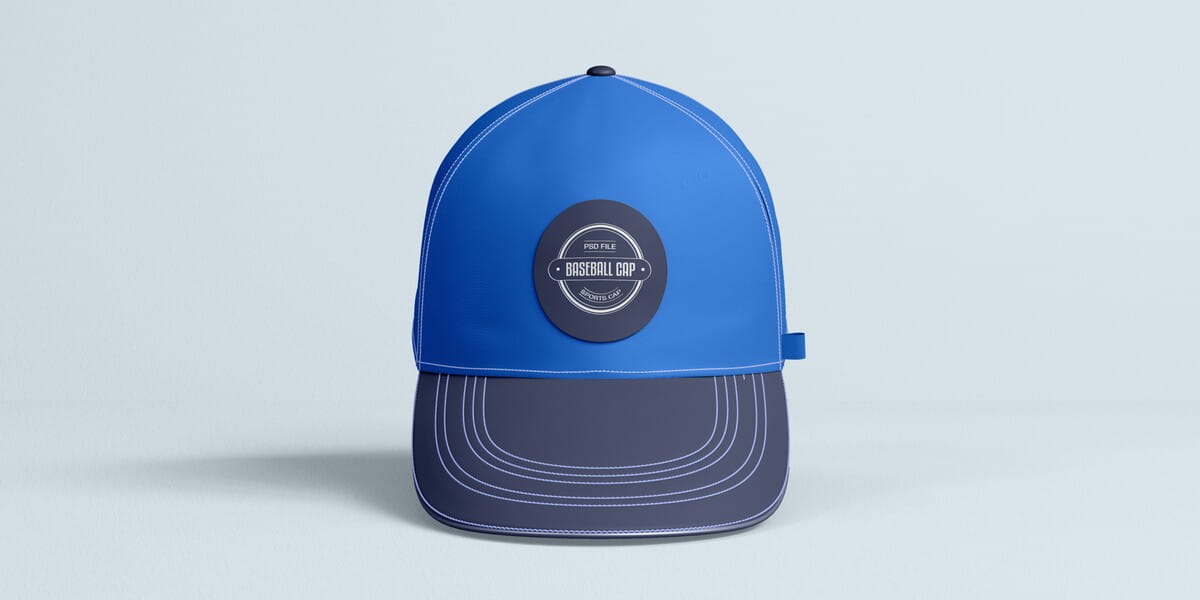
2. Making DTF prints for applying on fabric (DTF shirt, hoodie,…)
DTF (Direct-to-Film) printing is a versatile printing method that allows for the transfer of designs onto various textile material. The process involves several steps and here’s a breakdown of how DTF printing works:
Step 1: Printing Ink onto Film
To begin the process, the desired design is printed onto a PET film using a DTF printer. UV-curable ink is used in this step. The ink is quickly dried by UV light, ensuring fast curing. The design is printed in reverse on the film so that it can be transferred correctly onto the fabric in the next steps.
Step 2: Adding Adhesive
An adhesive material (hot-melt powder) is applied to the backside of the printed image. This is typically done while the ink is still wet to ensure proper adhesion. The hot-melt powder can be applied manually or by using a powder-shaking machine to distribute it evenly. It is important to thoroughly cover the printed areas with powder. For other areas, you have to remove any excess powder.
Step 3: Melting the Powder
In this step, the printed film with the adhesive is placed in a heating oven, and the heat causes the powder to melt and create a bonding layer. This adhesive layer will later adhere the design to the fabric during the transfer process.
Heating typically takes 2–5 minutes at 160–170 degrees Celsius (depending on the powder and the equipment used).
The result of these steps is a transferable print consisting of two layers: the DTF transfer film on top and the printed image with a heat-sensitive adhesive layer on the back.
Special DTF prints for applying on other materials
However, the output of the preceding technique can only be used on fabric. This limit the application possibility of the advance prints. It is where the DTF transfer stickers comes into play. They can be used on a wider variety of substrates, including paper, wood, metal, glass, etc, thanks to a little difference in the making process.
To produce DTF transfer sticker, the special printing process is utilized, which is called UV DTF printing. This method uses UV printer to print UV curable ink onto A and B films. A film is for printing, and B film is for transfer. Here are how to do:
Step 1: Printing on film:
This printing process involves printing different layers, starting with the adhesive layer and followed by the ink layer. The adhesive layer is added to the film sheet in the exact size and position as per the design. The areas without the design will not have adhesive.
Instead of printing the design directly onto the film, you first have to peel off the paper from the A film. Now, the adhesive surface appears, and we will print designs on it.
The design is then printed onto the adhesive-coated film. Unlike in fabric printing, the design is printed normally, without the need to reverse it.
Step 2: Applying Transfer Tape
A layer of transfer tape (film B) is applied on top of the printed design using cold lamination. This transfer tape helps to protect the design and facilitate its transfer onto the desired material.
The result of these steps is a transfer sticker consisting of three layers: the transfer tape (film B) on top, the printed design in the middle, and film A on the back.
So, both DTF and UV DTF printing share the common characteristic of printing on a film sheet and transferring the design to the desired surface. These methods contribute to the advancement and enrichment of printing technology.
Conclusion
DTF printing is an innovative printing technique that offers exceptional print quality compared to traditional methods. It allows for precise and vibrant prints with sharp details and vivid colors. Besides, you have endless applications with DTF method, including clothing, accessories, stickers, and more. The exceptional print quality and durability of DTF prints make them truely stand out.
If you are interested in learning more about different printing techniques, distinguishing between them, or understanding their various applications, we recommend visiting our blog page. There, you will find informative articles that delve deeper into the world of printing technologies.