Blog
6 Expert Tips to Create DTF Transfer Designs Ready to Print
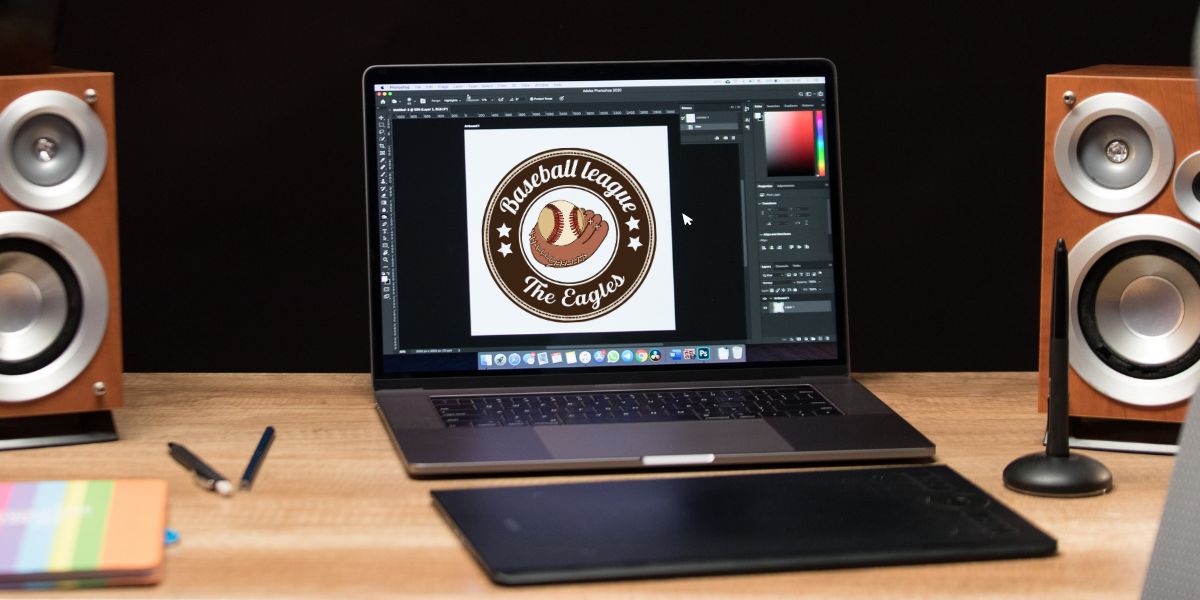
Like creating any kind of print files, designing iron-on DTF transfer designs isn’t just about making something that looks great on screen. It is about making sure the digital design turns out exactly like you want after being printed and applied onto fabric, as well as ensuring a vibrant, lasting result.
So, what makes a well-prepared file? What are the professional settings to make it ready to print? In this post, CustomAny will present to you 6 expert tips for creating DTF transfer designs like a professional.
1. Use the Right File Format & Resolution
When working on artworks, file format and resolution are 2 important things to consider as they directly impact on how clean, vibrant, and smooth your final print turns out.
About File Formats:
In fact, vector formats like AI or SVG allow us to edit designs in any size without distortion. However, when it comes to the final file for printing, PNG with a transparent background is the safest and most practical choice for DTF transfer designs. It keeps the edges of your artwork clean and avoids any unwanted background blocks showing up after printing.
So, the best way to proceed is to design in vector formats and then export the final print file as a PNG.
About Resolution:
A good resolution for your DTF transfer designs that need to be print-ready is 300 DPI. Lower design resolutions might not make any inconvenience when you see it on screen but once it is printed, the print can expose unsharp and unclear details.
So, set the resolution at 300 DPI or higher to help prevent pixelation, ensuring the best print quality.
2. Avoid Gradients & Be Careful with Fine Details
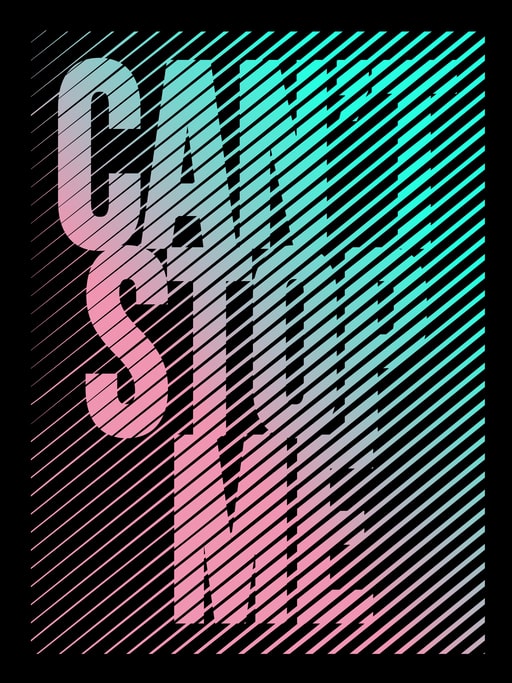

Gradients and fine details are two of the key factors that affect print quality of DTF transfer designs. So, you should:
Avoid gradients
Gradients specifically create issues for DTF printing as well as heat transferring:
- They may turn out to be jagged stains which are difficult to adhere to fabric, instead of creating smooth transitions. This happens because the printer may split the color areas unevenly if the file is too large or not set up correctly.
- Including subtle fading areas, gradients prevent adhesive powder from sticking evenly to the back of the printed layer. This even leads to weak bonding between iron-on transfer and the fabric surface that we apply it to.
- Gradients can distort in the heat pressing process, making colors look uneven or patchy after being transferred.
Pay more attention to fine details
Another thing to watch for when it comes to DTF transfer designs is ultra-thin lines and tiny, intricate shapes. Lines thinner than 1pt or details that are placed too closely together can face some issues:
- Disappear during the powdering step.
- Peel off easily after pressing.
Using simple, bold artwork instead of gradients and avoid too tiny details will ensure you achieve better DTF prints and long lasting iron-ons on garments.
3. Use Bold, High-Contrast Colors for DTF transfer designs
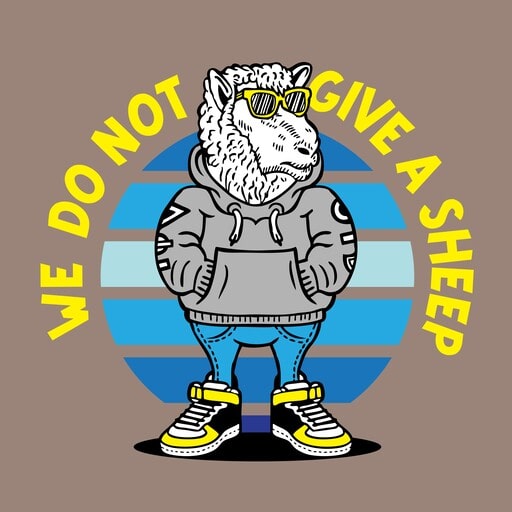
Choosing proper colors is the next tip for creating ready-to-print DTF transfer designs. You should know that some shades hold up better through the process, while others might fade or lose their clarity against the fabric. We recommend using bold and high-contrast colors in your DTF transfer designs for a better result.
Why bold colors? Bolder, high-contrast colors print cleaner and stay vibrant after heat pressing. Meanwhile, pale or pastel tones often struggle because they may appear dull or washed out after pressing.
Besides, you should avoid colors too close to your fabric shade. For example, never use a light gray design on a white shirt as the design might disappear entirely after it is transferred.
There are some safe, reliable color choices that are appropriate for most of the cases, such as:
- White
- Black
- Deep red
- Navy blue
- Bright yellow
These shades not only pop on most fabric colors but also maintain their vibrancy after multiple washes.
4. Add Proper Spacing Between Designs
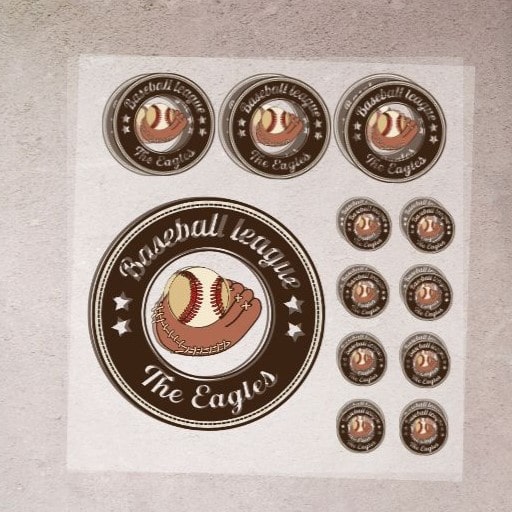
This tip is especially useful when using a gang sheet — a single transfer sheet that holds multiple DTF transfer designs printed together, saving time and material by printing several designs at once.
What to keep in mind when you creating print-ready DTF transfer designs for gangsheets is to leave at least 0.25 inches (6mm) of space between each design. Why does this matter? It helps prevent designs from sticking together during printing and cutting.
5. Check Color Profiles before print any DTF transfer designs
Before getting your DTF transfer designs into printing, it’s important to pay attention to color profiles. RGB mode (commonly used for designing) and CMYK mode (commonly used for printing) can affect the result.
To prevent this color issue, you should:
- Design your DTF transfer designs in RGB to take advantage of the brighter, more vivid colors on screen.
- Before printing, convert your files to CMYK. This helps avoid unexpected color shifts during printing.
- Testing the color conversion early helps you spot any color changes and adjust your design if needed.
If you want a deeper understanding, check out our related blog post about CMYK vs RGB to learn more about these color modes.
6. Test Print Preview Before Final File
Before print your DTF transfer designs, always generate a preview. Here’s a quick checklist for you to double-check before printing:
- Cut lines are aligned perfectly with your design.
- The file has a transparent background
- Make sure the size matches your intended dimensions
- There is no color shifts or unexpected changes
If possible, you should ask your print house to run a small test print to see how your DTF transfer designs perform as a print and on the actual fabric.
This tip makes sure you improve the chances that your final prints will meet expectations and you can catch potential issues early.
Last words
Whether you’re creating DTF transfer designs as a familiar or for the first time, these insights should be taken into account to enhance your iron-on transfers’ quality. With these 6 expert tips, your design files will be ready for the best print quality and long lifespan on the applying surface.
For reliable and high-quality custom iron on transfers, consider using our custom printing service. We offer a reliable printing experience and high-quality products designed to bring your exact DTF transfer designs to life.

