6 Lovely DIY Plant Markers for Small Gardens: Step-by-Step Guides
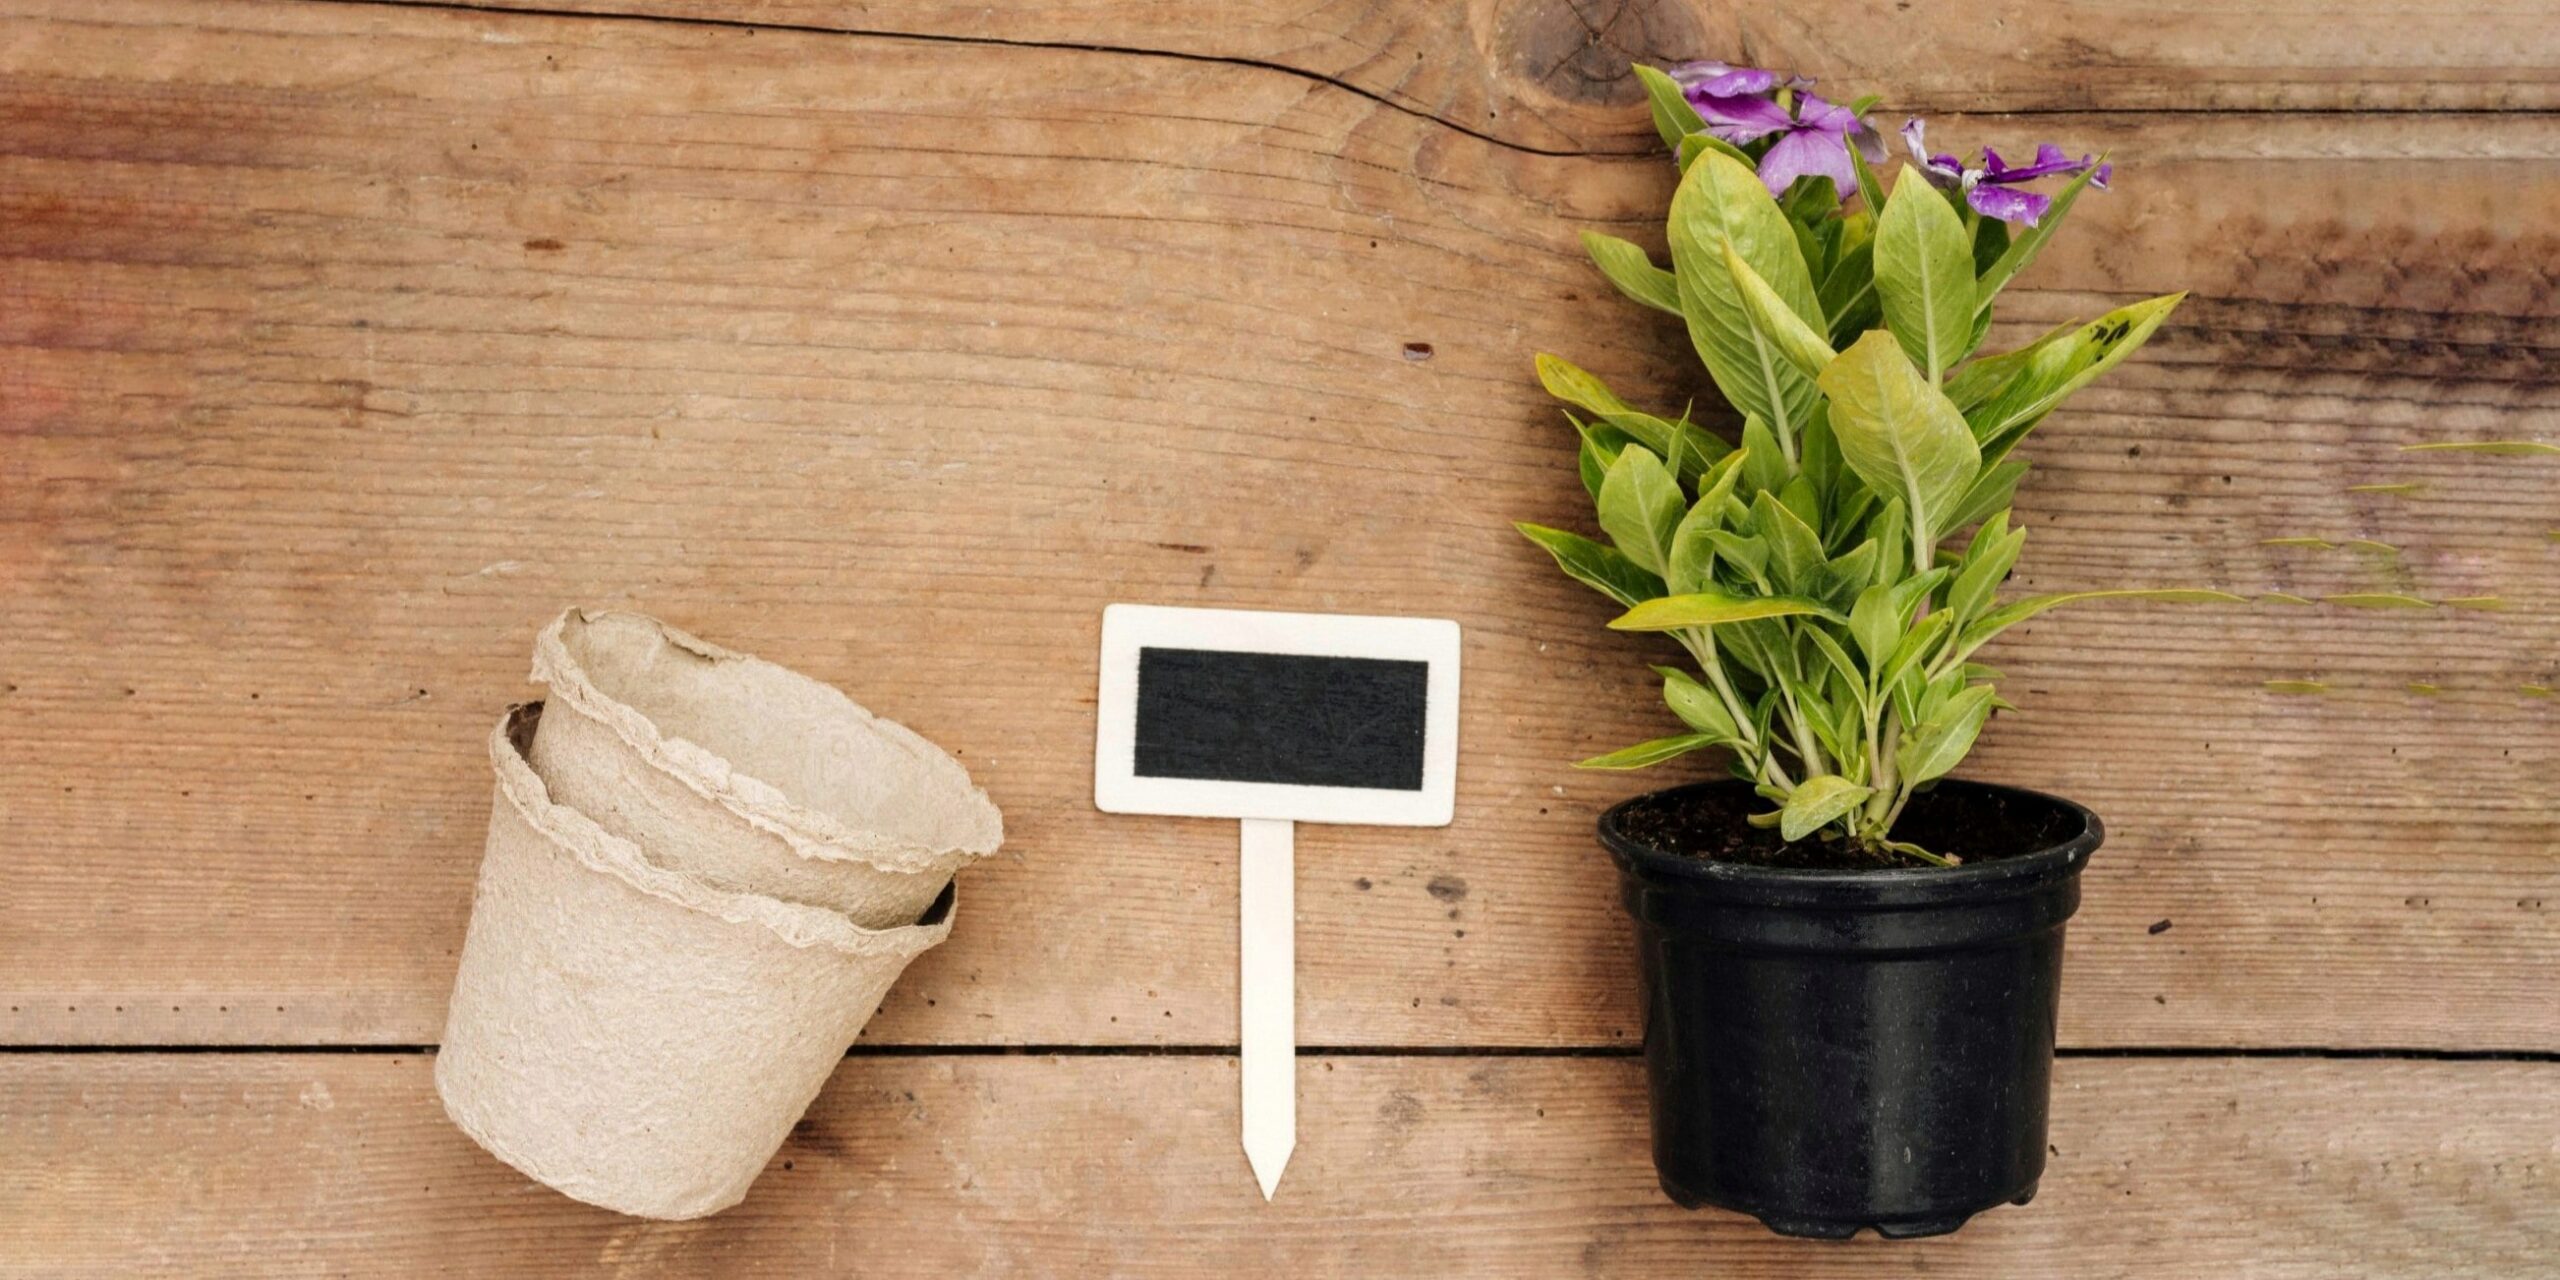
Having a garden as a peaceful space is nice, but adding your very own charming, colorful, and handmade plant markers to this is an even more delightful experience. These plant labels not only leave a personal mark on your garden, they also offer you a small DIY project to showcase your crafting skills.
In this blog, let’s explore 6 easy-to-make plant markers. If you are interested in some of the ideas, lists of necessary supplies (that you may already have in your house), as well as step-by-step guides for making these markers are also included in our article.
So, don’t wait, join us to create some truly one-of-a-kind plant markers!
1. Make plant markers using Jar Lids
The first plant marker idea is made by recycling jar lids. Do you have old jars left in your kitchen? Take their lids. It is easy to turn these round pieces into colorful labels for your garden with just some simple steps.

You will need:
- A collection of jar lids (they are better made of aluminum or steel)
- Acrylic paint and paintbrushes in small sizes; or you can use waterproof markers
- Wooden sticks
- A clear sealant (just for protection so it is optional)
How to turn old jar lids into plant markers:
- Clean your jar lids thoroughly, make sure they are clean and dry before taking any further steps.
- Use white acrylic paint or waterproof markers to apply a base coat to cover the original color of the lid.
- Use a brush to add more vibrant colors or paint your own patterns and designs on top of the base layer.
- Once these paint layers are dry, use a smaller paintbrush to write the names of your plants on each lid.
- To ensure your personalized marks on these labels last for a long time, consider applying a clear sealant layer over the surface you painted. Ensure the paint is completely dry before sealing.
- Attach the decorated jar lids firmly to wooden sticks using glue to turn them into real garden label stakes.
2. Color your garden with Stick Plant Markers
Do you have leftover sticks after you eat ice cream? If not, these crafting sticks can be easily bought at local stores or online. So, let’s explore the straightforward process to do this DIY project.
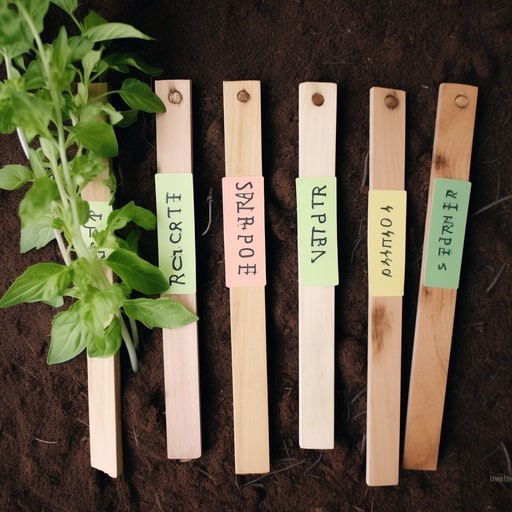
Materials you need to grab are similar to those from the previous idea, including:
- Small wooden sticks
- Acrylic paint or waterproof markers,
- Paint brushes
- A clear sealant for the protective layer.
Steps to make DIY stick plant markers:
- Clean the wooden sticks and let them dry.
- Apply any vibrant color you want to each stick. You can paint each stick a different color or combine several colors on one stick to create a rainbow or other captivating designs.
- Once the paint is dry, name your new plant marker.
- Apply a clear sealant over the painted surface to safeguard against the elements.
Stick plant markers suit a wide range of plants in different sizes. However, they may not be able to withstand direct weather elements in case your garden is an outdoor space.
3. Make plant markers from old Spoons
How about transforming your old spoons into unique plant signs for garden? This creative and eco-friendly DIY truly leaves a special touch to your small garden.
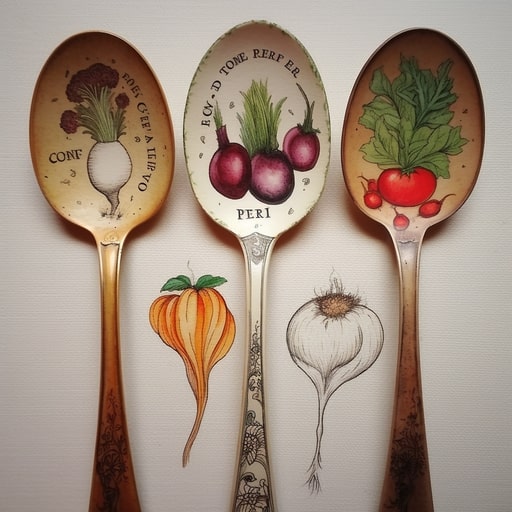
Let’s gather these things:
- Old spoons (you can either use stainless steel, plastic or wooden spoons)
- Paint
- Paintbrushes
- Pen or markers
How to do it:
- Use paint as a base layer to cover any scratches or stains (if there are) on the spoon.
- Let the base dry, then use pens or markers to draw patterns and write the name on your new spoon plant markers.
If you have a Dremel, there is another way to mark the name on these spoon labels: engrave on them. You may need to write on the spoon first and then engrave along these lines carefully to achieve the desired details and depth.
4. DIY Plant Markers with Cork and forks
Plant markers that are crafted using cork and forks will add a rustic vibe to your small garden.
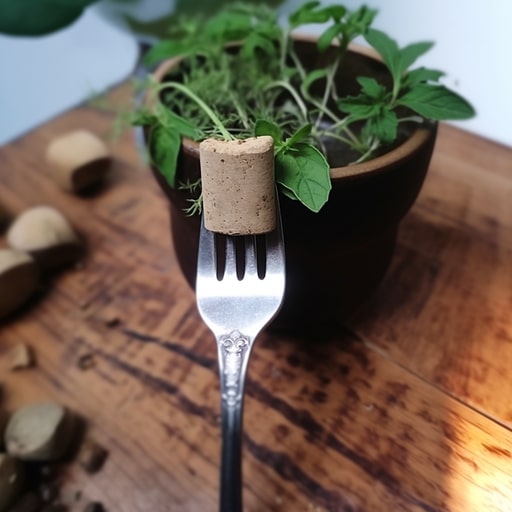
To DIY these exceptional plant signs, you will need:
- Old wine corks
- Forks
- Waterproof markers
- Some small crafting rope rolls in various colors.
Tutorial for making this kind of garden signs for plants:
- Clean your old wine corks and forks.
- Place the cork horizontally and use waterproof markers to write down names or symbols you want to use for your plants. We recommend you use black or dark brown ink for these labels to complete the rustic look.
- Insert one fork into each named cork, ensure that they are attached securely.
- Lastly, use crafting rope to wind around the forks’ neck and tie a pretty bow.
5. Clothespin plant markers
Clothespin can be used as one-of-a-kind plant markers just by adding some colors or putting names on them.

Materials needed for these DIY plant markers are straightforward:
- Wooden clothespins (in one plain color or with patterns like stripes or dots)
- Paint and small paint brushes
- Pens
- Wooden craft sticks (optional)
Step-by-Step guide for crafting these garden plant tags:
- If you get bored of the clothespins’ color, cover them in a layer of acrylic paint first. If their original look is fine, skip this step.
- Add the names of the plants onto the clothespins, vertically or horizontally.
- Attach each named pin to a wooden craft stick to create your unique clothespin plant labels and affix it down wherever you want to mark the plant.
- Otherwise, you can clip the clothespin plant markers directly to the plant pots without attaching them to any other supporting tools.
Note that in case your clothespins are made of wood, they may not remain intact after prolonged exposure to the sun or under wet conditions. Consider sealing your painted artwork with a clear sealing spray layer.
6. Turn Stones into DIY plant markers
Stones or pebbles with smooth surfaces and suitable shapes also can be turned into unique plant makers. Let’s see how we can turn this natural and creative idea into real garden decorating elements.
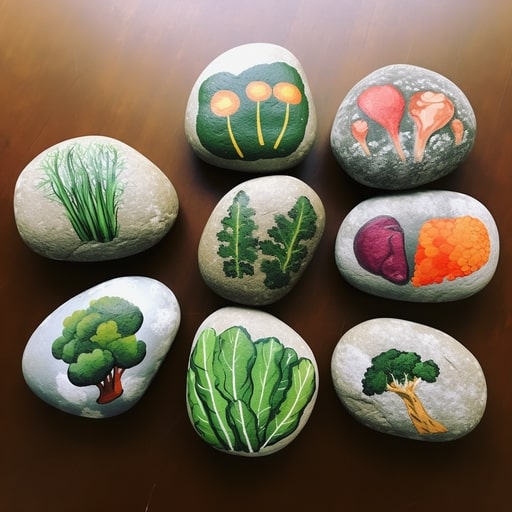
Materials needed:
- Smooth stones or pebbles
- Acrylic paint and small brushes
- A clear sealant for protection (highly recommended)
Steps to create stone garden signs DIY:
- Clean your stones or pebbles, then let them dry thoroughly.
- Add colorful acrylic paints on, paint them in any style you want.
- Use a smaller brush to write the names of your plants on the colored stones, then allow them to dry. If you have drawing skills, illustrating your plants (or its fruits and flowers) on the rock is a great idea. Ensure the rock is large enough for these draws.
- The last step is to apply a layer of clear sealant to protect your art from sunlight and wet conditions in the garden.
Tips for making DIY plant markers
Aside from using pen or paint to name your DIY garden markers, it’s easier and results in less mistakes opting for printable stickers or printable plant labels. These stickers bring you various benefits:
- They provide a clean, polished and unified look for all the plant markers.
- They can be customized to tailor any plant name.
- High-quality adhesive stickers can effortlessly stick to all the DIY plant markers above.
- Waterproof stickers last for a long period of time even in the weather condition of an outside garden.
For getting all these advantages, consider ordering waterproof vinyl custom stickers from our website. At CustomAny, we provide various sticker types, shapes and sizes for you to choose from. Go explore them and find an easier way to complement your DIY plant markers.

