How to Make Puffy Stickers: A Step-by-Step Guide
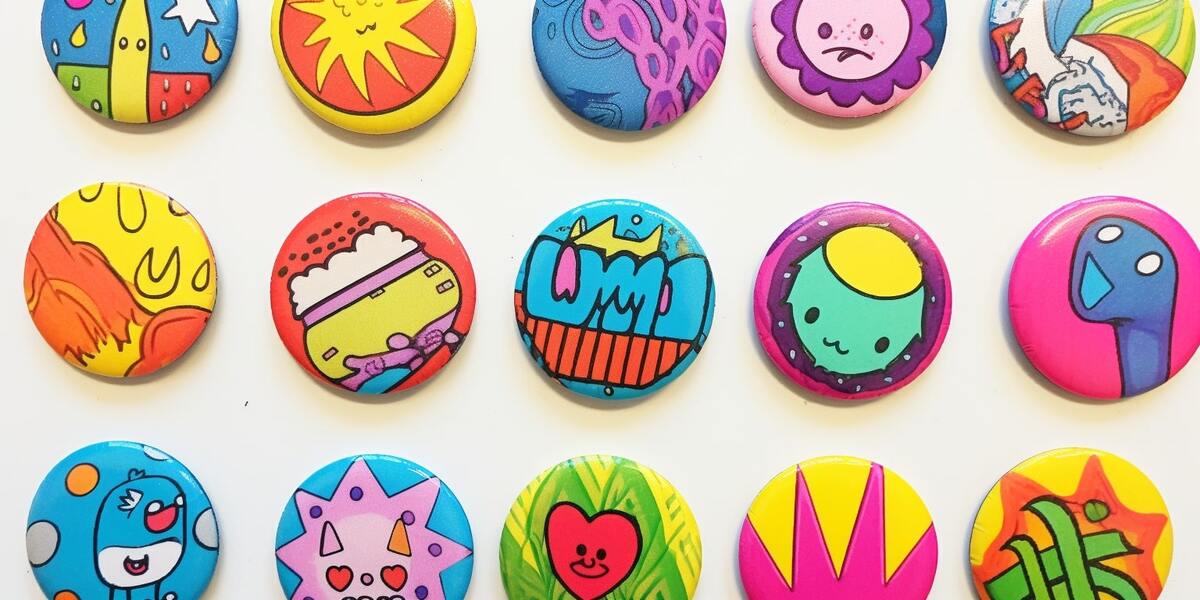
In the field of sticker decorating and crafting, a three-dimensional type – puffy stickers – are rising as the new stars. They have become a brand new choice for adding an eye-catching element to anyone’s belongings and creative projects. Despite their widespread adoration for both of their visual and tactile appeal, there is rarely a supplier who can provide this type of sticker. And there are some kind of puffy stickers maker kit but limited in designs we can use.
So, if you are interested in the plushy texture of this sticker type, you may wonder “how to make puffy stickers?” We at CustomAny all understand this and we’re here to walk you through this comprehensive guide of how to make puffy stickers yourself at home.
What else to wait for? Let’s get started with this exciting DIY.
What are puffy stickers?
Before going to the main section about how to make puffy stickers, we should begin with the basic understanding about this special sticker type.
Puffy stickers, or we can call them plushie 3D stickers, is a creative type of stickers that has a delightful tactile element compared to the original ones. When you see them, instantly you are aware that they stand out with a raised, 3D appearance.
It’s not hard to say that the raised texture is what sets puffy stickers apart. This look gives depth and texture to any of the original designs, enhancing their visual appeal. But that’s not all. These stickers also have a soft and squeezable finish, which makes people want to touch and interact with them.
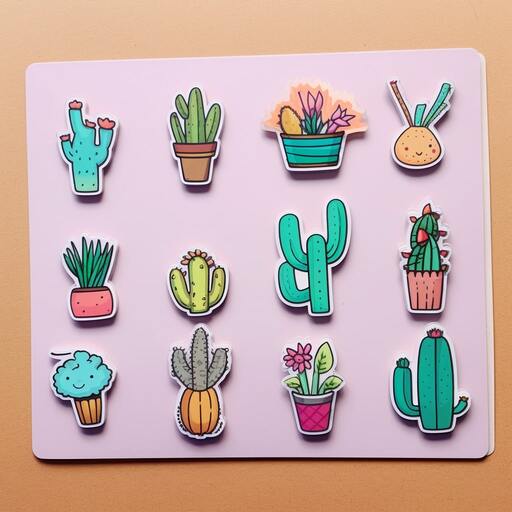
Why can these stickers be puffy?
You may wonder what makes them puffy like that? This special feature is the result of sandwiching a foam-like layer between the sticker design layer and the adhesive layer. This foam layer not only provides the distinctive “puffiness” but also contributes to the stickers’ resilience and flexibility.
Why do people love puffy stickers?
The puffy look of these stickers is what makes them attractive to crafters and sticker hobbyists alike. When they are applied to surfaces, these plushie 3D stickers create a special effect, making them look like being lifted off the surface. Imagine a cute animal sticker with a raised snout or a floral design where each petal feels touchably real—puffy stickers will look lively on your phone cases, laptops, scrapbooks, journals, or any other crafting projects.
So, in a nutshell, puffy stickers bring both visual and tactile appeal to decorating and crafting. Their unique appearance makes them a go-to choice for any sticker hobbyists who look for a special adhesive piece, or want to add unique elements to their DIY creations.
How to Make Puffy Stickers
Just like making homemade stickers, creating your own puffy stickers is an interesting and satisfying experience. So, how to make 3D stickers? Let’s learn how to make puffy stickers right now so after some steps you’ll have rewarding craft items to adorn your belongings.
Materials You’ll Need
To make puffy stickers yourself, you will need to gather some materials and tools as followed:
- Drawings or design files for your stickers
- Scissors
- Craft Foam Sheets: This material will serve as the base for the puffy layer.
- Adhesive: You should choose an appropriate adhesive based on your preferences – it can be regular glue for stickers, double-sided tape, adhesive foam squares, etc.
- Pen or Pencil: For tracing your designs onto the foam sheet.
Step-by-Step Guide on how to make puffy stickers
Step 1: Design Your Stickers
Begin your journey of how to make puffy stickers, you will need to create or select the designs for your stickers.
If you’re adept at drawing or painting, bring your artistic vision to life. Hand draw or paint your own ideas on a piece of paper and use it as the sticker layer for the puffy sticker.
Alternatively, if you prefer professionally printed stickers with crisp and vibrant designs, print it. Create artworks on a design software and print it out by a home printer. However, for professional-looking custom puffy stickers, we recommend using a third party service. For example, you can upload your design files to our website, CustomAny will print them out and send the high-quality stickers to you, ready for the puffy step.
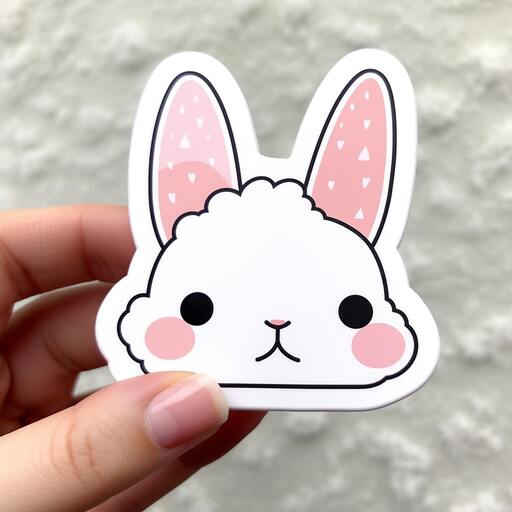
Step 2: Cut Out Your Sticker
For hand-drawn or painted stickers, or home printed stickers, use your scissor to carefully cut along the outlines of the sticker. In case you have printed stickers from us, this step can be skipped as they arrive ready to use.
Step 3: Cut out a matching shape from the foam sheet
In this step, we will create the important part that acts as the puffy layer of your stickers. Use a pen or pencil to transfer the outlines of your sticker designs onto the craft foam sheet. Taking your time to ensure this line is precise, the cutouts align perfectly with the contours of your stickers. Then, cut out the matching foam shapes using your scissor.
Step 4: Layering
Place your sticker face-down to a flat and clean surface. Put the foam piece we just cut on top of your sticker. Then use your adhesive material to attach these two together. Now you nearly have soft and raised stickers with a puffy effect.
The key to a perfect puffy sticker is the foam layer is aligned seamlessly with the shapes of your designs, so check again to make sure it is in place.
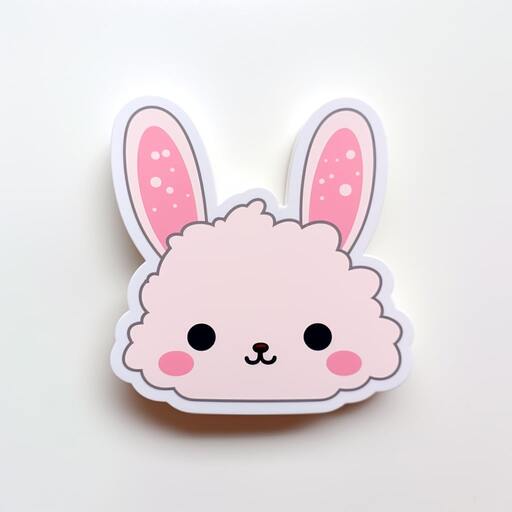
Step 5: Add Adhesive
The last step before putting your DIY puffy stickers into use is adding an adhesive layer. Select your preferred adhesive – whether it’s regular glue, double-sided tape, or adhesive foam squares. Apply an adhesive layer evenly on the back of the foam layer. Press it down to ensure a secure bond between the layers and now we’ve done it – your delightful puffy sticker is ready to add visual and tactile elements to anything, or any surface.
Tips and Tricks on making puffy stickers
Making puffy stickers is an enjoyable DIY project, but to enhance your puffy sticker appearance, you should know some crafting tips:
Adhesive Application
Crafting a perfect puffy sticker begins with the even and strong adhesive between the layers. Whether you opt for glue, double-sided tape, or adhesive foam squares, spreading it evenly to ensure a smooth bond between the foam and sticker, and the foam with the adhesive backing.
Press Firmly
When attaching all the layers together, make sure you use adequate pressure on them. This action will eliminate the chance of any trapped air bubbles formed between the layers which can affect the seamless adherence of puffy stickers.
Sealing the Edges
To make sure your puffy stickers last long and don’t tear throughout the desired time of use, pay special attention to sealing their edges. After attaching the foam layer to the sticker, run your fingers along the edges to ensure your sticker layer covers the edge of the foam. Then, when applying the adhesive layer, make sure it fits the sticker shape. This delicate yet effective change will help prevent potential delamination over time.
By paying attention to these factors when making puffy stickers, you can enhance the overall quality and appearance of your plushie 3D stickers, ensuring that they maintain their dimensional charm for a long time to come.
Conclusion
With our comprehensive guide, now you know how to make puffy stickers. Crafting these raised stickers will be nothing but a satisfying DIY project. It’s time to grab your materials and tools because it will be a lot of joy to see your puffy stickers come to life and add both a visual and tactile appeal to your daily life belongings.
If you need professional prints to use as the sticker layer of your puffy sticker, look no further than CustomAny website. We are so honored to be your support in this satisfying DIY project.

