Blog
How to Make Stickers with Cricut? A Complete Guide to Print then Cut Precisely

In our previous post, “How to make homemade stickers”, we explored the joy of making DIY stickers. And now, CustomAny wants to introduce you to a tool that can help you enhance and simplify your home sticker-making experience – the Cricut. Are you looking to explore how to make stickers with Cricut on your own?
Making stickers with Cricut machines is an efficient and convenient method. They enable you to easily set up your design for printing and cutting. By printing and cutting precisely, the Cricut machine ensures you get high-quality stickers.
In this blog, we at CustomAny will provide you with a complete guide on how to make stickers with Cricut. Let’s explore!
What is Cricut and its Print Then Cut feature?
Can you make stickers with Cricut? The answer is that it’s easy to make stickers with Cricut and its Print Then Cut feature. So before exploring how to do it, let us walk you through some basic knowledge about this helpful machine:
Cricut machines – what are they?
A Cricut machine is an electronic cutting device capable of precision cutting on various materials like paper, vinyl, card stock, and iron-on transfers.
Some advanced Cricut models can even cut tougher materials like leather and wood. Generally, a Cricut can take over the cutting tasks usually performed by scissors or an X-acto knife, but with heightened accuracy and speed.

What is the “Print Then Cut” feature?
Print Then Cut is an impressive feature offered by Cricut machines that allows you to print images using your own printer. Once printed, you can place the sheet onto the adhesive mat and feed it through the machine to cut out the desired shapes. This feature is particularly useful for creating decals, stickers, and other similar items.
The flexibility of the Print Then Cut Cricut enables you to print anything. You can choose from the existing designs or upload your own images from your personal collection, including photographs.
To facilitate the cutting process, Print Then Cut involves printing a special sensor marking, typically in the form of a rectangle outline, around your printed images. As you feed the printed pages into the machine, the Cricut scans for the sensor marking and uses it as a guide to determine the exact cutting locations.
A Complete Guide to Make Stickers with Cricut
Now, you are sure to want to make stickers with Cricut machine. Let us show you how to make a sticker with it.
Step 1: Designing Your Stickers
In the first step of how to make stickers on Cricut, you have the option to either download a ready-made sticker sheet image file or create your own sticker sheet design using apps like Procreate, Illustrator, or Design Space. However, using Cricut Design Space is recommended for its convenience.
If you don’t already have Cricut Design Space, you can download it for free on various platforms such as Mac, Windows, iOS (iPhone or iPad), and Android devices.
Once you have opened Cricut Design Space, you can begin adding multiple images to your canvas in order to create customized cricut stickers.
- Start by opening the Cricut Design Space app and creating a new project. Then, click on the Upload button located on the main canvas. Select your image file and import your cricut sticker maker design by clicking the Upload Image option.
- Choose the image type you want to use in Cricut Design Space.
- Select Save as a Print and then Cut Image on the next screen. If you wish, you can name and tag the image. After that, click Save.
- Finally, the image will be added to your Canvas once you click Insert Image.

However, in this step of learning how to make stickers with Cricut, you need to focus on some details. Depending on the size and intricacy of your design, you may need to resize it to be compatible with the “Print then Cut” feature. Because the maximum printable area is 6.75″ by 9.25″. So, for too large images, reduce their size to no larger than 6.75″ x 9.25″.
Step 2: Gather your materials and tools for Printing
After you’ve designed your stickers, prepare the materials and tools for printing to make stickers with Cricut.
- Home Printer: You will need a printer to print your sticker designs onto the sticker paper. Inkjet and laser printers are 2 most popular ones
- Printable Sticker Paper: You can find printable sticker paper at craft stores or online. Make sure to choose a type of sticker paper that is compatible with your printer, whether it’s inkjet or laser.
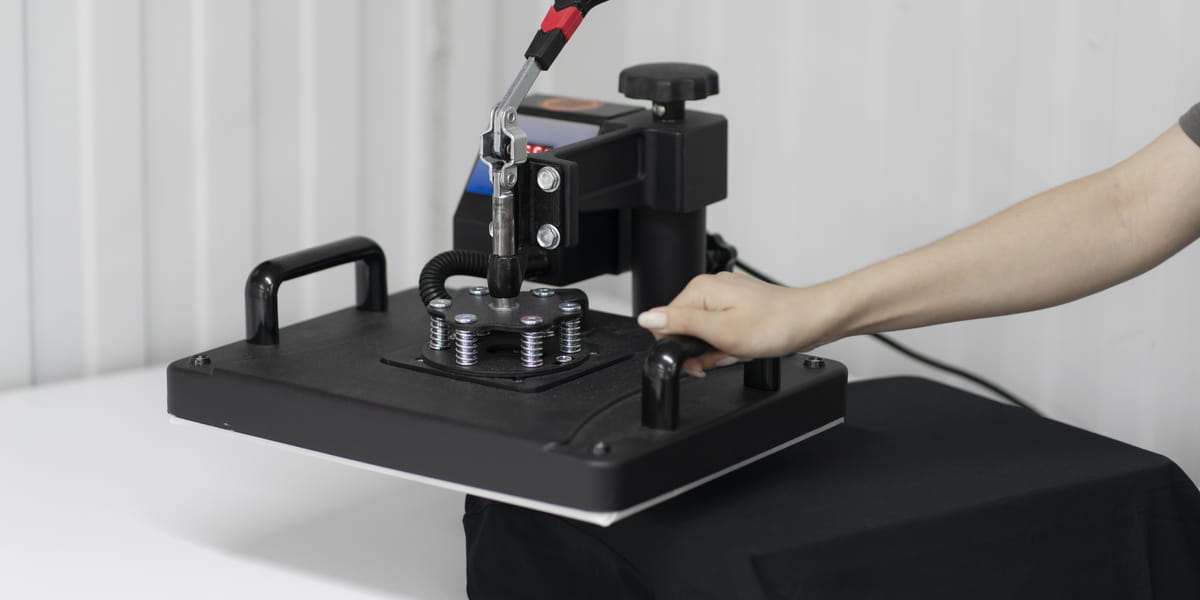
- Cricut Machine: This guide focuses on using a Cricut machine to cut out your stickers.
- Cricut Cutting Mat: The Cricut cutting mat is used to hold the sticker paper in place while it is being cut. Make sure you have the appropriate size cutting mat for your Cricut machine.
Step 3: Printing Your Stickers
In this step of learning to make stickers with Cricut, you need to know how to print stickers on Cricut. You should:
- Load the sticker paper into your printer: Check the instructions provided with your sticker paper to ensure you load it correctly. Some sticker papers have a specific side for printing, so make sure you’re printing on the right side.
- Secure the sticker paper: Make sure the sticker paper is securely placed in the printer tray or slot. Adjust any guides or holders to hold the paper in place.
- Set up your printer: Access your design file and adjust the print settings according to your printer’s capabilities. Select the appropriate paper type and size to achieve the best print quality.
- Print your stickers: Click the print button on your computer to start printing. Be patient and avoid touching the printed area until it is completely dry.
Step 4: Cutting Your Stickers
Once your stickers are printed, it’s time to cut them using your Cricut machine. Follow these steps to know how to make stickers with cricut:
- Load the printed sticker design on the Cricut cutting mat: Put the printed sticker paper on the Cricut cutting mat. Aim for as close an alignment to the upper left corner as possible. Use your hands or a brayer tool to smooth down the sticker paper.
- Place the cutting mat into the Cricut machine: Open the lid of your Cricut machine and slide the cutting mat into the machine. Check that it is inserted straight and centered, as this will ensure accurate cutting.
- Use the “cut” function in Cricut Design Space: Open the Cricut Design Space software on your computer and select the appropriate cut settings for your sticker paper. You can modify the cutting options to make your stickers a die cut or a kiss cut.
- Testing: You can test the cutting on a small piece of sticker paper or a single sticker design before cutting your actual stickers. This helps you ensure the settings are correct and your stickers are perfectly cut.
- Start cutting: Once you are satisfied with the cutting settings, click the “Go” or “Cut” button in Cricut Design Space to start the cutting process. Your Cricut machine will automatically follow the cutting path and precisely cut out your printed stickers.

Step 5: Collect the stickers for use or storage
Once the cutting is complete, gently remove the stickers from the mat, avoiding bending or creases. You have now completed all the steps required to make stickers with Cricut, and can learn how to make vinyl stickers with Cricut.
If you plan to use the stickers immediately, you can apply them instantly to your desired surface. If not, store them in a safe and dry place to avoid damage.
Conclusion
In conclusion, making stickers with Cricut machines allows endless creativity and personalization. With the ability to print and cut with precision, you can create professional-quality stickers right from your home.
However, if you prefer not to go through the process yourself, you can always order custom stickers from us. At CustomAny, we offer a wide range of sticker options, including die-cut vinyl stickers, as well as special types such as clear, transfer, and holographic stickers.