Blog
How to Make Vinyl Stickers Like a Pro: 4 Complete Steps

Vinyl stickers have gained widespread popularity as a versatile item in both personal and commercial applications. Their versatility, durability, and weather resistance make them an ideal choice for customization.
However, not many people know how to make vinyl stickers effectively and professionally. Therefore, in this guide, CustomAny will take you through 4 comprehensive steps to produce professional-grade vinyl stickers, ensuring your designs stand out and remain durable. Keep reading to explore!
What are vinyl stickers?
You can find stickers come in various materials, including:
- Paper
- Polyester
- Vinyl
- Static cling
- …
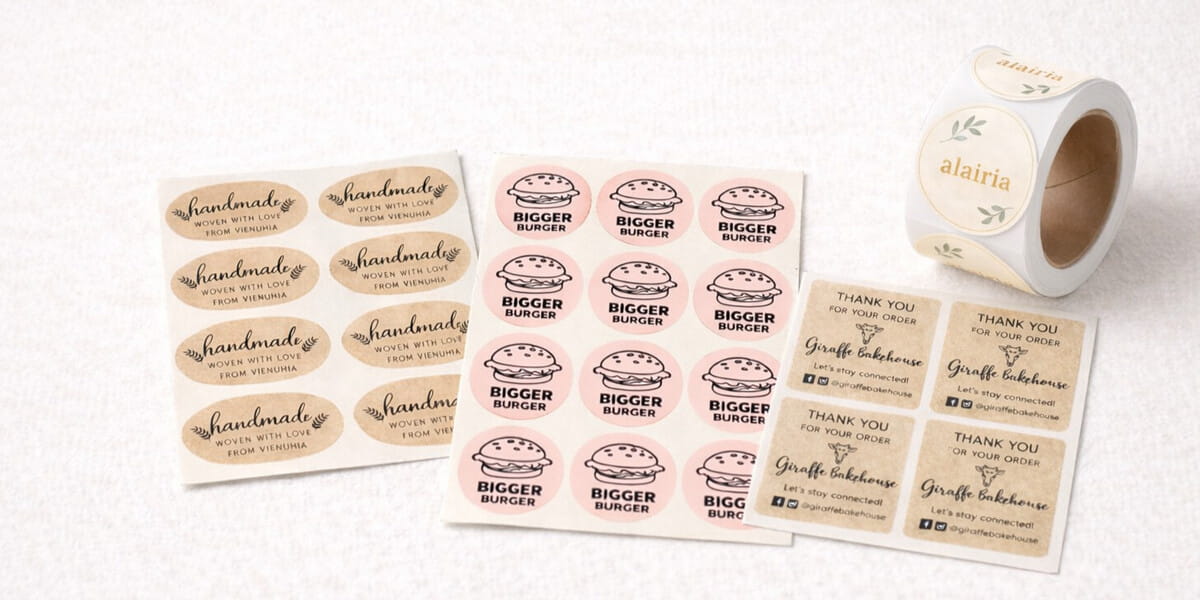
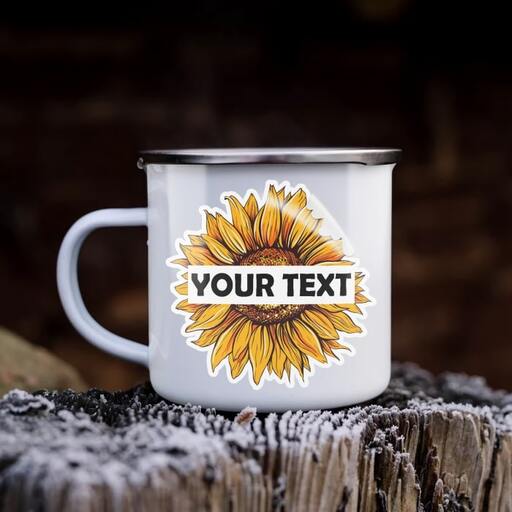
Among them, vinyl stickers stand out for their unique features. They are a type of adhesive decal commonly used for various purposes due to their durability and versatility.
But, what is vinyl?
Vinyl is a synthetic plastic material known for its resilience and flexibility. That’s why vinyl stickers are waterproof stickers, making them suitable for both indoor and outdoor applications. Besides, they are resistant to fading, tearing, and damage from exposure to sunlight and harsh weather conditions.
Vinyl stickers can come in glossy or matte stickers, suiting different aesthetic preferences. With their durability and diverse applications, vinyl stickers are popular for branding, advertising, labeling, and decorative purposes.
How to make vinyl stickers
Knowing how to make vinyl stickers is a creative project. By following simple steps and using the right materials, you can produce professional-quality vinyl stickers that are perfect for many purposes. Let’s find out how to make vinyl stickers with our comprehensive 4-step guide.
1. Design your stickers
Vinyl stickers’s durability and weather resistance make these custom stickers ideal for various applications, and you can design them in many different ways.
When finding how to make vinyl stickers, there are several key considerations to keep in mind to ensure the best designs:
Tools to create your design
You can personalize the stickers by drawing them yourself. If you think of any ideas, sketch them out on paper. Because you’ll be scanning your design to your computer later, it doesn’t matter what kind of paper you use here.
Otherwise, when finding how to make vinyl stickers, you have another option to upload your design/ or design directly on editing software like:
- Adobe Photoshop
- Adobe Illustrator
- Canva
Read more: Best apps for designing stickers
Size
You should arrange your design size so that it will appropriately fit on the page. Generally, it should fit on a piece of paper that is 8 x 11 inches (20.3 x 27.9 cm). However, you can make the vinyl stickers bigger or smaller to suit your needs.
Shape
Vinyl stickers can be cut into various shapes, from standard rectangles to custom shapes that complement the design. However, you should consider the shape’s relevance to your design concept and its impact on the overall aesthetics.
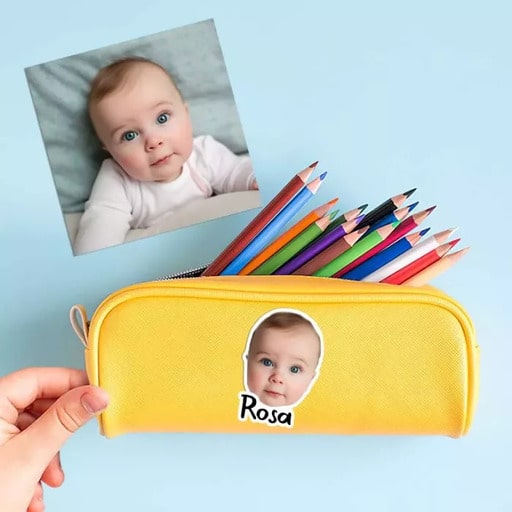
In case your designs are intricate or unique shapes, we suggest using die-cutting techniques. Vinyl die cut stickers will cut exactly your sticker designs without any excess parts, so your designs will definitely stand out.
Cut Line
You need to include a clearly defined cut line in your design file to indicate where the sticker should be cut. This ensures precision during the cutting process, preventing any unwanted borders or inconsistencies in the final product.
Bleed
A bleed typically extends 1/8 to 1/4 inch beyond the cut line, ensuring that there are no white borders or gaps around the edges of the sticker after cutting. This extra margin allows for more precise trimming without risking the integrity of the design.
Resolution and file type
Set your design’s resolution to at least 300 pixels per inch when you save it. In this way, you can ensure the best print quality.
Also, we recommend saving it as a .png file so that you can cut the outline later with a transparent background. You can also save your design as a PSD file. In this way, you can easily send them to print at any printing stores.
2. Choose the print base
Selecting the right type of print base is crucial when exploring how to make vinyl stickers, as it directly impacts the quality, durability, and overall performance of the stickers.
The type of vinyl you selected will affect the factors such as:
- Indoor or outdoor use
- Flexibility
- The desired finish
Therefore, here’s some recommended options about the best types of vinyl when learning how to make vinyl stickers:
- White Vinyl: White vinyl is a popular print base, suitable for a wide range of designs. It provides a solid background for vibrant colors and is commonly used for various types of indoor and outdoor stickers.
- Clear Vinyl: Clear vinyl is ideal for designs that require a see-through or transparent effect. It is often used for window decals, product labels, and designs where the underlying surface should remain visible.
- Matte Vinyl: Matte vinyl offers a non-reflective finish, providing a sophisticated and understated look. It is suitable for designs where glare or reflections need to be minimized.
- Glossy Vinyl: Glossy vinyl provides a shiny and eye-catching finish, making it ideal for designs that require a vibrant and polished appearance. It is commonly used for product labels, branding, and promotional stickers.
- Permanent Adhesive Vinyl: This type of vinyl comes with a strong adhesive backing, making it suitable for long-term applications and outdoor use where durability and weather resistance are crucial.
- Removable Adhesive Vinyl: Removable vinyl is designed for temporary applications and allows for easy removal without leaving adhesive residue, making it suitable for promotions, events, and temporary signage.
3. Choose the best printing machine for vinyl stickers
The next step in discovering how to make vinyl stickers is choosing a printing machine. When finding printers for vinyl stickers, there are several factors to consider, including:
Types of printing machines
Below are several types of printing machines suitable for printing vinyl stickers:
- Inkjet Printers: Ideal for small to medium quantities, offering flexibility in printing on various materials. They are generally more affordable and can handle intricate designs.
- Laser printer: Laser printers are widely known for their high-speed and high-quality printing capabilities. While they are commonly used for paper-based printing, they can also be used for certain types of vinyl sticker printing.
- Screen printing machines: Ideal for large quantities, offering durability and vibrant colors. However, they are more suitable for single-color or simple designs.
Related article: Inkjet vs Laser Printer
Finish Options
When selecting a printing machine for vinyl stickers, consider the available finish options such as matte or glossy. Some printers offer the flexibility to choose between different finishes, while others may be specialized for a specific finish.
Types of Ink
Different printing machines use different types of ink, for example:
- Inkjet printers commonly use pigment-based ink or dye-based ink
- Laser printers use a different type of toner, which is a powder rather than liquid ink.
- Screen printing for vinyl stickers often involves the use of specialized inks tailored for the screen printing process like: solvent-based inks or UV-curable inks.
Each type of printer utilizes specific types of ink tailored to its printing process and the materials it handles, so you should consider the ink type for the best result.
How to print vinyl stickers
After choosing the suitable printer, the next step in finding how to make vinyl stickers is printing your designs with the following steps:
- Load your vinyl paper on the printer’s tray.
- You need to set up the non-adhesive side so that it is facing up.
- Adjust your printer settings to suit the size of your paper, and other print modes such as quality or quantity.
- Then, choose the “print” option. You can make the necessary adjustments and print out when you’re ready.
4. Cut your stickers
When you’ve finished printing your stickers, the final step on how to make vinyl stickers is cutting them into individual pieces. You can use a pair of scissors for this, but if you’re printing in large quantities or want your stickers to look more professional, we recommend using a cutting machine like a Cricut.
- Place your vinyl sheet onto the cutting mat, then load it into the Cricut machine.
- Adjust your cut settings, including 3 main factors: the blade, thickness, and speed.
- Prompt the machine to begin cutting — you may need to run this multiple times to ensure the blade fully cuts through the sticker.
Where to order vinyl stickers
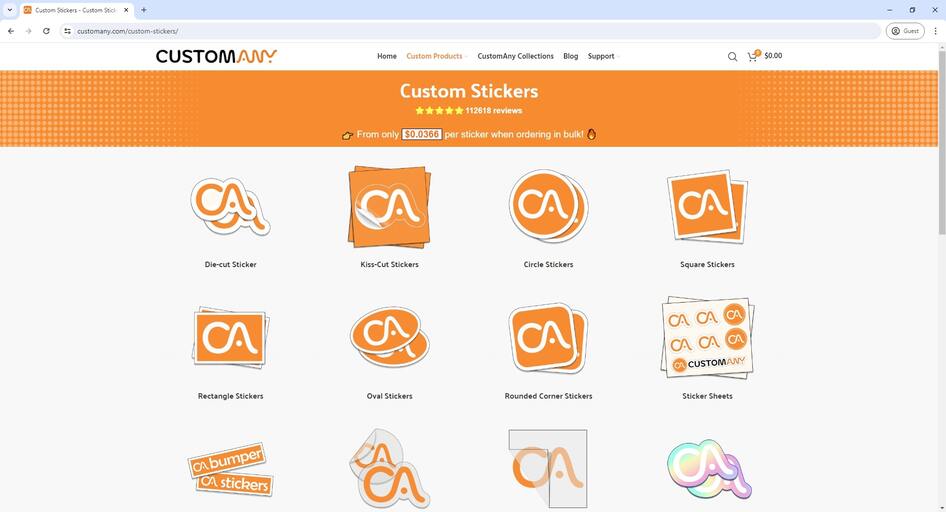
When finding how to make vinyl stickers, it’s more convenient and reliable to order them from professional printing services rather than making them at home. However, where to print stickers? If you still haven’t found the answer, you can consider our website.
At CustomAny, we offer the convenience of uploading your own artwork and creating personalized stickers for any occasion. Or you can also choose from our various available designs, custom shapes, finishes, and special features such as holographic stickers.
Moreover, our professional services ensure high-quality printing on scratch resistant and waterproof vinyl stickers, making them suitable for various applications.
By ordering from our websites, you can achieve expert design review, diverse options, and quality products at reasonable prices. So, instead of printing at home, you can order from us to get your creative works done.
Conclusion
Custom vinyl stickers bring many benefits to both individuals and businesses. So, let’s take advantage of it by learning how to make vinyl stickers. We hope our article will be helpful to you, giving you many ideas and knowledge to make vinyl stickers professionally for the best results.

