Blog
DIY Unique Custom Laptop Skins with Vinyl Stickers Bombing
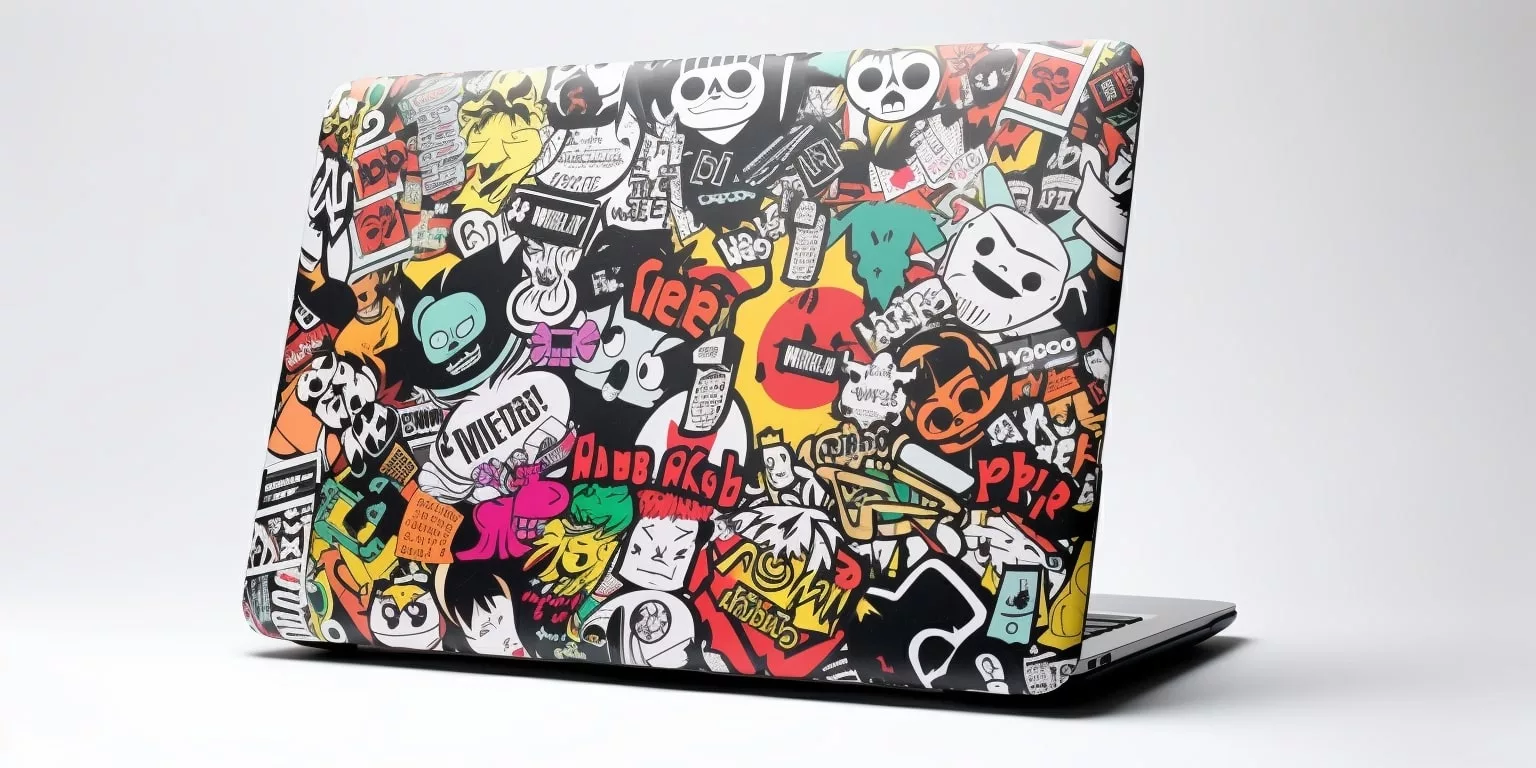
Laptop skin, as the name suggests, is a layer that protects and enhances the appearance of your laptop. But why settle for a plain or an one-design skin when you can create a masterpiece using vinyl sticker bombing?
Vinyl sticker bombing involves layering multiple stickers to cover your laptop. It allows you to showcase your creativity and create a one-of-a-kind exterior. Moreover, vinyl material ensures water and scratch resistance, acting as laptop protective skins.
In this guide, CustomAny will offer you a step-by-step guide of making your own laptop skin by sticker bombing these vinyl adhesive beauties. Let’s go explore!
Is it effective to make Custom Laptop Skins with Vinyl Sticker Bombing?
If you are new and have never heard about sticker bombing before, you can get more detailed information by coming and reading our article: “What is sticker bombing?”. Here, we will briefly summarize the main point about sticker bombing.
In general, sticker bombing is a popular form of street art where various stickers, often with different designs and messages, are applied to surfaces such as walls, signs, and vehicles. This is one of the best laptop sticker ideas for artists and individuals to express their creativity and make a bold statement.
Additionally, vinyl is a type of material commonly used for stickers. It is a durable and versatile material with adhesive backing, making it suitable for various applications, including sticker bombing.
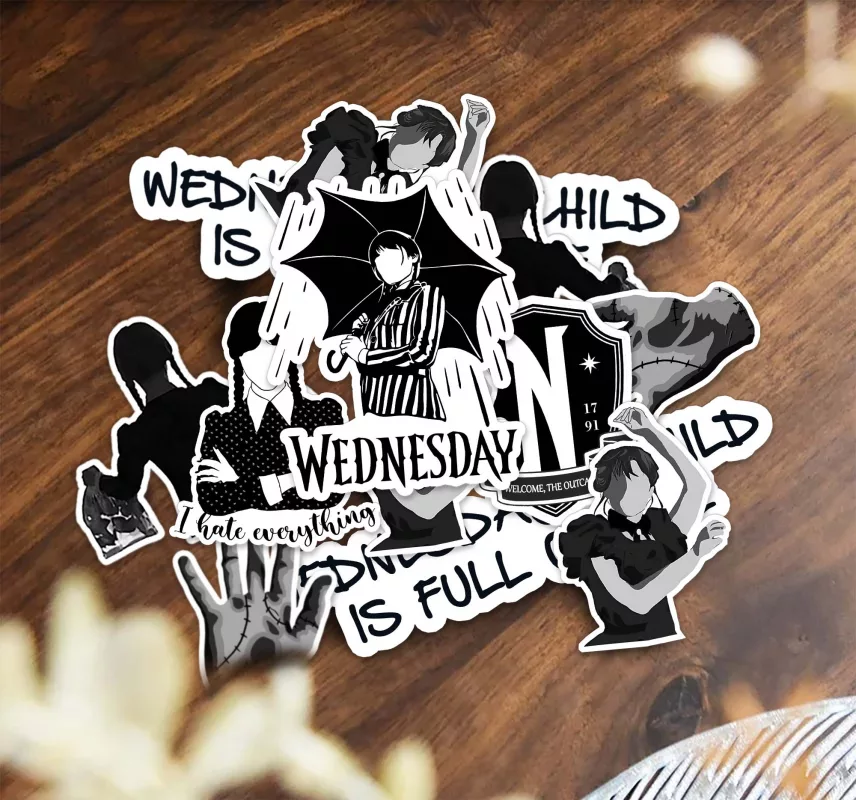
When it comes to creating custom laptop skins with vinyl sticker bombing, there are many advantages worth considering:
- Vinyl is a durable and long-lasting material. It is scratch-proof, which means that your custom laptop skins will be protected from everyday wear and tear.
- Vinyl sticker is also a waterproof sticker type, providing an extra layer of laptop protective skin against spills or accidental liquid damage.
- Vinyl stickers are versatile and they are thin and flexible. This helps them easily conform to the shape and curves of your laptop, making them easy to apply and ensuring a smooth and seamless appearance.
- Using vinyl sticker bombing for custom laptop skins can bring full coverage. As each sticker will be placed closely together, the entire surface of the laptop can be covered, creating a visually protective layer that works just like a laptop skin.
- Vinyl stickers can be purchased in bulk at a relatively low cost. This makes it an affordable option to customize your own laptop without breaking the bank.
- Vinyl sticker bombing offers an opportunity for creativity. With a wide range of designs and patterns available, you can mix and match different designs and create your own unique combinations, giving you endless possibilities for customization.
DIY Unique Custom Laptop Skins with Vinyl Stickers Bombing
DIY custom laptop skins with vinyl sticker bombing offers a unique and personalized way to customize your laptop with a multitude of stickers. Here is a comprehensive guide to help you create your own skin for laptop:
Preparation
- Choose a variety of laptop skin sticker items that fit your desired theme, size, and color preferences. Consider whether you want stickers with cute illustrations, inspiring quotes, or a mix of graphics and text. If you want a cute and playful theme, consider stickers with adorable animals, or floral patterns. In case you prefer a gaming theme, look for stickers featuring gaming characters, logos, or symbols.
- Consider purchasing a larger quantity of stickers than you would typically need, as sticker bombing requires layering and overlapping stickers for a more dynamic and visually appealing design.
Step-by-step guide
Creating unique custom laptop skins with vinyl sticker bombing involves several steps. Here is a step-by-step guide specifically tailored to the process of sticker bombing a laptop:
Cleaning the Laptop
Start by cleaning your laptop thoroughly to ensure a smooth and clean surface for the stickers. Use a gentle cleanser or rubbing alcohol to wipe away any dust, fingerprints, or oil residue. This step is crucial as it helps the stickers adhere better and ensures a professional finish.
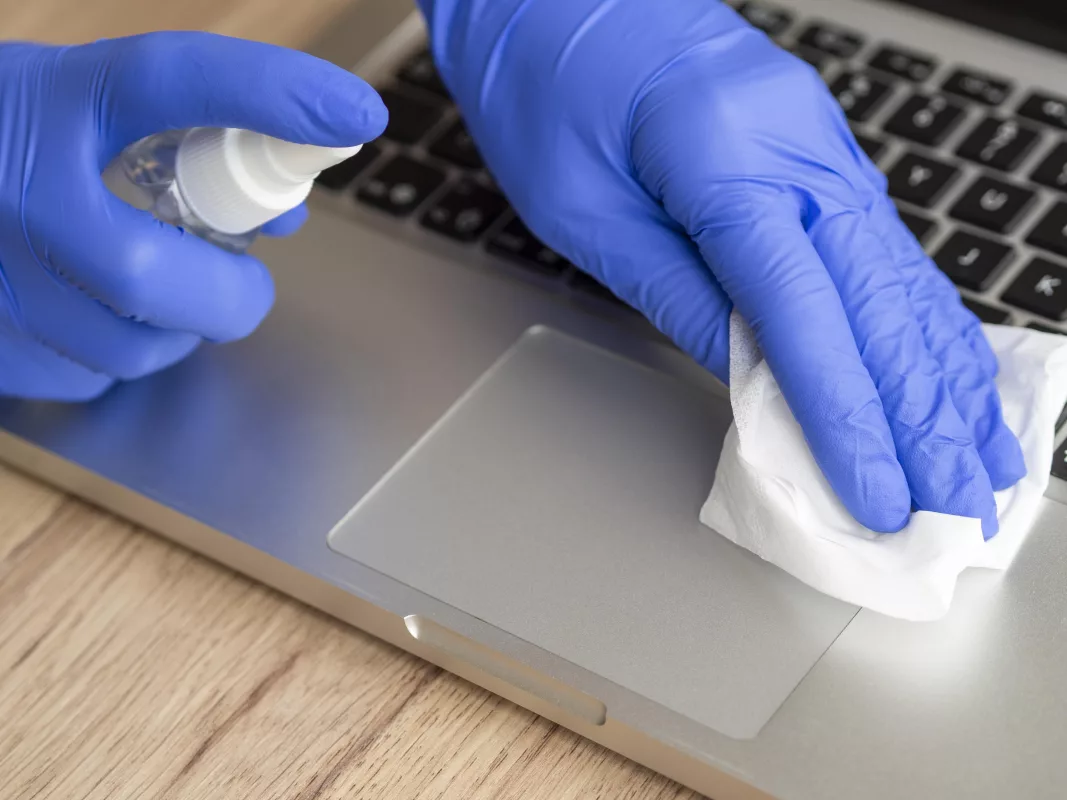
Ensure that the laptop is completely dry before moving on to the next step.
Layering and Arrangement
Plan the arrangement of the stickers before applying them to the laptop. Consider the overall design and placement. You can create a layered effect by overlapping the stickers or arranging them in a specific pattern.
Unlike other objects, laptops have varying shapes and features such as keyboard, trackpad, and ports that create unique challenges for sticker placement.
Therefore, experiment with different placements and overlapping techniques to achieve an aesthetically pleasing design.
Applying Stickers
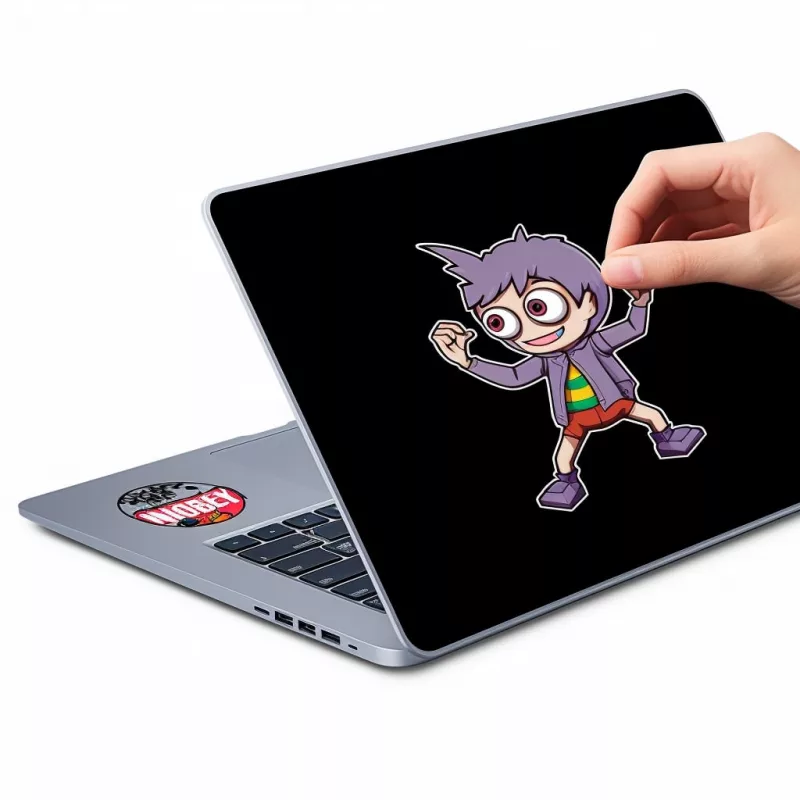
- Begin by peeling the backing off one sticker at a time.
- Carefully position it on the laptop according to your planned arrangement.
- Gently press down the sticker, starting from the center and working your way out to remove any air bubbles or creases.
- Repeat this process for each sticker, ensuring a snug fit and smooth application.
Sealing the Design
After all the stickers are applied, assess the design and trim any excess sticker material that extends beyond the laptop’s edges or obstructs any ports. Use a sharp utility knife or scissors to carefully trim the stickers to fit neatly around corners and curves.
For added protection and longevity, consider applying a clear protective sealant over the entire sticker design. This sealant serves as a barrier against scratches, water damage, and fading caused by regular use. You must follow the manufacturer’s instructions for applying the sealant and allow it to dry completely before handling the laptop.
Maintenance and Care
- Regular cleaning should be done with a soft cloth or non-abrasive cleaning solution specifically meant for electronic devices like laptops. Avoid using harsh chemicals or abrasive materials that can damage the stickers or the laptop’s surface. Gently wipe away dust, fingerprints, and stains to keep the custom laptop skins looking fresh and vibrant.
- Handle the laptop with care to prevent excessive scratching or peeling of the stickers.
- Avoid placing heavy objects on top of the laptop or sliding it roughly on surfaces. Treat it as you would any valuable item to maintain the integrity of the sticker design.
- In the event that a sticker begins to peel or show signs of wear, carefully reapply it or replace it with a new sticker to maintain the overall appearance of the personalize laptop skin.
Conclusion
DIY unique custom laptop skins with vinyl sticker bombing present an exciting opportunity for laptop owners to unleash their creativity and make a bold statement. It allows for endless possibilities, enabling you to express your interests, passions, and style in a truly unique way. Also, DIY custom laptop skins with stickers offer a fun and rewarding project that will set your laptop apart from the rest.
It sounds like it’s the right time to grab your vinyl stickers, embrace your creativity, and give your laptop a new look. You can start the journey by visiting and placing high-quality stickers from our website. CustomAny offer numerous options of sticker types for you to choose from.

