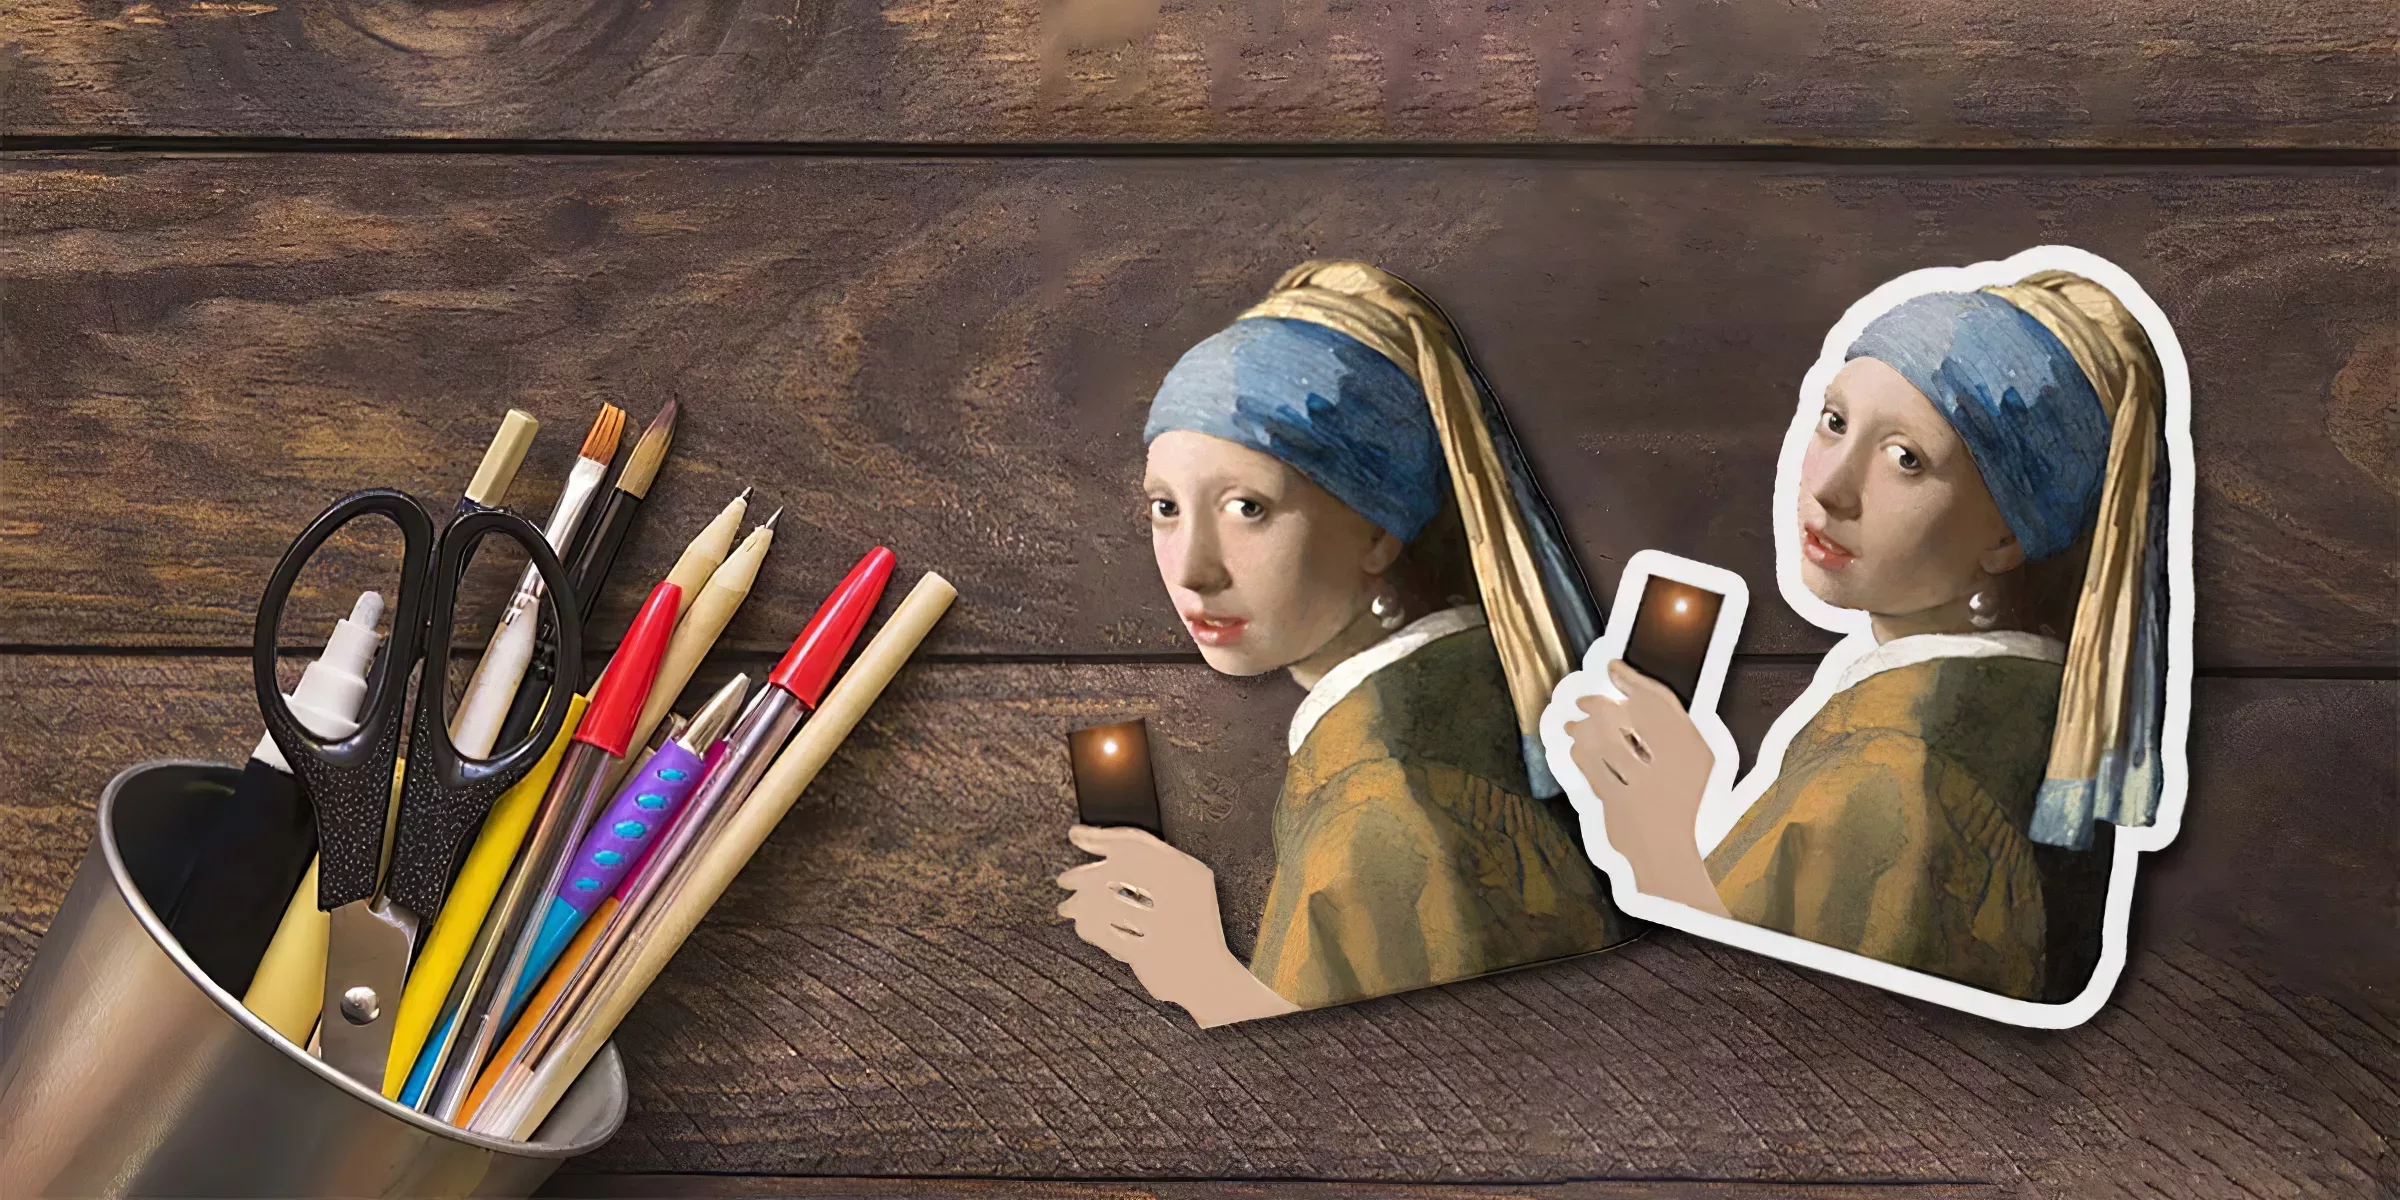
Do you really need a sticker with white border?

If you are a company that needs to carry out a communication campaign, the stickers with white borders and an eye-catching shape will easily highlight the image you want to convey, whether it is the company logo, a company slogan, or a unique product image. If you want to decorate your cup or room with your own unique stickers, you can use white border stickers on your items. So, what exactly is a white border in sticker printing? Is a white border required for the sticker? The answer can be found in the article about sticker with white border below!
What is white border in printing sticker?
1. White border meaning
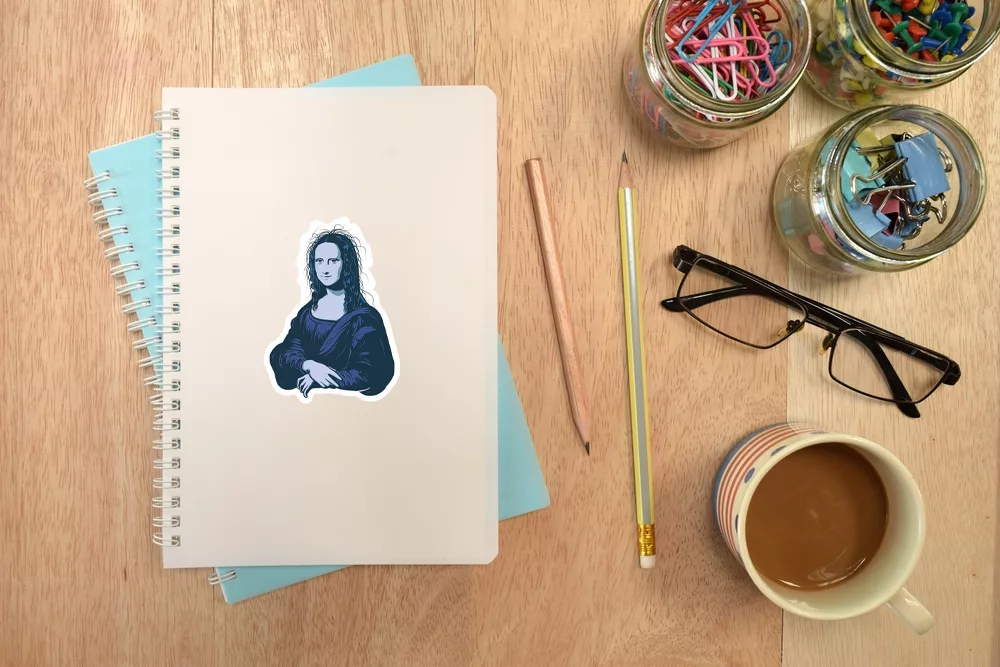
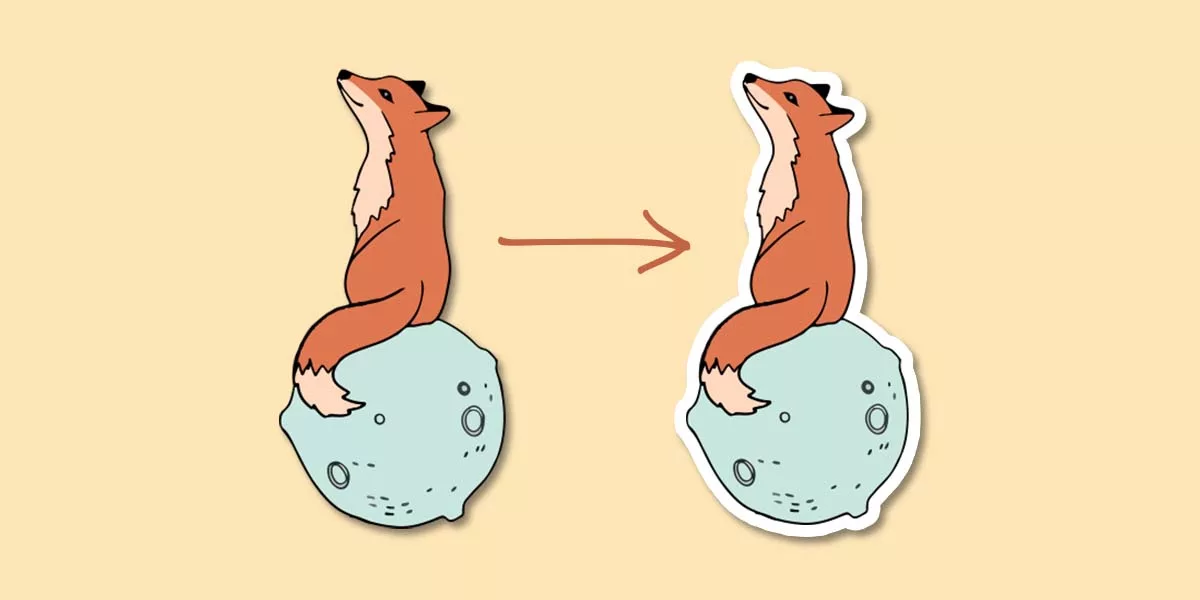
White border is the extra part that you add to your sticker prints. It surrounds your sticker designs and give them a premium and stylish appearance. Sticker border become more high-quality prints have gotten even better. Adding a white border to photo prints gives them a more professional appearance, and you can do it with any size and shape. In addition to looking great, adding a white border to your sticker prints means you won’t get any finger marks on your stickers!

2. Full bleed vs white border
If you’re new to the sticker printing industry, you might not understand the difference between full bleed and white border printing.
Full bleed printing ensures that your sticker is full bleed images and that no white vinyl is visible. Bleed is an extra 1/8″ (.125 in) of image or background color that extends beyond your printing piece’s trim area. The project is printed on an oversized sheet, which is then cut down to size so that the image appears to “bleed” off the edge of the paper. Some stickers will not work with full bleed design and will require a white border. A sticker with white border will be required for a artwork that is too complex and was not designed with full bleed.

Do you need a white border?
A sticker design including a white border will help ensure that your sticker is cut exactly as you intended. Borders shield the sticker. That border gives you something to grasp onto. If you touch the printed area directly, some fine art papers are more likely to show things like finger prints or mishandling, so having that extra space helps alleviate the potential for sticker damage.
How to add a white border to a sticker
Which program you commonly used to create and design custom stickers? In this part we’ll give you detailed instructions to add a white border in Procreate, Photoshop, or Cricut. Let’s get started!
Create a white border to stickers on Procreate
These 5 steps below are how to add white border to sticker in Procreate:
- Step 1: To add a white border in Procreate, make a duplicate copy of the layer to which you want to apply it. Slide the layer to the left and tap the “Duplicate” button to do so. Because you’ll be applying a white border, it’s a good idea to disable the visibility of your background layer if it’s currently white. Alternatively, you can make it a different color so that the white border stands out.
- Step 2: Choose “Alpha lock” from the menu and fill it with white. Before you go any further, make sure your fill color is set to white. After you’ve filled the layer with white, you must remove the alpha lock by tapping on it again and deselecting the Alpha Lock option. This allows us to fill only the contents of the layer rather than the entire rectangular space that the layer takes up. With the “alpha lock” applied, tap on the layer again then select “Fill Layer”.
- Step 3: In Procreate, you’ll use the Gaussian Blur effect to create the space needed to add a white border. To do so, go to the “Effects” menu and choose “Gaussian Blur” from the list. Choose “Layer” rather than “Pencil” when prompted. This allows us to blur the entire layer rather than just specific areas of it. Once you’ve selected it, all you have to do is tap on your canvas and slide to the right to apply a blur. The amount of blur you should use is entirely dependent on the size of your sticker.
- Step 4: Make an automatic selection around the white layer by opening the Selection menu, selecting Automatic, and then tapping on your subject and swiping to the right to control the selection’s threshold. Sliding to the right raises the threshold of your border, while sliding to the left lowers it. The size of your selection will directly affect the size of your white border, so make sure to size it accordingly.
- Step 5: Create a new layer beneath the subject layer and fill it with white. The first step is to disable the visibility of the white layer. Once turned off, create a new layer beneath the to which you want to apply the white border, and then tap and drag the white color into the selection.
This will result in a white border surrounding your sticker. That’s all there is to it!
Add white border by Photoshop
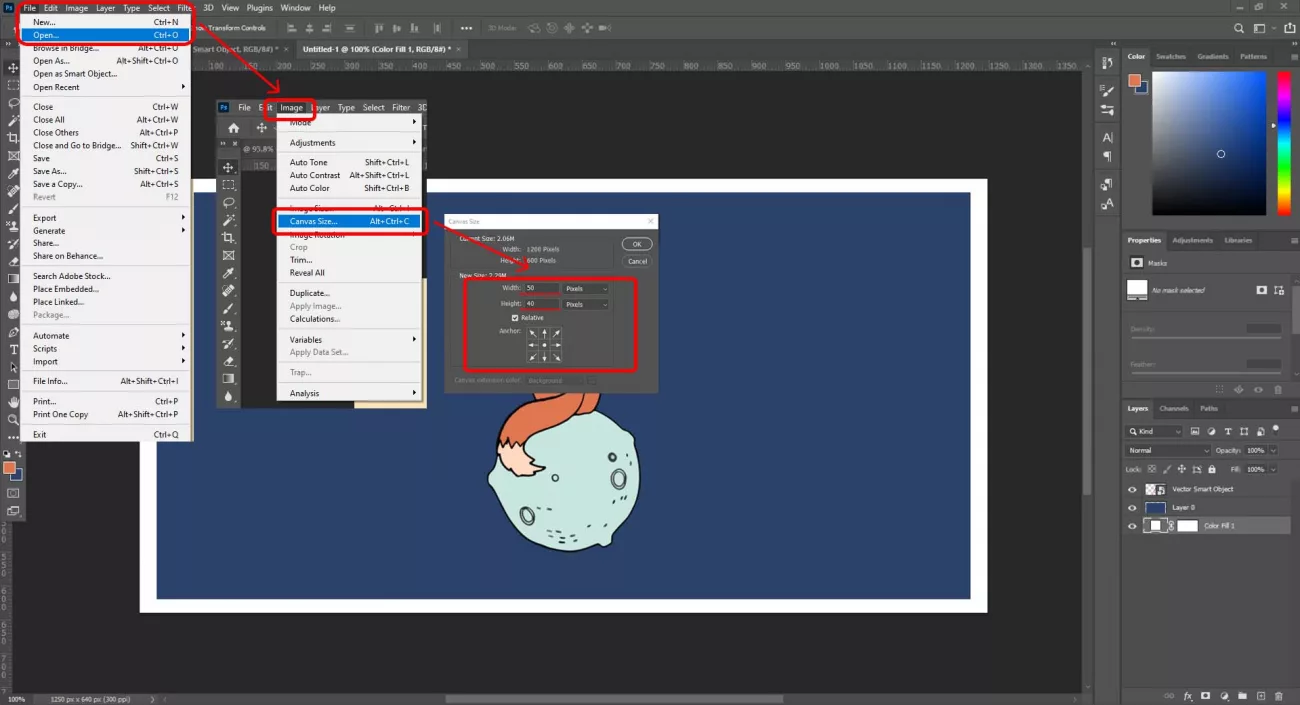
Follow these steps to know how to add white border to sticker by Photoshop:
- Open your image in Photoshop CC.
- Resize your image: Go to Image -> Canvas Size
- Unlock the layer containing your image.
- Click Relative from the dialog box.
- Import your border dimensions. Select white border color next to Canvas extension color.
- Adjust the border size to ensure that your sticker is cut as a single piece.
- Select OK.

Create sticker with a white border on Cricut
This tutorial will walk you through the process of making sticker with white border with your Cricut machine. With the Cricut Design Space Offset Tool, you can make professional-looking stickers.
- Open an SVG design that you want to Print Then Cut as stickers.
- Select your SVG sticker file by clicking upload. If desired, add tags and then click Upload.
- Choose it and drag it into your canvas.
- Select each image layer and select a color from the color menu to recolor it.
- Now, select all of the layers and use the Offset Tool to offset them.
- Adjust the offset with the slider so that no gaps are left. This will result in a black offset. Change the color of the offset layer to white.
- Now, select all of the layers and press the Flatten button.
- Choose a design and reduce the width to 2″. Make sure the resize lock is turned on, this maintains the proportions for the stickers.
- Duplicate the design twice and arrange them in a row. This will align them and create an equal amount of space between them. Once they are all properly aligned, select ALL layers and click Flatten.
- Select “Make It” (it may take a few moments). They will then appear on the screen within the black. Print Then click Continue after cutting the lines.
- Now, select Send to Printer -> Disable the Bleed option -> Enable the Use System Dialogue option. This enables you to use your printer’s options. The print screen will appear BEHIND the Cricut Design Space app, so you will need to minimize CDS to see the printer options.
- Click Print.
That’s is how to create sticker with white border in Cricut.
Sticker with white border can now be pasted on a variety of other surfaces and objects such as motorcycles, cars, and refrigerators. Stickers are glued and cut into small pieces in a variety of shapes such as circles, squares, and rectangles. You can make a sticker border or decorate any photo using the detailed instructions above. Hope this article is useful to everyone!

