How to Make Stickers with Tape: A comprehensive guide
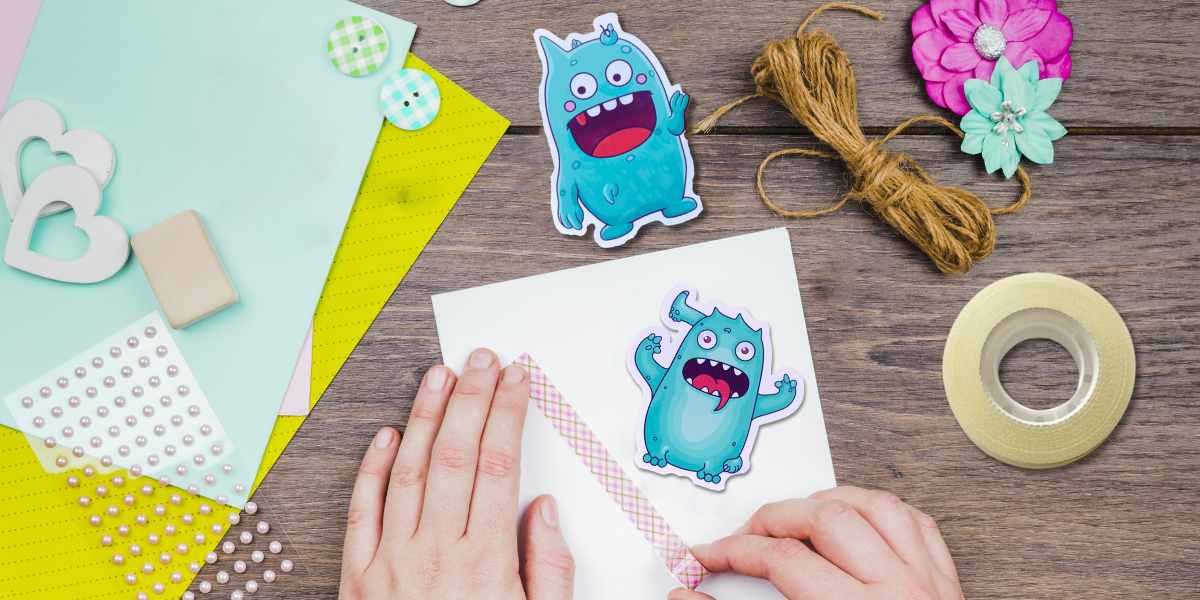
Stickers are a fun and creative way to personalize your belongings, decorate gifts, or add a unique touch to your crafts. Did you know that you can make your own stickers using just tape?
Whether you’re a crafter, a DIY enthusiast, or simply looking for a budget-friendly and quick way to create stickers, this method is for you. No need for complicated tools or expensive materials – all you need is tape and a few simple steps to learn how to make stickers with tape.
So, get ready. Follow CustomAny‘s step-by-step guide and unleash your creativity to make stickers that will wow your friends and family. Let’s explore how to make stickers with tape!
Materials Needed When Getting How To Make A Sticker With Tape
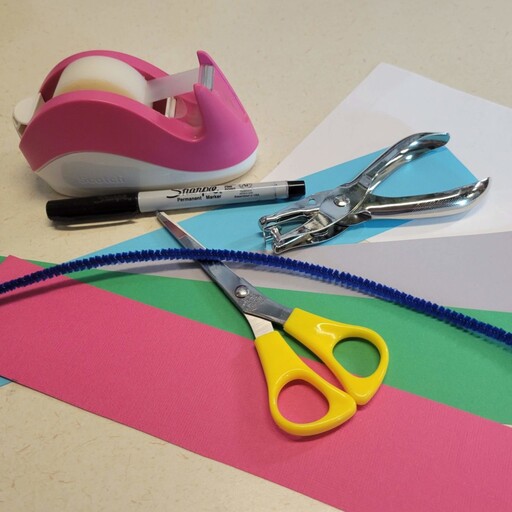
Before starting to learn how to make stickers with tape, you need to prepare some materials in advance to make the process smoother and easier. The needed materials are very simple and easy to find, they include:
- Packing tape/Clear tape
- Thin paper (e.g. printer paper)
- Wax or parchment paper (to make backing paper)
- Pen or Marker
- Coloring materials
- Scissors
- Backing Paper: To protect your stickers, you will need either wax paper or parchment paper to serve as the backing paper
- Optional: ruler, pencil, and eraser
How to Make Stickers with Tape: A Step-by-Step Guide
As mentioned above, making DIY stickers with tape is a creative, economical method, but brings very satisfactory results. Below are all the steps you need to get on how to make stickers with tape (or how to make stickers from drawings)
Step 1: Draw Your Stickers and Cut it
First, you must know how to turn a drawing into a sticker. The answer is to draw your desired design on a piece of paper. But how to make stickers with paper?
You can choose any paper type you prefer to draw on it. However, we recommend working with thin papers, as using too thick ones will likely create air bubbles. Thick paper is also very easy to lift off the tape.
Use a pen or marker to create your designs, and you can fill your design with your favorite colors.
Once you’re done drawing, carefully cut out each tape sticker using scissors or a craft knife. In this process, be careful and avoid cutting into the design. You can leave a small margin of paper around it, or you can trim close to the design.
Step 2: Cover the Sticker With Packing Tape
The next step in how to make DIY stickers is to protect your stickers and give them a glossy finish with packing tape. First, place the sticker on a piece of parchment paper or wax paper. This type of paper will serve as the backing paper, protecting the sticky side of the packing tape.
Then, place a piece of packing tape over the sticker, completely covering it. Make sure to choose packing tape that is larger than your sticker to ensure full coverage.
Step 3: Rub on the front
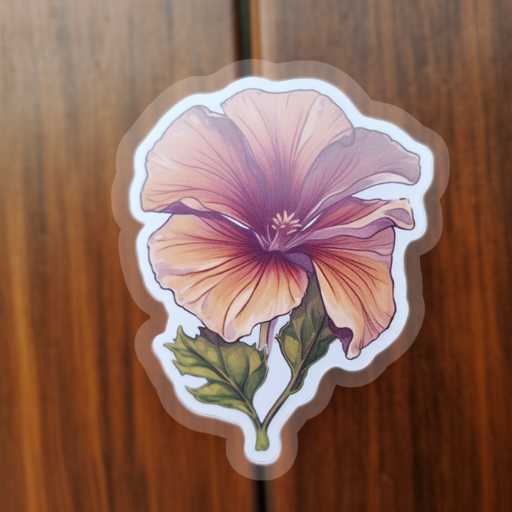
Gently rub on the front of the packing tape, press it down firmly to remove any air bubbles, and to make sure it is fully attached to the sticker. You can use your fingers, a clean cloth, or a card to do this. Take your time and make sure to smooth out any creases or wrinkles in the tape.
Step 4: Cut your tape sticker
After applying the packing tape, it’s time to cut out your sticker. Use your scissors or craft knife to carefully cut around the outline of the sticker. Remember to keep the excess packing tape intact. This excess part will serve as the adhesive layer for the stickers, which helps you stick them on the surfaces you want.
Step 5: Remove the backing paper and apply the sticker to your desired surface
Now that your sticker is ready. It’s when you know how to make stickers with tape, and it’s time to apply stickers to your desired surface. Start by peeling off the backing paper from the packing tape. This will expose the sticky side of the tape. Now, you can know how to make stickers stick.
Carefully place the sticker on the surface you want to stick it to, pressing it down firmly. Once applied, rub your fingers over the entire surface of the sticker to ensure it is securely attached to the surface.
Tips for Success on how to make stickers with tape
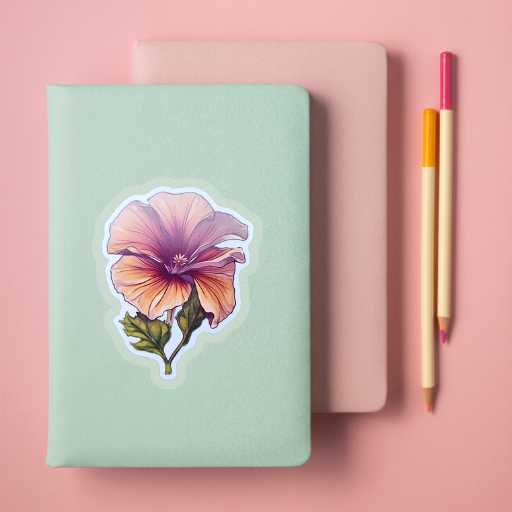
Once you know how to make stickers with tape, you will discover that this is a very simple process. However, to get the best results, you must keep in mind a few things as follows:
Use sharp and precise cutting tools
Using sharp scissors or a craft knife will help you achieve the desired shape and size for your homemade stickers. When cutting out the designs, sharp scissors or a craft knife will allow you to achieve smooth lines and precise shapes.
On the other hand, if you use dull or blunt tools, this can result in jagged edges and uneven stickers.
Avoid Overlapping Tape
In your learning “how to make stickers with tape” process, if you mistakenly buy tape smaller than the sticker designs, avoid using multiple strips of tape to cover the same part of your sticker. Overlapping tape creates uneven surfaces on the sticker. When you apply another layer of tape over an existing one, it can create bumps, ridges, or air pockets between the layers.
Besides, it reduces the overall adhesive strength. The overlapping sections may not adhere well to the surface, causing them to lift or peel off easily.
Instead, align the strips neatly next to each other without any gaps. This will give your stickers a professional and polished look.
Smooth Out Air Bubbles
When applying the tape, smooth it out to eliminate any air bubbles. Air bubbles can affect the appearance of your stickers because they can distort or obstruct the design or image on the sticker or create an uneven and bumpy surface on the stickers.
Moreover, air bubbles make stickers less adhesive. By smoothing out air bubbles, you ensure that the tape makes solid contact with the surface, promoting better adhesion.
To remove air bubbles, use a flat edge, such as a ruler and credit card, or use a small roller to roll over the tape.
Last thoughts
Finding out how to make your own stickers with tape is extremely interesting and accessible. As we’ve explored, it requires minimal materials, is cost-effective, and can be done by anyone. By following the simple instructions on how to make stickers with tape, you can create stunning stickers.
And if you are interested in professionally made custom stickers and want to collect more types, let’s visit our website to place an order. We offer printed stickers in any shape, size and designs for you to choose from.

