Blog
14 Creative DIY Advent Calendar Ideas for Doubling Your Christmas Decoration

Are you someone who loves the beauty and excitement of DIY Advent Calendars? These unique Advent Calendars are a special way for everyone to count down to Christmas. However, they can be more than just a countdown calendar. DIY Advent Calendars serve their purpose but at the same time can also add an extra festive touch to your living space.
In this article, we will explore 14 creative DIY Advent Calendar ideas that are perfect for both counting down to Christmas and enhancing your home decor. Whether you’re a crafting enthusiast or just starting out, these ideas are perfect for you.
14 Creative DIY Advent Calendar Ideas for Doubling Your Christmas Decoration
The DIY Advent Calendar, a familiar item that people use to countdown the days until Christmas, can be easily customized with just a few easy-to-find and simple materials.
Here’s 14 creative and unique DIY advent calendar ideas that we’re sure to enhance your Christmas decorations.
1. Star Garland
Garland is a typical ornament of the Christmas season, so why don’t you take ideas from it to make an Advent Calendar? Let’s create a Star Garland Advent Calendar using colored paper or fabric. The steps to create a unique calendar include:
- Cut out star shapes
- Decorate them with glitter, stickers, or paint and number them
- Punch holes for threading onto string or ribbon.
- Hang the garland in an eye-catching place.
- You can attach to each star with small treats, chocolates, trinkets, or handwritten messages.

2. Christmas Lights
Why don’t you create a DIY Christmas bulb Advent Calendar? You can start by collecting different colored papers, cut and assemble them into light bulb shapes. You can choose specialized handmade paper, with finishes ranging from gloss to matte or glitter.
Remember to punch small holes in these bulbs. Then, use a string to thread through them. You will now have a lovely string of light bulbs.
However, it must be noted that because they are made from paper and are small in size, you should only put small and light objects.
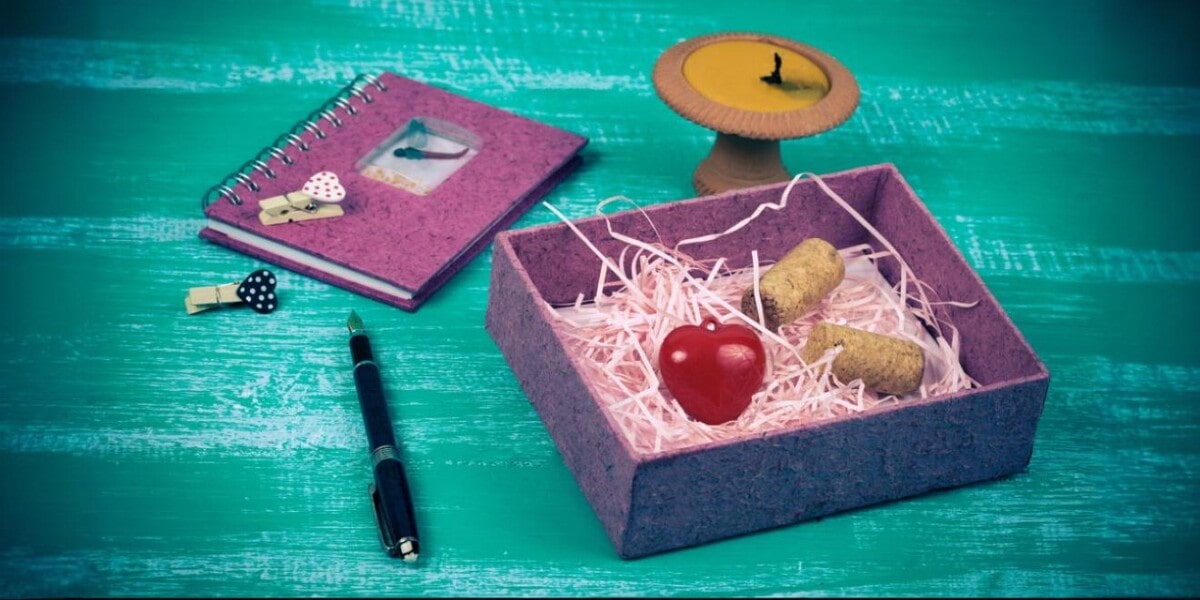
3. Mini Boxes
Mini box is also another interesting idea for making a DIY Advent Calendar. You can decorate those calendar boxes by coloring with pens, or using bows, or custom stickers printed in different shapes (die-cut stickers) and in any Chrismtas design.
Because these boxes are in mini size, the things you can put inside must be small items such as candy, keychains, jewelry,…

4. Upcycle Boxes
A DIY advent calendar box is a meaningful, easy-to-make method that protects the environment. The materials to make an upcycle boxes advent calendar are easy to find, which helps you save money, yet produces a beautiful and unique result.
You can take advantage of all the boxes available in your house for recycling. Wrap them in colorful paper, embellish them by using colored pens, ribbons, or enhance their look with CustomAny’s custom stickers. These old boxes will instantly become extremely attractive.
Once you’ve finished, place the gifts you want inside those empty advent calendar boxes.
5. Fabric and Wool Stockings
Socks are also an indispensable item during Christmas. So, we came up with the idea of making an Advent Calendar by taking socks of many styles and colors to hang on a wooden or metal frame. You can also hang some more Christmas-themed ornaments to make your Advent Calendar look more beautiful.
6. Colorful Paper Bag
To recreate this lovely advent calendar, use colorful paper bags. Start by choosing a variety of colored paper bags in a variety of sizes and shapes. Then, decorate the bag with hand-drawn images, festive bows, or custom photo stickers.
You can choose a large or small bag size and fill the bag with treats like food, accessories, souvenirs, etc. Next, arrange the bags in the shape you want (such as tree shape, round, heart,…) or hang them on a display board.
7. Hanging Big Bags
When you want more options for putting items into your custom Advent Calendars, opt for big hanging bags.
First, choose durable fabric or canvas to make the bag. Cut the fabric into your desired shape, like a square or rectangle, leaving excess fabric at the top for hanging. Decorate the bag with numbers, holiday-themed designs, or personal touches using fabric paint. Finally, hang the bag on a string or a decorative hanger to create an attractive result.
8. Kraft bags and decorating tape
The next idea is making advent calendars with kraft bags and fabric tape. The versatility of kraft bags allows you to easily fold and secure them with decorating tape. You can choose many types of custom packaging tape from our website. They can not only seal the kraft bag but are also useful decorative items that make your bag more appealing.
However, because they are made of paper, if you choose to hang these advent calendar bags, you should choose small and light items to put inside them.

9. Mason Jar
When making an Advent calendar, think about using Mason jars to create a charming and rustic feel. These jars can be decorated in many ways, from painting to wrapping with colorful paper. Besides, we highly recommend using stickers, especially transfer stickers and clear stickers to get the best result when applied to these glass jars.
You can use numbered stickers or labels to indicate the countdown from 1 to 24. Alternatively, you can use themed stickers or labels that match the overall design of your DIY Advent Calendar.
10. Tin Can
This is also a creative and economical way to reuse tin cans, helping to protect the environment. What you need to do is collect tin cans and make them clean and free from any sharp edges.
Next, decorate the cans with paint, wrapping paper, or adhesive paper to match your desired theme. Arrange the cans in a display, stack them up, or hang them using string or ribbon.
Tin cans are versatile and can hold quite heavy items, but you can not fill them in too large ones.
11. Paper Envelope
Paper Envelope advent calendar DIY is also a great idea that many people choose to DIY. The easiest way to make it is:
- Choose colorful or patterned paper to create the envelopes.
- Cut the paper into squares or rectangles of the desired size.
- Fold the paper into an envelope shape and secure the flaps with glue or tape.
- Decorate the envelopes with numbers or decorative elements.
- Fill each envelope with small gifts, notes, or treats.

12. Felt Calendar
If you have a felt sheet, take advantage of it to make a colorful DIY Advent Calendar for your countdown time.
To make this kind of homemade calendar, gather various colored felt sheets and a larger piece of felt for the background. Then, decorate the pockets with festive embellishments like buttons, ribbons, or embroidery. The final step is to attach the pockets to the background using fabric glue or sew them on.
13. Chalkboard
In case you don’t have many tools to create your own DIY Advent Calendar, using a chalkboard is a great choice. It allows for a versatile and customizable holiday countdown.
To make this calendar, divide the surface into 24 equal spaces (or more if you wish) using chalk or masking tape. Fill each space with numbers, then decorate them with holiday designs, or personalized messages using chalk or chalk markers.
14. Hanging Planters
Transform ordinary hanging planters into a unique DIY Advent Calendar. You can choose similar planters to maintain a consistent look. Otherwise, choose a set of hanging planters in various sizes and styles. Then, number those planters. If you don’t want to put gifts in there, you can plant plants in there to bring a touch of greenery during the holiday season.
Where to put your DIY Advent Calendar
After getting the idea on how to make advent calendars for Christmas, now it’s time to figure out where to display them reasonably.
Mount on Walls
One popular option is to hang your DIY Advent Calendar on the wall. This could be in your living room, hallway, or any other prominent area. You can use hooks, nails, or adhesive strips to securely attach it.
On kitchen table
If you have a spacious kitchen or dining table, placing the DIY Advent Calendar there can make it a focal point during breakfast or meals. This brings a touch of festive spirit and allows all family members to gather around it.
On your dressing table
Your dressing table can serve as a place to place the DIY Advent Calendar. This location allows your calendar to serve as a gentle reminder to engage in daily holiday surprises before starting the day.
Hang around your Garland
If you have a garland, you can incorporate your DIY Advent Calendar into the display. Use clips or string to attach each box, jars, tin or socks calendar to the garland, enhancing the overall holiday ambiance.
Hang above your Fireplace
The fireplace is often the focal point of a living room during this holiday season. Hanging the Advent Calendar above it creates a cozy and traditional look.

Near the window
Windows brings in natural light, which can enhance the visual appeal of your personalized advent calendar. By placing your DIY Advent Calendar near a window, you can also extend the joy and excitement of the holiday season beyond the walls of your home.
Last thoughts
In conclusion, these 14 creative DIY Advent Calendar ideas offer a fantastic opportunity to enhance your Christmas decorations. Once you have your idea, start making a unique calendar to count down to the big day.
Moreover, if you’re looking for more inspiration and ideas for Christmas decorations, let’s check out our blog page. We provide lots of tips, tricks, and DIY projects that will help you create the perfect holiday atmosphere at home.