5 easy ideas for DIY Luggage Identifiers to create at Home
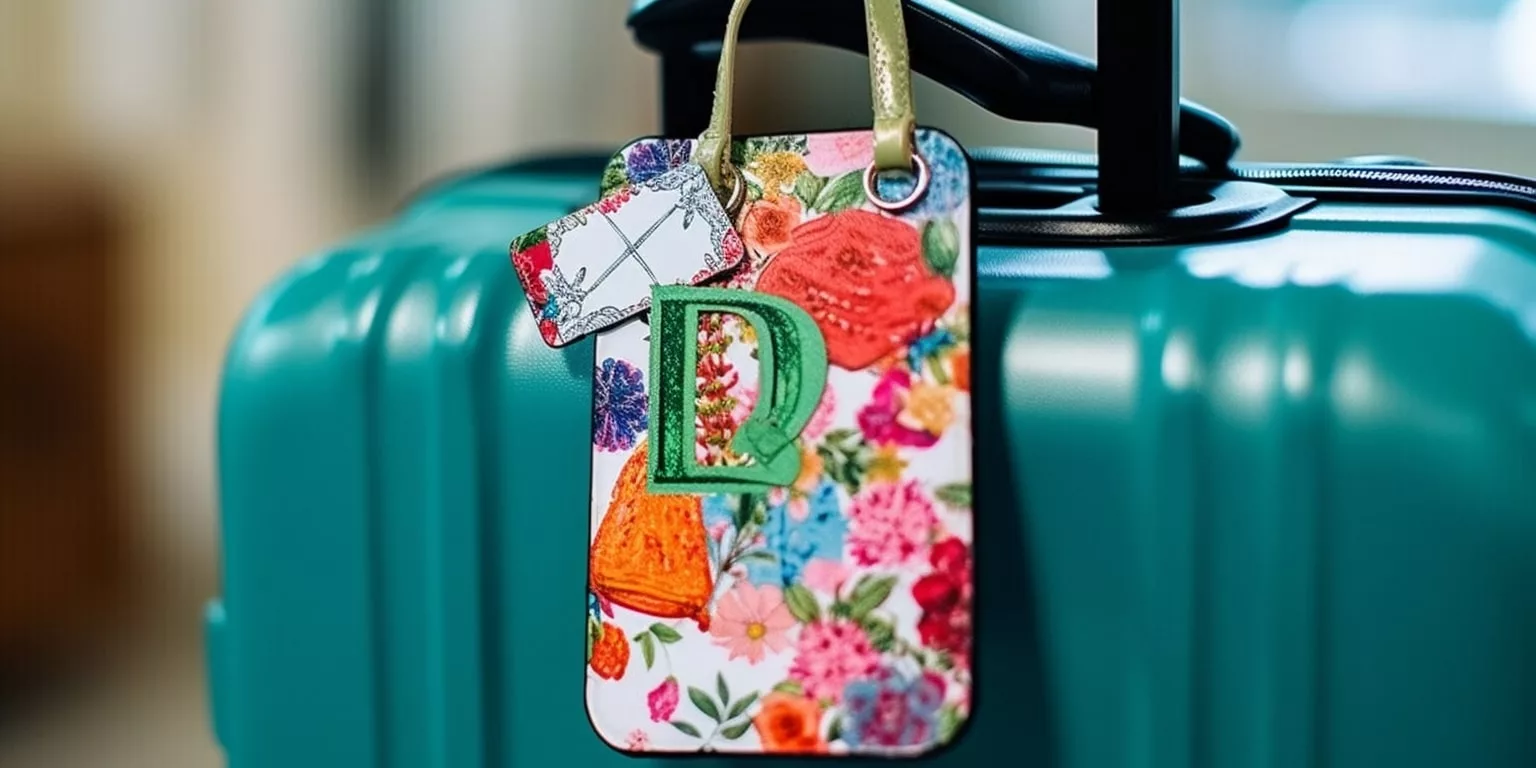
Are you tired of struggling to spot your luggage among a sea of similar bags at the airport carousel? Look no further! In this article, we will guide you through 5 easy and creative ideas for DIY luggage identifiers that you can create right at home.
Building upon the inspiration from our previous post, “9 cool luggage identifier ideas to make it easier to spot“, we have curated a list of simple yet effective DIY projects to help you personalize and distinguish your luggage.
These best luggage identifiers will not only make your bags stand out but also showcase your creativity. So, let’s dive in!
Idea 1: Colorful Ribbon Tags with Personalized Stickers
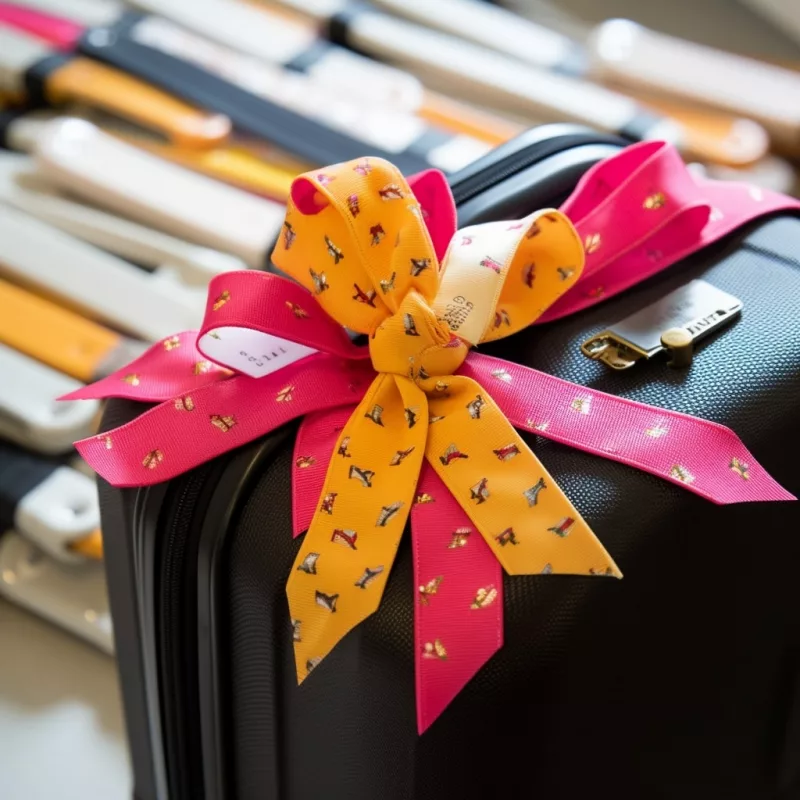
Creating colorful ribbon tags with personalized stickers for DIY luggage identifiers is a fun and practical project. To get started, you need to gather the necessary materials and accessories as following:
Preparation
- Ribbons: Choose ribbons in bright and easily identifiable colors (such as neon or bold shades) and opt for durable materials like nylon or polyester.
- Stickers: Personalized stickers with your name, initials, or any other identifying information. Ensure the stickers are waterproof and have a strong adhesive to withstand various weather conditions and handling during travel.
- Scissors: A pair of sharp scissors to cut the ribbons to the desired length.
- Keyrings or split rings: Choose sturdy and durable keyrings or split rings that can withstand the weight and movement of your luggage.
Step-by-step guide
- Step 1: Measure and cut the ribbons: Cut the ribbons using scissors, ensuring they are long enough to be easily visible but not too long to cause inconvenience.
- Step 2: Attach the stickers: When applying, press the stickers firmly to ensure they adhere securely.
- Step 3: Attach the keyring or split ring: Thread the ribbon through the keyring or split ring.
- Step 5: Attach the ribbon tag to your luggage: Use the keyring or split ring to attach the ribbon tag to your luggage. Make sure it is securely fastened.
Tips when using
- When placing your luggage in an overhead compartment or checking it in, make sure the ribbon tag is not stuck in other luggage to prevent it from getting caught or damaged.
- Avoid placing heavy items on top of the ribbon tag to prevent it from being crushed or flattened.
- If you’re concerned about the ribbon tag getting tangled with other luggage, consider using a luggage strap or securing it with a zip tie to keep it in place.
Idea 2: Washable Fabric Paint Designs
Creating washable fabric paint designs as luggage identifiers is a creative and personalized way to make your luggage stand out. Here’s the tutorial:
Preparations
- Fabric paint: Choose fabric paint that is suitable for textiles.
- Fabric markers: Alternatively, you can use fabric markers to create your designs. These markers provide more control and precision compared to paint.
- Fabric luggage tags: These tags should have a smooth surface to allow for easy application of the paint or markers.
- Stencils or templates (optional): If you have trouble drawing freehand, think about using stencils or templates to create your designs.
When choosing these items to make luggage identifiers, ensure that the fabric paint or markers you choose are colorfast and won’t bleed or fade when exposed to water or sunlight. You should also carefully check that the fabric paint or markers are compatible with the material of your luggage tags. Some paints or markers may not adhere well to certain fabrics.
Step-by-step guide
- Step 1: Prepare your luggage tags: Start by cleaning the surface of your fabric luggage tags to remove any dirt or debris.
- Step 2: Plan your design: Choose a pattern or design for your luggage tags.
- Step 3: Apply the fabric paint or markers: Use a brush or the tip of the fabric marker to carefully apply the paint or draw your design on the luggage tags. Use light, even strokes when applying the fabric paint to avoid clumps or uneven coverage. If using fabric markers, apply gentle pressure to prevent the ink from bleeding.
With stencils or templates, secure them in place with tape and fill in the design with the paint or markers.
- Step 4: Let it dry: Allow the fabric paint or markers to dry completely.
- Step 5: Heat set (if required): Some fabric paints or markers may require heat setting to ensure the design becomes permanent.
Tips when using
- Consider adding a clear fabric sealant or topcoat over the design to provide extra protection and prevent this kind of DIY luggage identifiers from fading or rubbing off.
- To ensure the longevity of the design, avoid excessive rubbing or scrubbing of the painted area when cleaning your luggage. Instead, gently wipe the tags with a damp cloth or sponge.
- Store your luggage with painted tags luggage identifiers in a cool and dry place to prevent any damage from moisture or extreme temperatures.
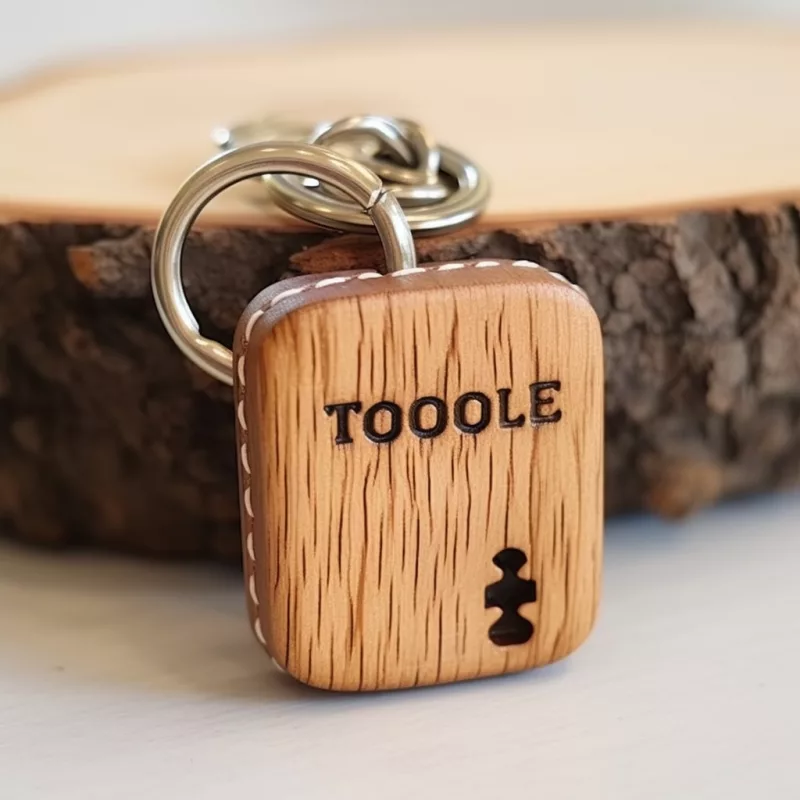
Idea 3: Customized Keychains as DIY luggage identifiers
Preparations
- Keychain hardware: You will need a sturdy and durable base material for your keychain, such as metal, leather, or thick fabric. Consider hardware that includes a split ring or lobster clasp for easy attachment to your luggage.
- Customization part: you can use various materials like charms, beads, pendants, or other small items that match your preferences. Make sure to choose materials that are not too delicate or prone to breakage, as they will be exposed to rough handling during travel.
Step-by-step guide
- Step 1: Decide on the design and layout of your keychain luggage identifiers. You can sketch it out beforehand or simply improvise as you go along.
- Step 2: Attach the keychain ring to the base material. If you are using fabric or leather, you can sew it on securely. If you are using metal, you can use jump rings and pliers to attach the ring.
- Step 3: Start customizing your luggage identifiers by adding beads, charms, or pendants. You can use adhesive to stick them onto the base material or use jump rings to attach them securely.
- Step 4: Once you are satisfied with the design of your cool luggage identifiers, clean up any excess adhesive or loose threads, ensuring a neat and polished finish.
Tips when using
- When attaching the keychain to your luggage, make sure it is securely fastened. You can use a sturdy keychain ring or even a small carabiner for added security.
- Avoid hanging the keychain luggage identifiers in a way that it dangles too low or gets caught in luggage handling machinery. Keep it compact and close to the luggage surface.
Idea 4: Embroidered Luggage Patches
Preparations
Firstly, choose a sturdy and durable fabric as the base for your patch. Twill or canvas fabric works well for this purpose. Consider the size of your patch and choose a fabric that is large enough to accommodate your design.
Additionally, you will need embroidery floss or thread in various colors to create your design. Choose high-quality thread that is strong and resistant to fraying. It is also necessary to prepare an embroidery hoop to hold the fabric taut while stitching.
Lastly, gather embroidery needles, scissors, and any additional embellishments you want, such as beads or sequins.
Step-by-step guide
- Step 1: Prepare your embroidery needle by threading it with the floss of your choice. Using your template as a guide, begin stitching your design.
- Step 2: Once your stitching is finished, carefully remove the fabric from the embroidery hoop. Trim the excess fabric around the stitched design, leaving a small border around the edges.
- Step 3: If desired, you can add additional embellishments such as beads or sequins to enhance your luggage identifiers. Secure them with small stitches or fabric glue.
- Step 4: To finish your patch, fold the edges of the fabric border to the back and stitch them down. This will create a clean and finished look.
Tips When Using
- When attaching these luggage identifiers to your luggage, consider using a strong adhesive or sewing it on securely. Reinforce the edges with extra stitches to prevent fraying.
- If your luggage gets wet, allow the patch to dry completely before reusing it. Moisture can cause the thread to weaken or the fabric to warp.
- If you need to clean your patch, spot clean it gently with a mild detergent and a soft cloth. Do not submerge it in water or use harsh chemicals because it will damage the embroidery.
Idea 5: Travel-themed Luggage Stickers
Travel-themed stickers for luggage identifiers are a great idea for luggage identifiers, especially for kids luggage identifiers.
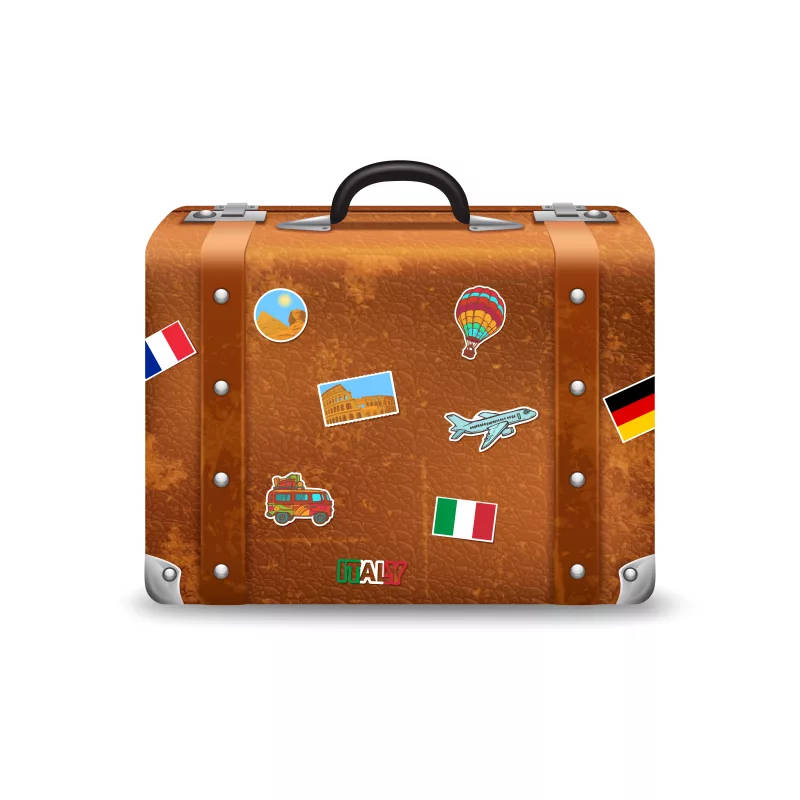
The following are our guides on how to do it:
Preparations
- Sticker paper or printable vinyl: Choose a high-quality sticker paper or printable vinyl that is durable and water-resistant.
- Design elements: Think about iconic landmarks, transportation symbols, travel-related phrases stickers for promotional luggage identifiers. You can use clip art, freehand drawing, or import images from the internet to create your designs.
- Printer (optional): You will need a printer to print your designs or you can have your stickers printed by printing shops.
- Markers, colored pencils, or glitter pens (optional): You can use these tools to further customize your stickers.
Step-by-step guide
- Step 1: Start by brainstorming and sketching out your travel-themed designs.
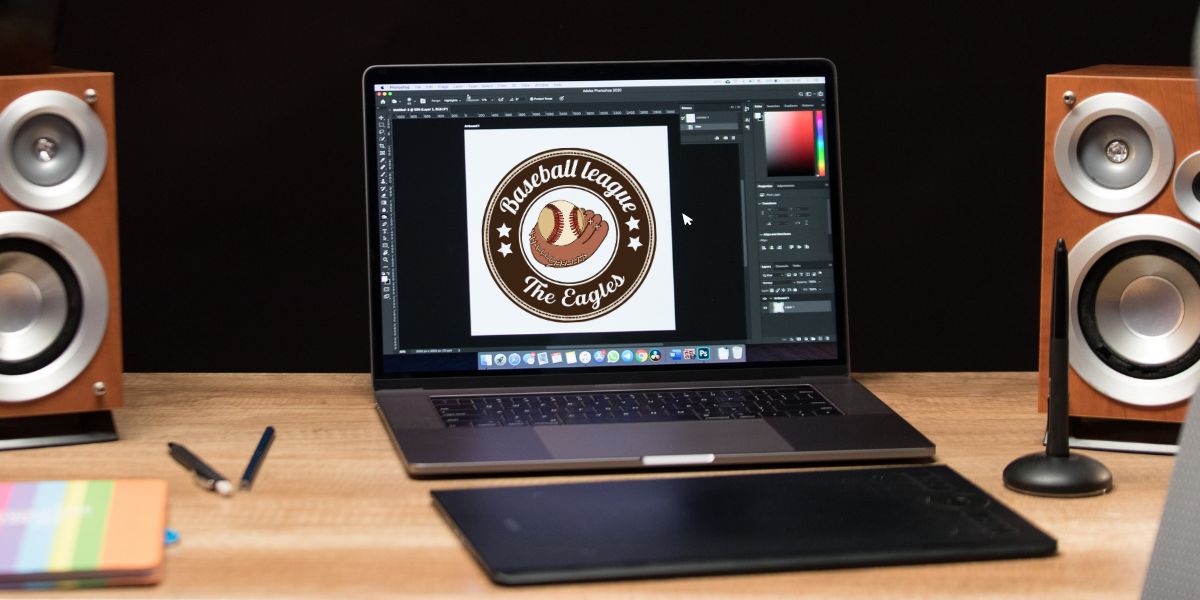
- Step 2: Once you have finalized your designs, open a design software or word processing program on your computer. Create a document with the dimensions of your sticker paper or printable vinyl.
- Step 3: When your designs are ready, load the sticker paper or printable vinyl into your printer or send them to the printing shops.
- Step 5: Print your designs onto the sticker paper or printable vinyl.
- Step 6: If desired, you can further customize your stickers by adding color or additional details using markers, colored pencils, or glitter pens.
- Step 7: Once your stickers are customized, place them on a clean and dry surface of your luggage, pressing down firmly to ensure they adhere properly.
Tips When Using
- Avoid placing the stickers in areas that are prone to rubbing or scraping, such as near zippers or handles. Choose a smooth and flat surface on your luggage for optimal placement.
- Use durable and waterproof materials for your luggage bag identifiers in case they get wet, read our blog: “How To Make A Sticker Waterproof? 3 Top Tips You Should Know” to know more. Avoid rubbing or scrubbing the stickers, as this can cause them to peel or fade.
- If you need to remove the stickers, do so carefully to avoid leaving any residue or damaging the surface of your luggage. If necessary, use a gentle adhesive remover.
Conclusion
Creating your own DIY luggage identifiers at home is a fun and practical way to add a personal touch to your travel gear. With the 5 easy ideas we’ve shared in this article, you now have a variety of options to choose from.
Not only will these DIY projects help you identify your bags quickly, but they will also add a touch of creativity and individuality to your travel experience. So, gather your materials, unleash your creativity, and get ready to embark on your next adventure with style and ease!


