Blog
How to Laminate Stickers: 3 Ways to do & Step-by-step Guides

Stickers have become a popular form of self-expression, allowing us to showcase our personal style. However, without proper protection, they can quickly degrade. Lamination can help solve this problem. But how to laminate stickers?
In this comprehensive guide, we will explore 3 different methods on how to laminate stickers. These easy methods allow you to apply a protective layer to your stickers on your own, right at home. Let’s learn how to enhance the durability of your stickers, making them resistant to physical damage, water and moisture with our step-by-step guide.
What is a laminate sticker?
To thoroughly get an idea of how to laminate stickers, you should first understand what laminated stickers are. Here are some essential information for you:
Lamination
Lamination involves the application of an additional layer of material (usually made from clear plastic materials, like vinyl or polyester) during the manufacturing process, aiming to enhance the sticker’s overall quality:
- Lamination acts as a barrier against scratches, acid rain, moisture, and abrasion.
- With its remarkable resistance to the harmful effects of UV rays, lamination ensures the sticker’s longevity even when exposed to sunlight.
- The lamination process allows the sticker to achieve either a glossy or matte finish, adding an extra touch of sophistication to its appearance.

When do you need to laminate your stickers?
Lamination of stickers is an optional but highly recommended process in certain situations where you need:
1. Enhanced Durability
The laminate layer acts as a protective barrier, shielding the sticker from moisture, UV rays, scratches, and general wear and tear. It helps prolong their lifespan and ensures they remain intact and vibrant for a longer period of time.
2. Professional Appearance
Lamination gives stickers a polished and professional look. Depending on the type of laminate used, they can be glossy stickers or matte stickers.
3. Cleanability
Laminated stickers are much easier to clean compared to non-laminated ones. The laminate layer creates a smooth surface that is resistant to water and other liquids. This makes it easier to wipe off any dirt, dust, or spills that may accumulate on the stickers.
How to laminate stickers at home?
There are 3 common ways to laminate stickers at home: using laminating spray, self-adhesive sticker laminating sheets, or laminating machines. In the following section, we will provide a step-by-step guide for each method.
How to Laminate Stickers: Using Laminating Spray
The first method on how to laminate stickers is to use the laminating spray. This method is the answer for the question “can you laminate without a machine”, and here are what you can do:
Materials You’ll Need
- Stickers
- Laminating spray (readily available at craft stores; consider Krylon, ClearJet, Minwax… for quality results)
- Paper or cardboard to act as masking for protection

Guide
Clean Your Stickers
The first step on the way of learning how to laminate stickers is to ensure that your stickers are clean. Rid them of any dust, debris, or impurities that may compromise the lamination process. A quick wipe with a clean, dry cloth is effective.
Create a Mask
Lay your stickers on a flat surface while leaving some strategic space around each one. Protect the surrounding area by using sheets of paper or cardboard as masking. This simple step safeguards against accidental overspray and ensures a neat outcome.
Apply the Laminating Spray
It is best to distance the laminating spray can from your stickers by approximately 8-10 inches. A light pressure is key here to avoid oversaturation. Begin the application process by gently coating each sticker with an even layer of spray. Maintain a smooth and steady movement to prevent unsightly drips or uneven coverage.
Allow Drying Time
Let your stickers sit for this amount of time, it usually takes around 5-10 minutes. However, this time period may vary based on the brand and type of spray you chose. Check the laminating spray’s packaging for the recommended drying time. Ensure that the stickers are fully dry and the laminate has adhered securely before moving to the next step.
Trim and Use
Once the sprayed stickers have dried and laminated, take a moment to check their appearance. If necessary, carefully trim any excess material around each sticker to create a clean, crisp edge.
Now you know how to laminate stickers, and your stickers are ready. You can apply them.
How to Laminate Stickers: Using Self-adhesive sticker laminating sheets
Follow these steps to learn how to laminate stickers with self-adhesive sticker laminating sheets:
Materials You’ll Need
- Stickers
- Self adhesive laminating sheets for stickers
- Scissors or a craft knife
Guide
Clean Your Stickers
Before starting the lamination process, make sure your stickers are dust-free. A clean surface ensures optimal adhesion and a visually appealing final result.
Remove the laminating sheet’s backing
Carefully peel off the backing from one of the self-adhesive laminating sheets. This will reveal the sticky side of the sheet, ready to bond with your sticker.
Apply laminating sheets
Place your sticker face-up onto the sticky side of the laminating sheet, ensuring it is centered and aligned to perfection. Take a moment to envision the desired outcome and adjust the position if necessary.

Press and Smooth
With gentle pressure, press the sticker onto the adhesive of the laminating sheet. Start from the center, then move outward towards the edges. To eliminate any air bubbles or wrinkles, utilize a flat tool, such as a plastic card, to smooth the surface.
Trim the Excess
Should there be any excess laminating sheet surrounding your sticker, use scissors or a craft knife and proceed with precision. Carefully trim away the excess material, aiming for a clean and precisely sealed edge.
Store or Use
Your laminating stickers are now protected from moisture, fading, and everyday wear and tear. You can choose to make use of them immediately, adding a touch of charm to your belongings. Alternatively, carefully store them in a designated space to preserve and protect their beauty for future use.
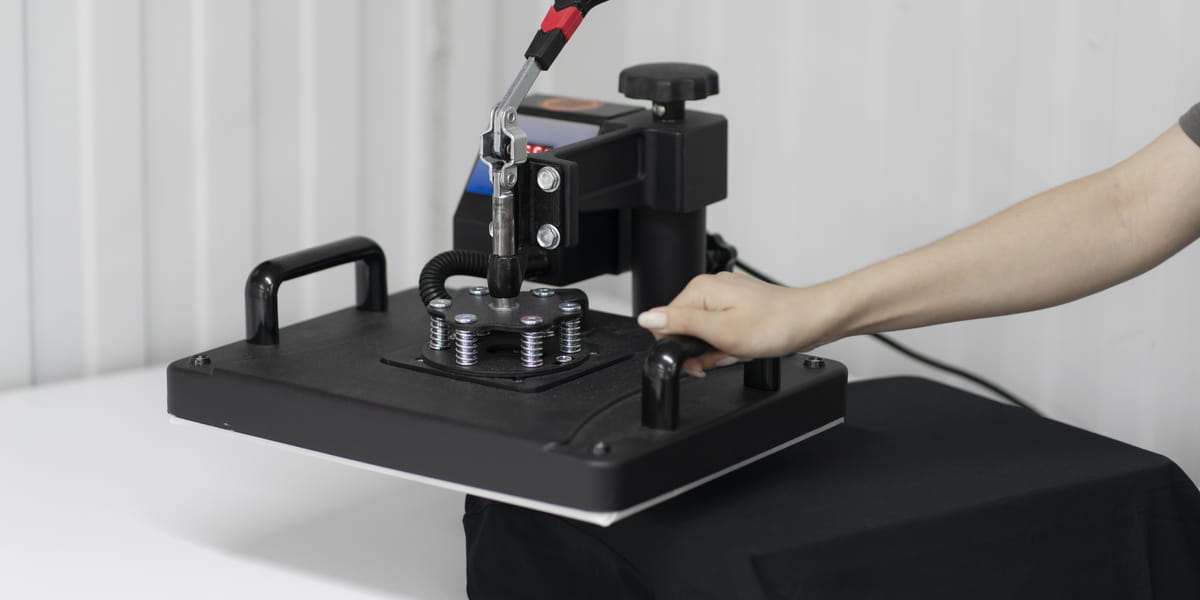
How to Laminate Stickers: Using Laminating Machines
In this part, CustomAny will let you know how to laminate stickers utilizing the power of laminating machines. Let’s create beautiful and durable laminated vinyl stickers with this method.
Materials You’ll Need:
- Your favorite stickers
- An efficient laminating machine (For example, Scotch TL901X Thermal Sticker Laminator, SINOPUREN Laminator Machine,…)
- Laminating pouches or sticker laminate sheets
- Scissors
Guide
Clean Your Stickers
It’s imperative to ensure your stickers are dust-free. Give them a gentle cleanse before proceeding.
Activate the Laminating Machine
Make sure you are plugging in and activating your laminating machine. This device requires a few minutes to warm up and attain the correct temperature for optimal results.

Safely Encase the Sticker
Open the laminating pouch or sheet and carefully position your sticker. Make sure it is well-centered and aligned precisely. If you possess a larger sticker, consider utilizing a correspondingly larger pouch.
Start Laminating
Insert the pouch or sheet with your sticker into the laminating machine with great care. Through the hot rollers, the machine will professionally seal the pouch and encapsulate your sticker.
Neatly Trim the Excess
Allow time for your newly laminated stickers to cool and set. Once done, examine the edges. Should there be any surplus laminating material on the sticker, use your sharp scissors to neatly trim it away. Remember to maintain a small border around the sticker to ensure a flawless and secure seal.
Store or use
After you have successfully learned how to laminate stickers using laminating spray, you have two options: store them for safekeeping or use them for your desired purpose.
If you choose to store them, make sure to keep them in a dry and protected place, away from direct sunlight or extreme temperatures.
Conclusion
Sticker lamination is an essential process when it comes to preserving the beauty and longevity of your beloved stickers. By following our “how to laminate stickers” guide, you can transform ordinary stickers into stunning, water-resistant creations with eye-catching effects.
However, if you are short on time or prefer ready-made options, why not explore our website? At CustomAny, we offer a wide range of crafted laminated stickers, from different designs to custom finishes. Let’s visit and pick out our most favorite ones!